Coolant is one of those car components without which your car couldn’t function properly – or at all. But how to add coolant to your vehicle once its level drops? It’s a pretty easy task but demands your complete attention. If you’re looking for a simple step-by-step guide on how to do it properly, you’ll find it in the text below, along with some additional important information about the coolant itself as well as the car’s cooling system.
Once you’ve opened the hood, locate the coolant tank and remove the cap. If you own an older car model without the antifreeze reservoir, locate the radiator and remove the radiator cap. Add the fluid to the maximum fill line (or an inch below the radiator neck). Close the hood and restart the vehicle to check for signs of engine overheating. Once the engine cools off, check the antifreeze level again and inspect the vehicle for eventual leakage. If you’ve decided to drain the coolant before adding more, make sure you dispose of the old fluid appropriately.
What Is a Coolant?
A coolant (sometimes referred to as an antifreeze) is one of the most important parts of the vehicle’s cooling system. It’s a special, colored fluid that keeps the engine at the optimal temperature range. It stops an engine from overheating, which can cause serious vehicle malfunctions and even place the driver in danger.
Is Coolant the Same as Antifreeze?
Although antifreeze is often used synonymously with the word coolant, note that it’s actually just one of the coolant ingredients. Most coolants used today represent the mixture of antifreeze additives (most commonly ethylene glycol) and water in a 50/50 ratio. In fact, the original coolant in the early days of vehicles was water. The antifreeze elements were added later to drop the water’s freezing point. That being said, keep in mind that the terms antifreeze and coolant are now used interchangeably.
You are able to buy a premixed coolant. However, if your vehicle demands a cooler with a water mix you can’t find, don’t go with another coolant type. Buying an antifreeze that you need and making your own mixture is a much better solution.

How Does a Vehicle Cooling System Work?
As mentioned, coolant keeps an engine from overheating – but how? The coolant constantly circulates through the engine block channels and absorbs the heat. Here is a simple explanation of what happens inside your vehicle when you drive:
- A valve on the thermostat opens when the engine has reached a certain temperature,
- The coolant is moved through the system with the help of a water pump,
- It goes through the cylinder block and passes the engine collecting the heat,
- Another thermostat determines if the antifreeze will circulate back to the engine block immediately or will pass the radiator,
- If the antifreeze is too heated, it will enter the radiator and cool off. If not, the valve on the thermostat won’t open, and the antifreeze will simply bypass the radiator,
- The process repeats all over.
How Often Should Antifreeze Be Changed?
How often you change the antifreeze depends on the coolant type and the model of your vehicle and should be stated in the manufacturer’s manual. The average time between two flushes ranges between two years (or 30,000 miles) and five years (or 100,000 miles). Keep these numbers in mind, especially if you drive or plan on buying a used car. Neglecting coolant maintenance can lead to significant engine issues. Studies indicate that improper coolant maintenance accounts for approximately 25% of major engine failures reported annually in North America.
Different Types of Coolants
There are four main types of coolants. Which one you will use depends on the car you’re driving – some cars for off-road driving, for example, may need a different coolant type than a car used for short city rides. The exact type you should use should be specified in the owner’s manual. Keep in mind that adding the wrong type of antifreeze can damage some of the vehicle components or lead to corrosion and severe damage over time.
It’s important to note that you should never mix different antifreeze types. Rather than that, use the same coolant for the whole duration of its lifetime. Here are the most common types of coolants your car will need:
| Type | Color | Lifetime |
| Inorganic Acid Technology (IAT) | Bright green | 36,000 miles |
| Hybrid Organic Acid Technology (HOAT) | Purple, blue, turquoise, yellow, or pink | 30,000 miles |
| Organic Acid Technology (OAT) | Dark green, orange, blue, or red | 150,000 miles |
| Dex-Cool | Orange | 100,000 miles |
How to Check the Car’s Antifreeze Level?
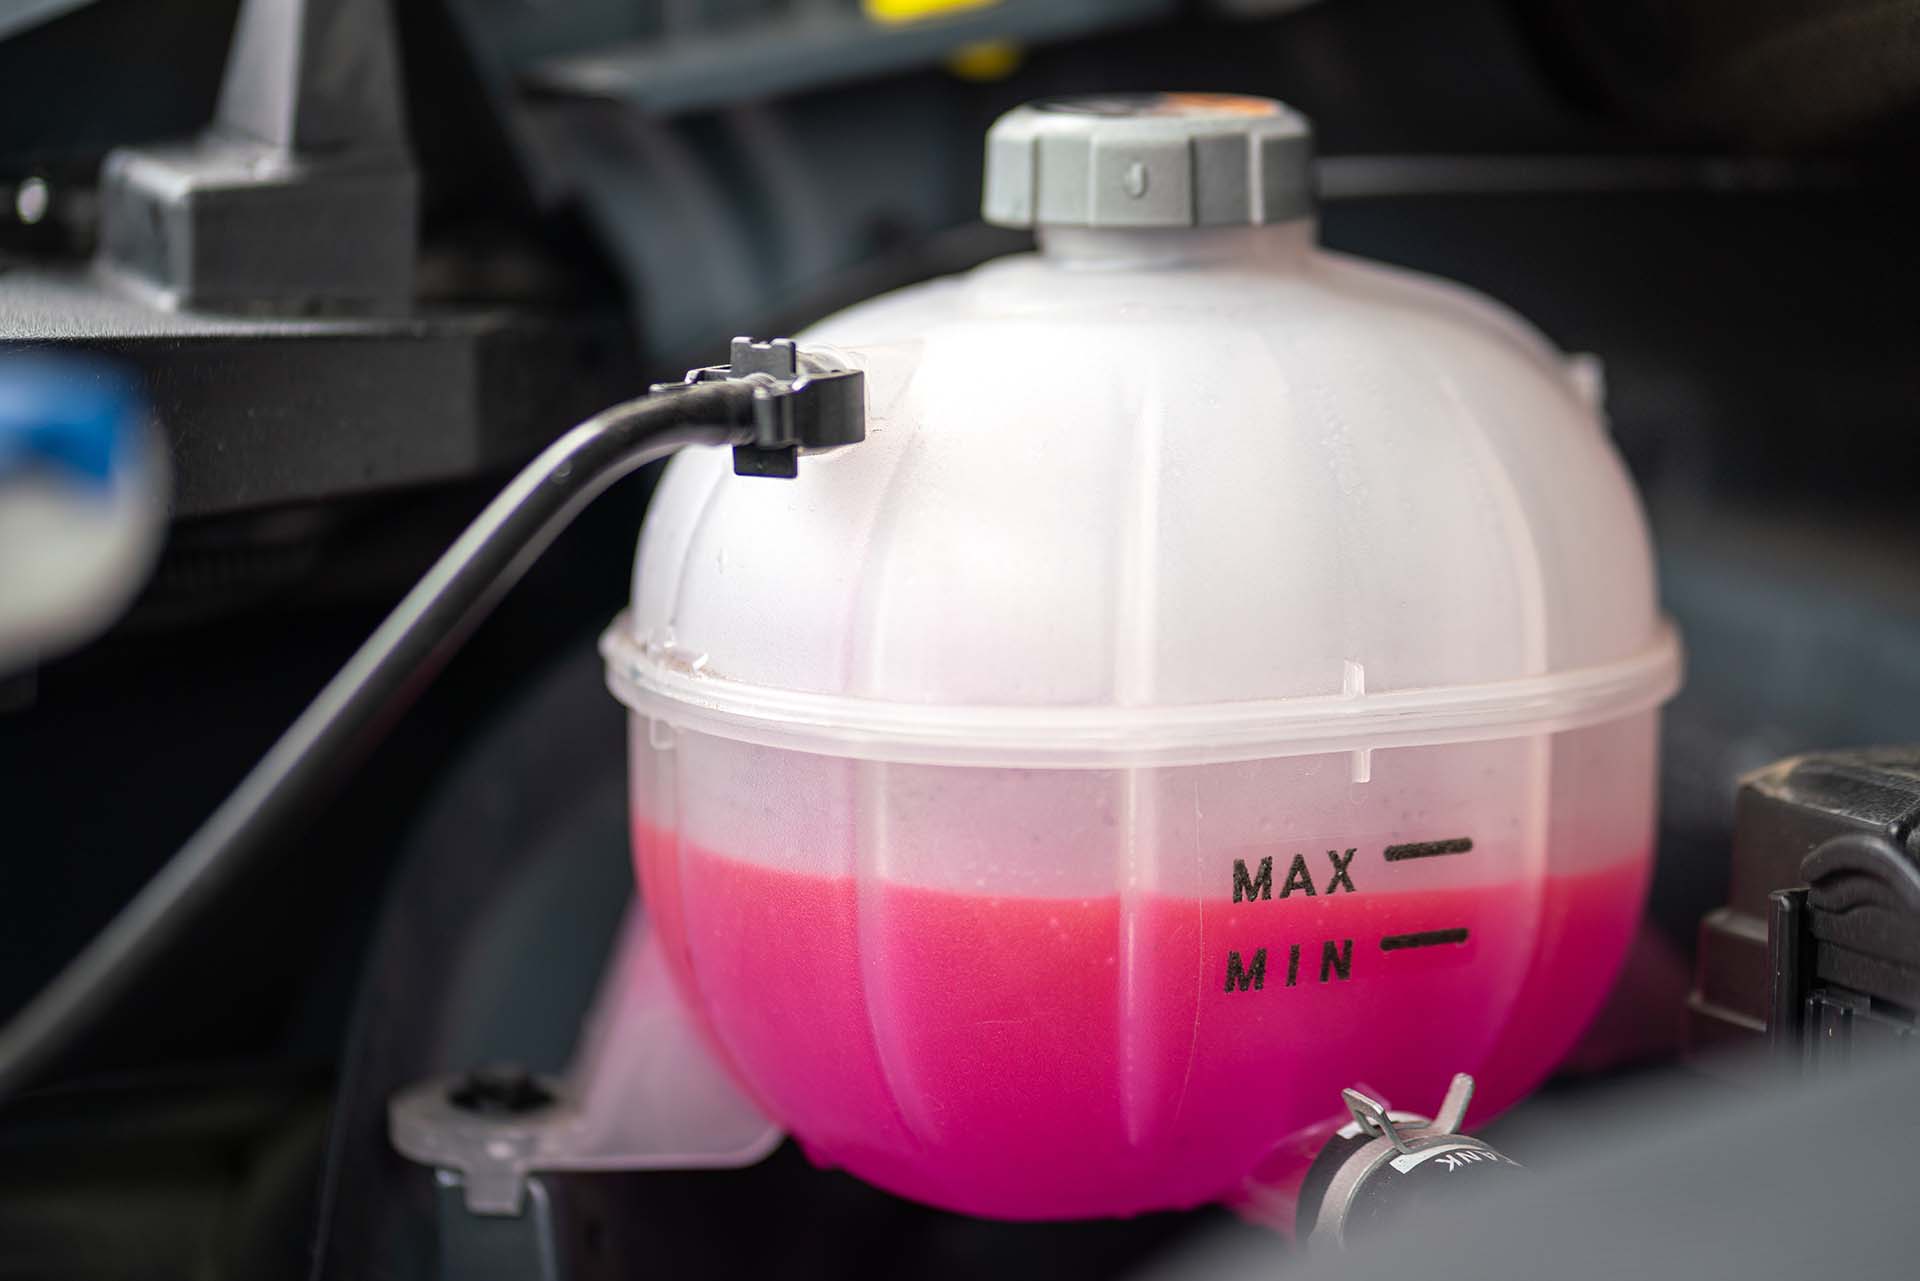
Checking the antifreeze levels is something you can easily do on your own – and you need to do it on a regular basis. Simply open up the car’s hood (once the engine is cold), and locate the coolant reservoir. Look for the minimum fill line – if the antifreeze fluid is above that line, the coolant levels are fine. If not, the antifreeze needs to be added.
How to Add Coolant to Your Car – A Step-by-Step Guide
Follow the super easy guide on how to add coolant in the most efficient way.
Follow the Safety Precautions
The vehicle needs to be parked on an even, flat surface, and the engine needs to be cooled off. Additionally, make sure you wear loose sleeves while working on the vehicle and wear protective equipment, such as gloves and safety glasses. If you end up accidentally ingesting the antifreeze, call the emergency services immediately. Keep in mind that the antifreeze must be stored in a safe location until it’s time to use it – ensure children or pets can’t come in contact with it.
Remove the Antifreeze or Radiator Cap
You’ll soon realize that adding antifreeze to your vehicle doesn’t demand a lot of effort – it’s much simpler than replacing U-joints or even changing a flat tire. Once you open the vehicle’s hood, locate the coolant cap (or radiator cap if you own an older vehicle model that doesn’t have a coolant compartment). They are usually more oval than circularly shaped and typically come with labels. Once you find it, remove it completely.
Add the Coolant
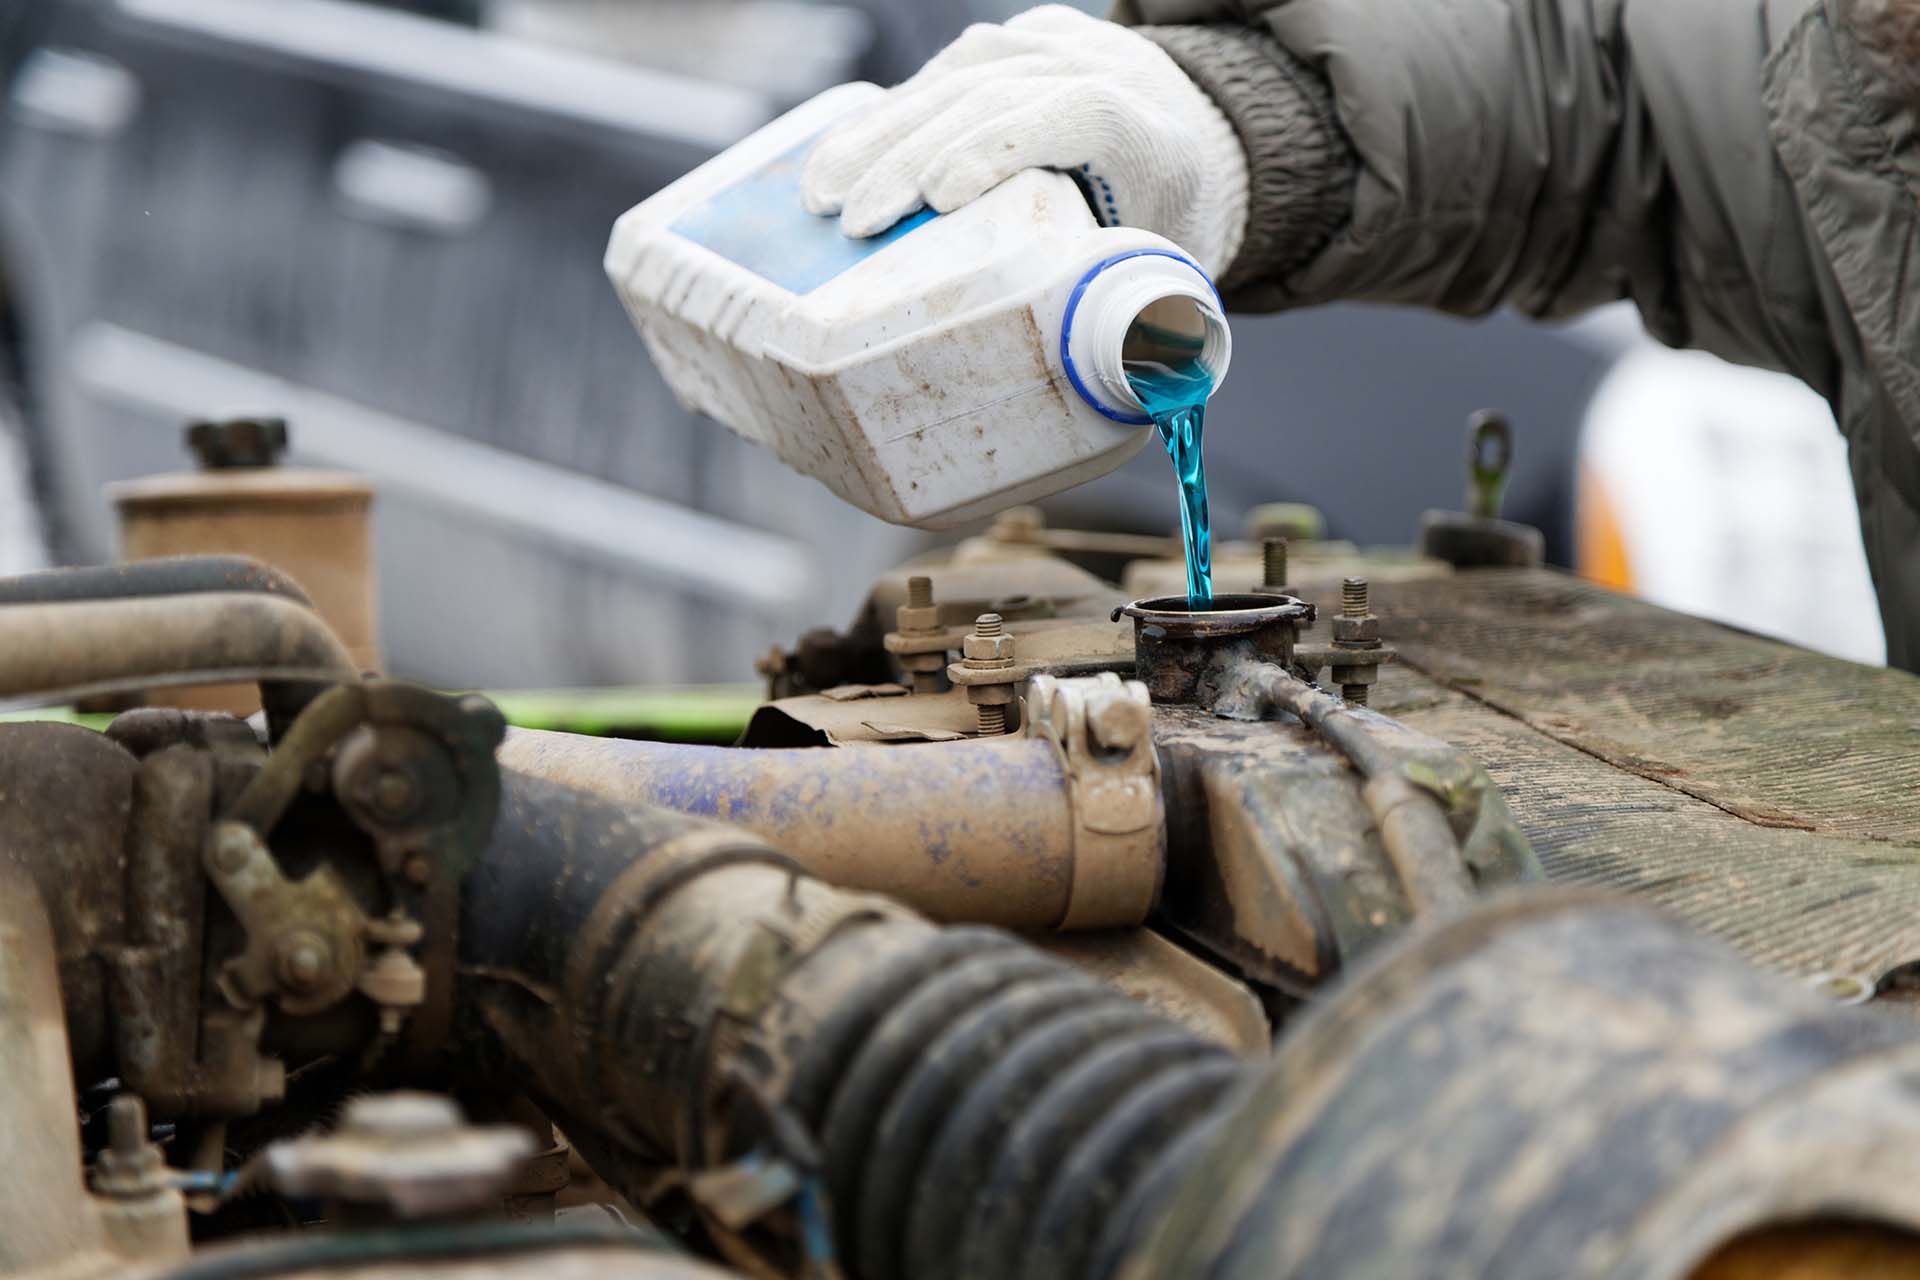
Raise the car before you start adding the fluid – it will reduce the chances of air pockets being formed in the engine. To avoid spillage, it’s best to use a funnel while adding antifreeze. This fluid is highly toxic, so make sure it doesn’t come in touch with your skin.
The antifreeze fluid must be added if it’s currently close to or below the minimum levels. Keep in mind that the antifreeze needs to be added through the car’s coolant tank, and the amount should not surpass the maximum line. Once you’re done, screw back the coolant cap.
It’s not advisable to add antifreeze through the radiator, except if you’re driving a slightly older vehicle that doesn’t have an overflow tank. If that’s the case, then you can fill the radiator with antifreeze – just ensure you leave about an inch beneath its neck.
Test for Possible Engine Overheating
Once the fluid is added, it’s time to start your vehicle. Let the engine work until the heating indicator shows a normal operating temperature. The clearest overheating sign is the rising temperature gauge, as well as a check engine light coming on.
Check the Antifreeze Levels
Before any further inspection, ensure the engine is completely cool. It takes at least thirty minutes but will depend on the time and speed you were driving, as well as the weather conditions.
After the engine has cooled off, check the coolant level. It will provide you with the necessary insight on whether you need to add more fluid or not. Additionally, keep in mind that some vehicles need to undergo a special air bleeding procedure – make sure to consult your owner’s manual. Remember that the cooling system is a closed system, which means air shouldn’t find a way into it.
Check for Leakage
This should be done after all the previous steps have been completed. You can also do it shortly after adding the fluid but note that sometimes leeks can’t be spotted immediately. If there is any leakage, it will be discovered much easier when the antifreeze runs through the engine block.
Be aware that sometimes, you may not even be able to identify the leakage that’s occurring, and you’ll add new fluid and realize shortly after that it’s close to the minimum fill line again. If that happens, let the certified mechanic look and examine the vehicle’s external and internal systems to find the source of leakage.
Bonus Tip – Replace the Radiator Cap and Thermostat
Did you know that one of the main causes of an engine overheating is a failed thermostat? This car thermostat is an important part that helps regulate the temperature of an engine. The same goes for a radiator cap, as well. Therefore, when adding antifreeze, it isn’t a bad idea to change these car components too.
Should You Drain the Old Coolant Before Adding a New One?
Draining of the old antifreeze is required in cases when the water/antifreeze ratio isn’t correct or when the fluid is contaminated. If you deem that draining is necessary, the first thing you need to do is raise your vehicle with the help of the jack stands and place a drain pan (or a simple bucket) under the radiator. Proceed with removing the radiator or a coolant tank cap (if your vehicle comes without a radiator cap).
Locate the draincock and unscrew it. You can decide to buy a new one that will serve as a replacement in case the old one breaks due to wear and tear. Once you’re done, remove the engine hose and the radiator hose clamp and drain the remaining antifreeze. Once the fluid is completely drained, reconnect the hoses – and proceed with adding the new coolant.

Dispose of the Old Coolant Appropriately
Although you may be tempted to simply flush this fluid down the toilet or spill the contents on your lawn, don’t do it. The coolant you’ve drained has become hazardous waste, similar to used car batteries or, for example, brake fluid, so you need to know how to dispose of it without compromising the safety of others or the environment. It would be best to pour the used antifreeze into a plastic container, close it, and leave it at the close-by recycled center or treatment plant.

Adding Coolant to Your Car Is Simple – So Make Sure You Do It on Time
Adding antifreeze is quite a simple procedure – you’ll need more time for cleaning your seatbelts or, for example, changing the license plate bulb. The only thing you need to remember is to check the antifreeze level from time to time. Once the fluid levels drop close to the minimum fill line, just use this guide, and you’ll be able to do it correctly and in no time.


