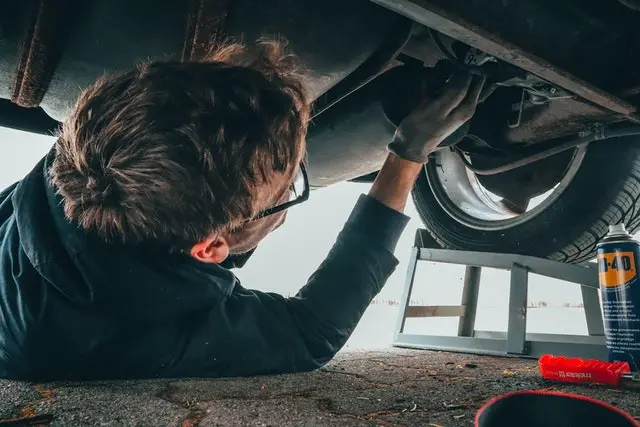
Universal joints are tiny parts of your vehicle, but ones crucial for it to work properly. Not replacing them when they turn bad can lead to severe car issues. But how to replace U-joints, and is it safe to do it on your own? It’s actually a pretty easy task – if you know what you’re doing. That is why I prepared a comprehensive, step-by-step guide on changing the universal joints. Memorize it and use it when the replacement time comes.
Remove retaining clips with KNIPEX Long Nose Pliers. With the flange clamped down, place the large socket into the U-joint hole and use a hammer to hit it down. Remove the cap and slide the joint out of the flange. Place the joint into the vise and hammer out the next two caps. After it, the joint can be slid out of the drive shaft. Prepare the flange and shaft surfaces. Remove two caps from the new joint, and slide it into the flange. Hammer the caps into place and check if the U-joint moves without restraint. After it, slide the remaining two arms into the drive shaft using the same method, add the retaining clips, and return the drive shaft to its place.
What Are Universal Joints?
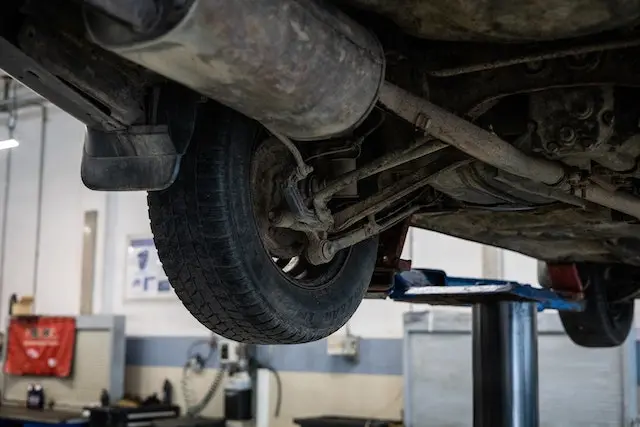
Universal joists are an important part of each vehicle. They allow a drive shaft to connect with the rear differential at an angle. It allows up-and-down and side-to-side movements of a drive shaft with the suspension. Without these joints, the drive shaft would have to be connected in line with the differential and would have to stay in the same spot without the possibility of moving around.
Keep in mind that you can find universal joints in different places, aside from at the end of the car’s drive shaft. An average vehicle can have two to three joints of this kind. Some other places you can find them are:
- Where the drive shaft meets the transmission or transfer case,
- Behind each front wheel (usually with trucks, jeeps, and SUVs),
- At the front, connecting the drive shaft and front differential,
- At the rear axle shafts.
The number of U-joints your car has depends on the mark and the make of your vehicle. However, we will be focusing on the joints at the end of a drive shaft.
How Do These Joints Work?
The drive shaft is a car component responsible for delivering torque (rotating power) from the transmission to the rear differential. Differential afterward transfers this rotating power to the wheels, so the vehicle can start moving. However, the transmission and differential can’t be aligned at all times when the car is moving. U-joints enable shafts to operate at different angles and maintain the connection between the transmission and rear differential even when they are not aligned.
What Causes a U-Joint to Fail?
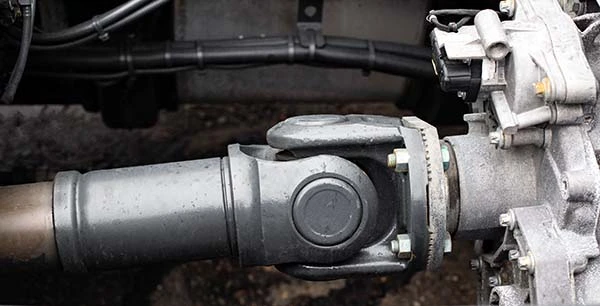
U-joints are cross-shaped parts with four needle-bearing caps on each arm. At the end of each cap, you can find the rubber boot that should prevent debris and dirt from getting into the joint and damaging needle bearings. However, the rubber boot wears off over time, allowing dirt and debris to get into the joints and damage them. Additionally, the grease placed inside these cups washes away or dries, leaving the needle bearings dry. It results in metal friction that can damage the joints – and other car parts.
Signs That U-Joints Need to Be Replaced
For many car manufacturers, U-joints are non-serviceable parts. Luckily, worn-out universal joints can be easily noticed. After all, nobody knows better than you how the car feels and sounds when everything is running as it should – and how when it doesn’t. When the time for joint replacement comes, you’ll be able to sense something is wrong with the car.
Here are some of the most common signs of worn-out U-joints:
Inspect the Vehicle Before Replacing the Universal Joints
Described symptoms, such as weird sounds and vibrations, are not only characteristic of U-joint issues but can also result from an imbalanced steering wheel or bad breaks. That is why, before getting down to business, you must ensure that the problem is, indeed, in universal joints.
In the properly working parts, U-joints shouldn’t be pushed inwards and outwards, rubber boots on the caps mustn’t be damaged, there shouldn’t be any play-in joints, and the driveshaft shouldn’t budge.
Sometimes you need more than just your hands to inspect different angles – you can use a pry bar. If only one of the mentioned elements is off, U-joints are probably in need of replacement.
What Equipment Do You Need to Replace the U-Joints?
Fortunately, you don’t need a professional’s help in order to replace the faulty joint at home. You can do it yourself – all you need is the right U-joint and tools to replace it. Here is what you’re going to need and my recommendations on what brands to get:
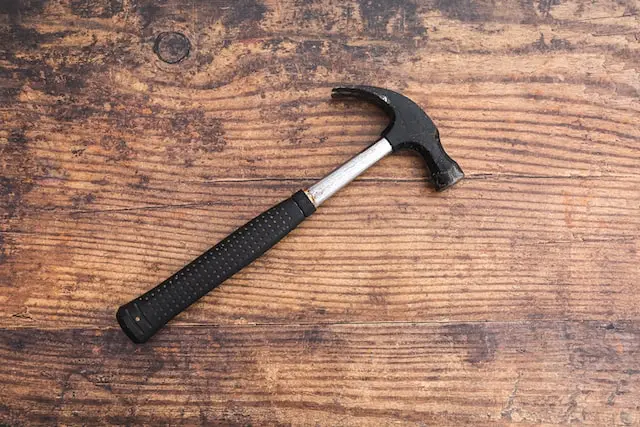
- A hammer – Amazon Basics,
- Vase,
- Jack tool and stands – BESTOOL Jack Stands,
- Ratcheting wrench – Amazon Basics,
- Socket sets – Amazon Basics,
- Grease gun – UTOOL brand,
- Snap ring pliers – M MEEPO brand,
- Pick – AMM brand,
- File – REXBETI brand,
- Scouring pad – SCRUBIT brand,
- Wire brush – Lavaxon brand,
- Safety equipment.
Different Types of Universal Joints
In order to replace U-joints properly, you must first find out what kind of joints you need to buy. First of all, you should consider whether to purchase a greasable joint or not. Greasable joints have a zerk fitting to which you can connect your grease gun – it allows you to oil all four caps. Those with zerk fitting usually last longer, but those without it are much stronger.
If you select a greasable joint, it’s always better to choose one that could be greased on the end cap rather than the middle since it is a lot easier to reach the end cap of a joint once it’s installed.
You should also consider the level of strength. Typically, you’ll be able to choose between OEM and high-strength joints. For regular, daily drivers, OEMs can work fine. High-strength joints, however, will be a better choice for drift cars, off-road vehicles, and the like.

How to Replace U-Joints? The First Step Is Marking Everything Up
Before removing the bolts and taking the drive shaft out, make sure you use a marker to mark the differential to the flange and then the flange to the drive shaft. Repeat the same action at the front of the drive shaft. It will make the installation of the shaft much easier since you’ll be able to balance it precisely the way it was.

Continue With Removing the Drive Shaft
Removing the driveshaft is pretty easy – with the right tool. There are two bolts on each side. When you remove them, the drive shaft will come down.
Match the socket with the bolts used for your car. Once you move it from the initial position, use a ratcheting wrench to loosen the bolt. Sometimes these bolts just won’t loosen up even the slightest. However, the solution for these problems is simple – heat the metal surrounding the bolt for a minute or two. It will expand the metal and, therefore, loosen the grip on the bolt.
Make sure to place the jack stand under the drive shaft before loosening the last bolt, so it doesn’t fall. Note that the yoke will probably be stuck, so you’ll need to use a hammer and tap the yoke to set it free. When you’re finished with the back of a drive shaft, move to the front and repeat the process. Repeat this action in the form of the drive shaft.

Remove the Worn-Out Joint From the Vehicle
The vise will simplify this job, so make sure you have it at hand. However, ensure never to clamp it down on the shaft’s tube – it can dent or bend that way. Instead, clamp down at the end of the drive shaft.
Start with removing the retaining clip with pliers. If some of the clips get stuck, soak them in penetrating fluid and use a flathead screwdriver to break them free.
Spray some penetrating fluid on the joint as well, which should help it get out easier. Use the largest socked you have that fits into the U-joint hole. Place it on the joint’s cap and hit it straight down with the hammer – don’t be afraid to use a bit more force. Once it’s freed, remove the cap and slide the joint out of the flange. Next, clamp the end of a drive shaft and hammer out the next two caps in the same way, to remove the joint from the pole. With it, the universal joint will be completely detached from other parts.
Prepare the Drive Shaft and Flange for the New Joint
There are a few things you need to do after removing the old universal joint and installing the new one, such as:
- Cleaning out the retaining clip channels from dirt and rust – use a pick or a thin screwdriver,
- Smoothing the edge of the board – this is done so new universal joints don’t get damaged once installed. Use a file, but make sure you work only on the edge, not the inside surface.
- Clean the inside of the board – use a scouring pad to smooth this surface.
Attach the New U-Joints
Remove two caps opposite one another to slide the universal joint into the flange. Add the caps, and hammer the cap in place. Stop when caps pass the retaining clip channel. Install the retaining clip and make sure it fits into the channel.
After installing, you must test the universal joint’s movement. It shouldn’t be hard to move – just the opposite. If you sense the resistance, use the hammer to tap on each side of the flange. It should improve the joint’s movement.
Connecting the Drive Shaft With the U-Joint
Line up the marks on the drive shaft with the marks on the flange. Remove the caps and fit the universal joint into the drive shaft. Install the caps and press just like before. In the end, add the retaining clip and repeat the process with the other cap. Make sure the joint can move loosely, using the same test as before. If it’s harder to move it, the same tapping action can be applied.
Once all parts are connected, it’s time to add some grease (if you have that type of joint). Pump the grease until you see it coming out of the cap boots, and then clean them a bit.
In the and, Reinstall the Drive Shaft
Start with the front end. Before reinstalling the shift, ensure both surfaces are clean from the rust – a simple wire brush should do the trick. After you’re finished, match the marked lines, so the shaft can be installed precisely the way it was, and tighten the bolts. After you’re done installing, it’s a good idea to mark the bolts as well. That way, you can see if some of them have loosened. Repeat the process at the end of a shaft – and that is it! It’s time to fasten your seat belt and go for a ride.

How Often Should U-Joints Be Replaced?
The time for replacement of U-joints will depend more on the miles than years passed. Spark plugs, for example, tail lights and many other car parts alongside U-joints, are exposed to wear and tear and must be replaced when worn out. Usually, they function properly up to 100,000 miles. However, they can break sooner or later than that. That’s why it’s important to check them from time to time – use the inspecting steps provided earlier.
Don’t Risk Not Replacing U-Joint When They Wear Out
U-joints are an essential part of your car, and if they aren’t replaced when required, they can lead to severe problems. Not only will your vehicle not be able to move properly, but the damage that worn-out U-joints can cause to other car parts can be expensive to repair. In the end, with faulty U-joints, you risk your safety – if they are in terrible condition, your drive shaft can disconnect in the middle of the ride. That’s why it’s always a good idea to keep an eye on your U-joints and replace them before they get too worn out.


