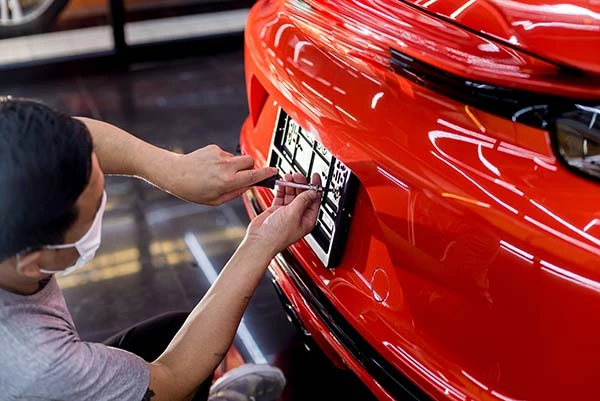
As a driver, you probably realize how important it is that every section of your car is working properly. And while the lighting on the license plate doesn’t affect the ride, it should be functional and visible to law enforcement. Let’s see how to change the license plate bulb on your own.
You can easily replace the lighting on your number tag by removing the cover on the bulbs, and then removing the bulbs themselves. Once you’ve placed the new lights into their bases, screw the covers back on. In the meantime, it’s also important to start the engine and turn the headlights on, so you can check whether the lights have been installed correctly and whether there’s an issue with the wiring. If everything is working properly, place the covers back on, and you’re good to go!
What Is a License Plate Bulb?
The lighting beside your number plates consists of the small bulbs designed as an important part of the vehicle’s lighting system. They make the number tag clearly visible in most weather conditions. If you take a look at them, you will see that it’s a small fixture found at the back of the vehicle. It’s located there to shine a light directly on the tag, and due to the plate’s reflective surface, it makes it highly visible even from a distance. It helps other users of the road see the plates, as well as cameras and the police to identify a vehicle.
Why It’s Important to Know How to Change License Plate Light
Imagine driving at night – a typical ride, where you’re cruising in one of the best cars for women, considering whether it’s worth buying a car with a salvage title. It’s a nice drive around the town, calm and relaxed, with some music on, when you notice the much dreaded blue and red lights flickering in your rearview mirror. What did you do wrong? Your driving anxiety might be going through the roof, although you’ve changed the tail light a few days ago.
You might be surprised to notice that the lighting on the number plate is out. This is bad, because it’s a violation of the law, and thus should be regularly checked. It would be unwise to get a ticket for something you can easily do by yourself.
What Are the Reasons for the Bulbs to Stop Working?
As with any other part of the car, a lighting bulb can go out for several reasons. For instance, just as the tires become worn out and you need to change a flat tire, the same goes for the bulbs – failure from everyday use. The filament in the bulbs is deemed to fail from normal use, but there are also some other reasons, too. They will stop functioning when there’s a sealing issue when the atmospheric seal gets damaged and thus let oxygen enter and break the bulb entirely.
Gather the Proper Materials
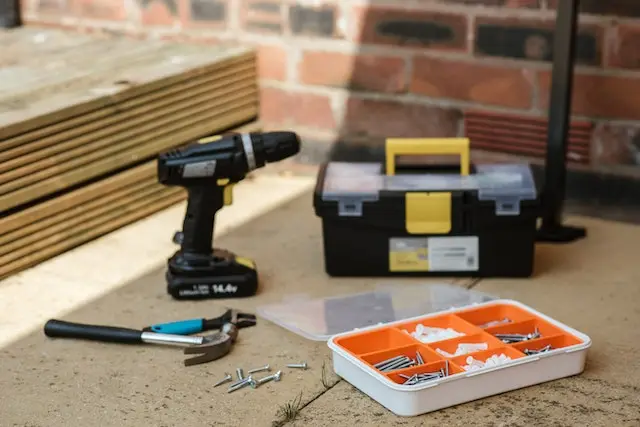
Whatever you want to repair in the car, you will need the proper materials and tools. It’s just like when you want to replace a valve stem – you’ll need a new valve stem, the right tools, and protective gear. It’s the same with the lighting installment, only more simple and easy. So first off, let’s start with the right materials for this task. They include the following:
- A pair of safety gloves (you should keep them in your toolbox at all times),
- A flashlight (if you need to replace them in the evening),
- Safety glasses,
- A screwdriver,
- Replacement bulbs (it’s best to replace halogens with LEDs, and I’ll elaborate it later).
How to Change License Plate Bulb in Easy Steps
Figuring out how to replace a license plate bulb is an issue you can easily overcome. Although your mechanic may do this for you when you take your vehicle in to disconnect the car alarm or perhaps to replace U-joints, you can do it by yourself in no time. Also, if you are planning to change one bulb, plan to do so with the other one, too, as they will usually burn out right after the first.
How to Do a Replacement From the Trunk
If you have the number tag lights that need to be changed from the inside of your trunk, the replacement process will be a little bit different. Here’s what you should do:
- The liner of your trunk is usually kept in place by fasteners that look like bolts or screws. That’s why you should shimmy the end of the screwdriver underneath their heads in order to pry it out.
- Continue removing these fasteners one by one, so you can easily peel back the liner in order to access the lights. Store them in a bag or a bowl so you don’t lose them.
- Locate the bases which hold the lights inside the trunk, and remember they are usually connected to thick black wiring.
- Hold the light bases and turn them counterclockwise until you feel they’ve come loose.
- Pull the bases straight from the ports so you can expose the lights. You can get a better grip by using pliers or a wrench.
- Grab each light bulb gently with your fingers and make sure you pull them straight. Watch out for the tabs that might be holding them in place and hold them down until you release the lights.
- Put on your cotton gloves and securely press new bulbs into each base. The prongs on the tag lights’ bottoms should be aligned with the holes. The tag lights should be pushed until you feel they have clicked firmly.
In the end, turn the engine and headlights on, so you can check whether you’ve installed the new lighting correctly. Once you’ve ensured it’s working, turn the engine off, and place the screws and the liner back in place.

Upgrade to LEDs and Pick the Best Kits on the Market
The best thing you can do when you figure out how to replace a license plate light bulb by yourself is to upgrade the lighting from halogens to LEDs. They are more reliable and longer lasting, and with them, you’ll reduce the risks. Our table below lists the best bulbs on the market currently.
| Light bulb | Characteristics | Pros | Cons |
| Sirius LED Ten Pack of LED Bulbs | Because they come with a T10 standard socket, these omnidirectional LED lights can easily swap out OEM halogen lamps. | It comes as a pack of 10 bulbs, and they are non-polarity-specific. It’s a direct replacement for halogens. | Their light has a bluish tint to it, and it tends to flicker. It’s also not 200% brighter. |
| Rupse Two Pieces License Plate Light Kit | These directional lights are sold in pairs, each with wiring that you attach to the circuit of your car. The bulbs are sturdy because of the protective housing. | This kit is really easy to install, has low consumption, and is rated IP67. | The wiring is prone to breaking when the temperatures drop, and the wires are on the thin side. They could also be a bit brighter. |
| Yorkim Four Pack of Super Bright LED Bulbs | This set of four festoon-style bulbs includes a CANbus decoder for trouble-free operation. Their non-polarity design makes installation simple. | The installation is easy – plug and play. It has an aluminum housing to allow heat dissipation. The CANbus drive is built in. | These light bulbs could cause an error message, they are long which can be inconvenient, and they provide directional light. |
The Bulb Replacement Is Easy as Pie
Your number plate bulb can be changed with just a little free time and some basic knowledge. But if you’d rather avoid getting your hands dirty, you can always call your qualified mechanic instead and leave this task to a professional. However, if you prefer to do it by yourself, keep some things in mind. White tag lights are required in the majority of states and countries because they don’t cause distractions and make it simple to view your license plate. And it’s also good to have a spare lighting kit in your car, just in case.


