Hitting the open road should always feel like a dream. But if you’re bouncing around more than usual, it might be time to replace shocks and struts. Ensuring these components are in tip-top shape is crucial for a smooth ride and your vehicle’s overall health. So, let’s explore how to replace these vital parts and get your ride cruising down the road once again.
After lifting the vehicle, the old shocks are loosened and removed. New shocks are then installed by reversing the removal process. As for the strut assembly, removal requires spring compressors, but the rest of the process is more or less the same. Post-replacement, a professional wheel alignment, and then a test drive are advised to ensure everything functions correctly.
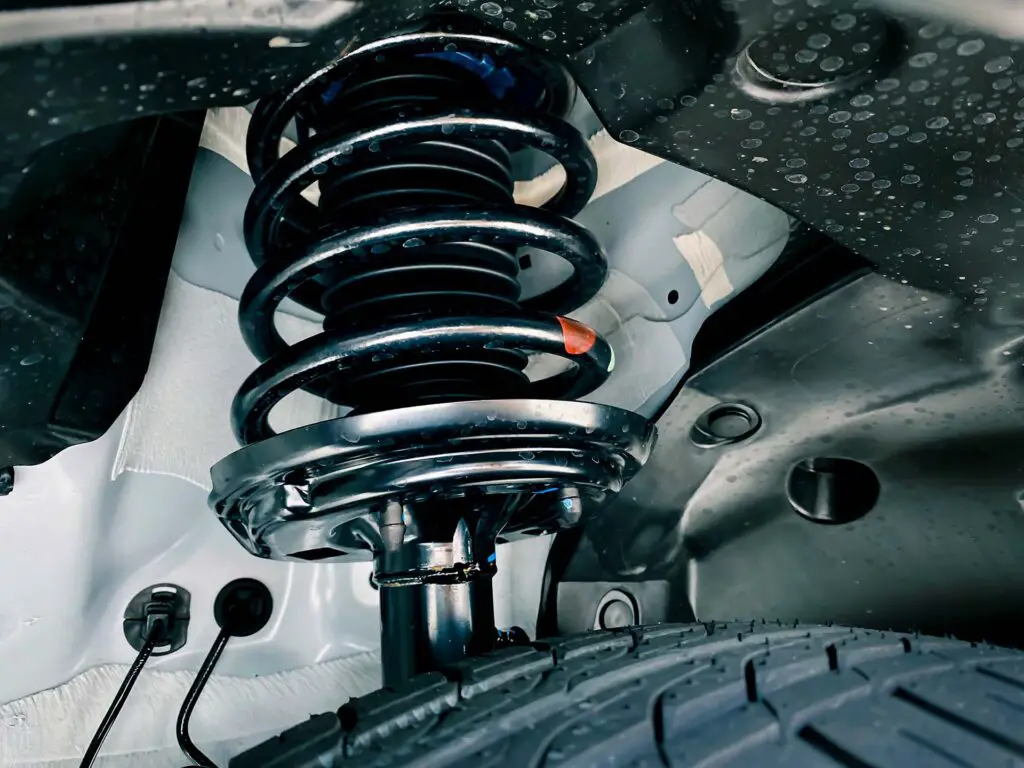
What Are Shocks and Struts?
Shocks and struts are integral components of a modern vehicle’s suspension system, playing a pivotal role in absorbing road shocks and ensuring wheel alignment. While they often get lumped together, they aren’t quite the same.
Shocks, or shock absorbers, solely manage the impact and rebound movement of springs and suspension. On the other hand, struts are a structural part of the suspension system, often integrating coil springs, shock absorbers, and a steering knuckle in one assembly.
How They Contribute to Vehicle Stability, Safety, and Ride Comfort
Both of these components are vital for delivering a safe and comfortable ride. They maintain tire contact with the road, enhancing vehicle stability, particularly during turns or when negotiating bumpy terrains. This consistent contact ensures better braking performance and prevents premature tire wear.
Moreover, by absorbing road bumps and potholes, they provide a smoother ride, enhancing comfort for all occupants. When these components wear out or fail, not only does ride quality diminish, but the safety of the vehicle can also be compromised.
Signs It’s Time to Replace Shocks and Struts
Your precious ride has a way of communicating with you, especially when it comes to wear and tear. Recognizing these signs can help you understand when to replace shocks and struts. Therefore, ensure that your four-wheeler remains safe, efficient, and comfortable. Here are the most common symptoms:
Unusual Noises Over Bumps
If you start hearing strange sounds, like knocking or rattling, especially when off-road driving or going over uneven surfaces, it’s a clear indication something’s amiss. More often than not, these noises signify worn-out components in the suspension system that need your attention.
Excessive Bouncing or Swaying During Driving
A stable ride is what you expect from a well-maintained vehicle. However, if you notice your car oscillating more than usual after going over a bump or having difficulty stabilizing during wind gusts, it might be a sign that the shock absorbers are failing to do their job.
Uneven Tire Wear
Your tires should wear down evenly. No matter if you spend most of your time navigating traffic in one of the cities with the worst drivers or cruising down the famous routes in the US. If you notice irregular patterns or patches where the rubber has worn down faster in some areas than others, this can often point toward an underlying suspension issue.
Vehicle Leaning or Dipping During Braking or Turning
A well-balanced vehicle shouldn’t lean excessively when making a turn or dip forward dramatically when braking. If you observe any of these behaviors, it’s an indication that some components aren’t providing the stability they should.
Visible Damage or Oil Leakage From the Shock or Strut Body
A visual inspection can sometimes reveal issues directly. If you see any physical damage or spot any fluid leaking from the suspension parts, it’s likely they’re no longer functioning optimally and need replacement or repair.
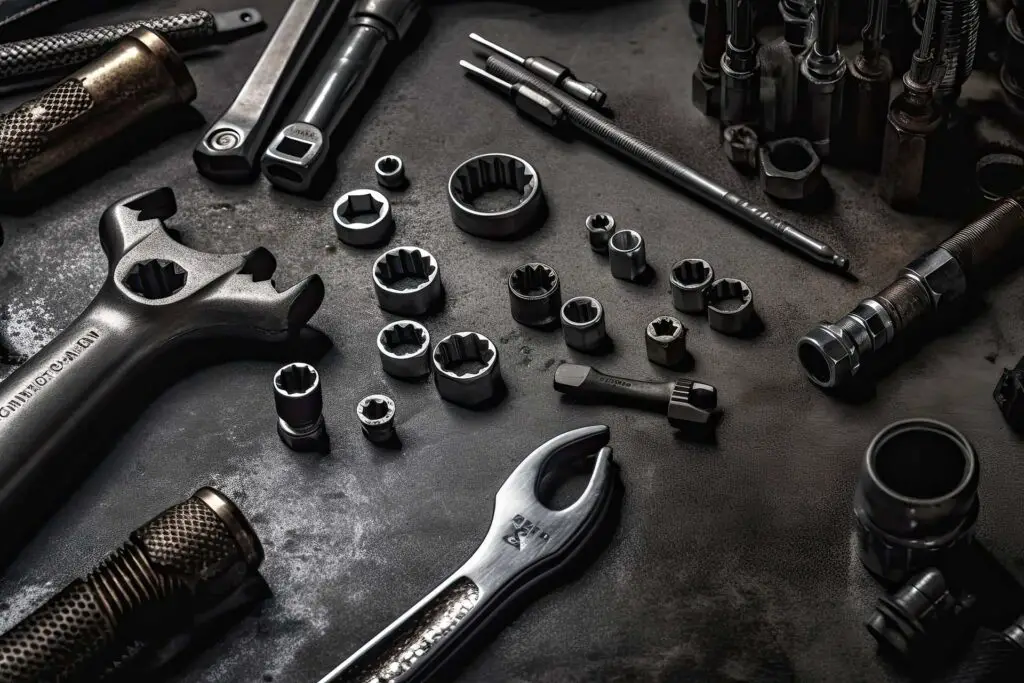
Tools and Materials Needed
Experienced any of the aforementioned symptoms? Well, it might be time to roll up your sleeves and tackle the issue. But before you go ahead with the task at hand, there are a couple of essential tools you will need:
| Equipment | Purpose |
| Jack and jack stands | To elevate and securely hold the vehicle while working |
| Wrench set | To remove and tighten bolts and nuts |
| Spring compressors | To safely compress the coil spring when replacing struts |
| Replacement parts | To replace the worn-out or damaged components |
Always Get Parts That Are Specific to the Make and Model of Your Vehicle
There’s one important aspect to underline. Vehicles are designed with precise specifications, and using parts that are tailored to your model guarantees optimal performance and safety. All in all, always invest in components that are a perfect match for your four-wheeler – it’s the key to smooth and safe drives ahead.
Also, make sure you’re equipped with protective eyewear, gloves, and appropriate footwear. Not only do these items protect you from immediate harm, but they also provide a more comfortable working environment, allowing you to focus solely on the task at hand.
Safety Precautions Before Beginning
While we’re still on the topic of safety, there are a few guidelines you should consider to ensure a secure and injury-free work session. Begin by choosing a well-lit, stable environment. Good lighting can make a significant difference, helping you see details and avoid missteps.
Additionally, once you’ve jacked up your vehicle, double-check to ensure it’s securely positioned on the jack stands. It goes without saying, but a car that’s improperly supported can be a significant hazard.

How to Replace Shocks and Struts – Steps You Need to Take
You might be wondering – how much does it cost to replace shocks and struts? Shouldn’t I simply take my car to the shop? Well, sure, it’s always an option, but be prepared for anywhere between $500 and $1,000 to leave your pocket.
Admittedly, the components themselves carry a hefty price tag. Yet, that’s all the more reason to consider diving into this DIY project. By rolling up your sleeves and getting a bit greasy, you can save a significant chunk of money that would otherwise go to labor costs. So, let’s look at how you can DIY this task.
Step 1 – Lifting the Vehicle
Before diving into the intricacies of the replacement process, you must ensure the vehicle is elevated appropriately. Here’s how to do it:
- Start by positioning your vehicle on a flat, stable surface, ideally concrete,
- Before jacking up the car, engage the parking brake,
- If you have them, place wheel chocks behind the wheels that won’t be lifted,
- Consult the owner’s manual for the jacking points of your vehicle,
- Position the jack at these points,
- Lift the car and raise it high enough to give yourself a comfortable working space underneath,
- Carefully position the jack stands under the vehicle’s secure points,
- Lower the vehicle slowly onto the stands, ensuring they bear the weight evenly.
Step 2 – Removing Old Shocks
Once your vehicle is securely lifted, it’s time to tackle those worn-out shock absorbers. Begin by identifying the mounting bolts at the top and bottom of the shock. Using the appropriate-sized wrench from your set, gently loosen these bolts.
Be prepared – depending on your vehicle’s age and exposure to elements, these bolts might be rusted or tight. If you’re having trouble, maybe a lubricant such as the Liquid Wrench Penetrating Oil can lend a helping hand. With the mounting bolts fully loosened, you can now carefully extract the old shock absorber from its position. Make sure to handle it with care, ensuring you don’t strain or damage any nearby components during removal.
Step 3 – Installing New Shocks
Installing the new shock absorbers is essentially the reverse of the removal process. Start by positioning the new component in place of the old one, making sure it aligns properly with the mounting holes. Once in place, begin to hand-thread the mounting bolts to keep the shock positioned correctly.
After that, grab your wrench and carefully tighten each bolt, making certain not to over-tighten. It’s crucial to torque these bolts to the manufacturer’s recommended settings – a torque wrench can be handy here to get precise tightening.
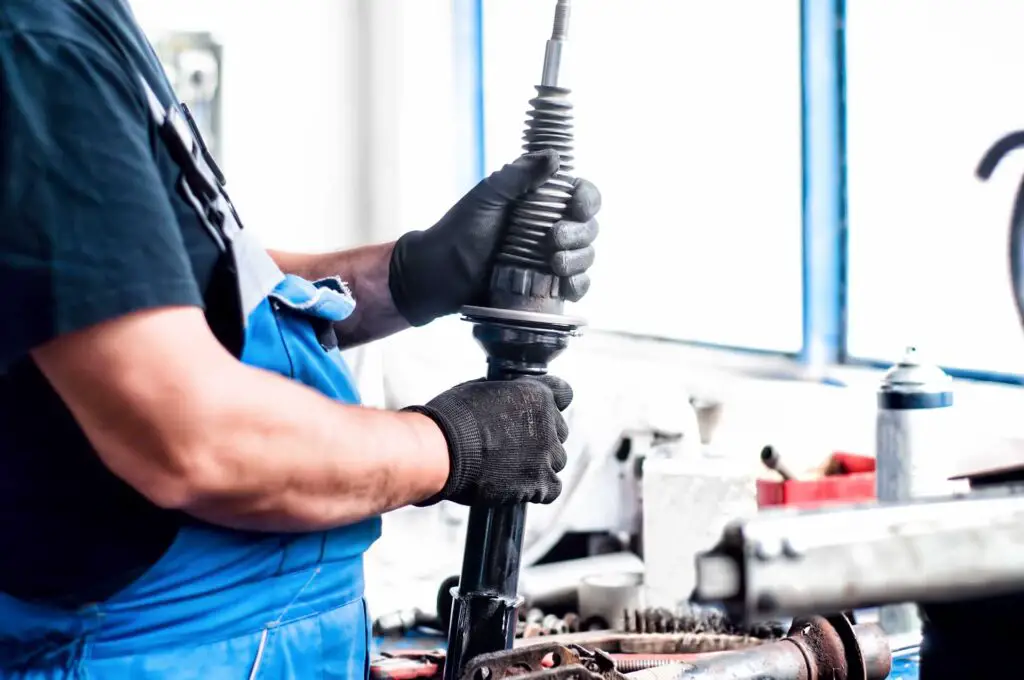
Step 4 – Removing the Strut Assembly
When it comes to replacing the strut assembly, this task is also done with the vehicle in an elevated position. The removal process is slightly more complicated due to the spring’s tension. Here are the steps:
- Position the compressors opposite each other on the spring,
- Gradually and evenly tighten each compressor,
- With the compressors securely in place, you can then focus on removing the mounting bolts.
Loosening each bolt is done in the same way as with the shock absorber. Remember, some might be rusted or particularly tight due to wear and tear, so patience is essential. Once all of them are removed, gently extract the strut assembly from its position, all while making sure that the spring’s tension doesn’t release abruptly.
Step 5 – Installing New Struts
If you’ve done the previous step correctly, transitioning to the new setup is a seamless process. Simply align it in the correct position and secure it with the provided bolts. If you’re reusing the old spring, take the utmost care to safely decompress it and mount it onto your new strut. Either way, it’s all about creating a proper alignment and tightening each bolt to the required torque.
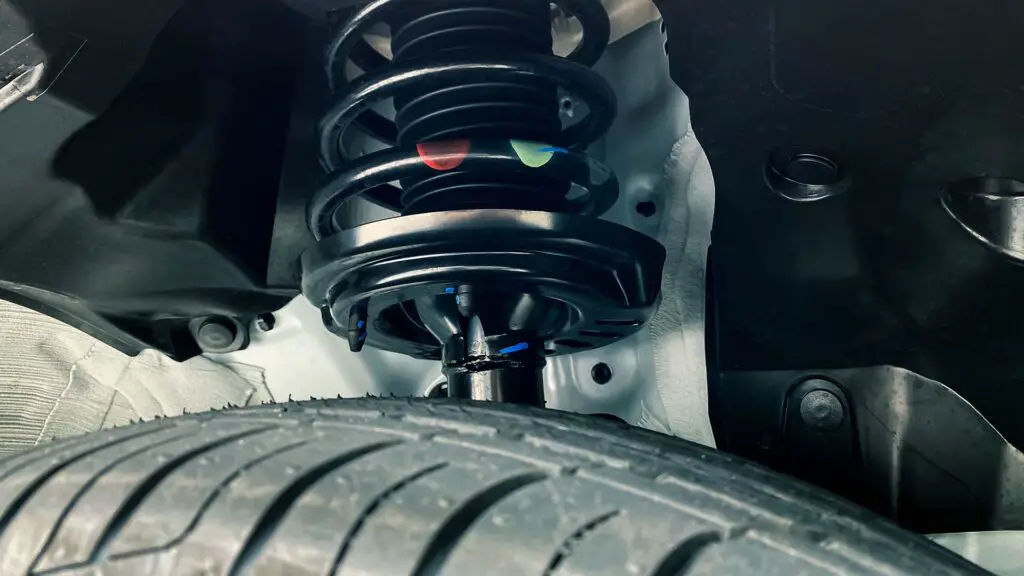
Post-Replacement Checks
One of the most essential steps in post-replacement is getting a professional wheel alignment. Even with the most meticulous DIY hands, the process can inadvertently throw your vehicle’s alignment off-kilter.
After that alignment, it’s a wise idea to take your vehicle out for a short spin. This test drive is crucial, as it lets you feel that everything is working harmoniously. Any unusual noises, vibrations, or behaviors should be noted and addressed immediately. It’s always better to catch potential issues before they become bigger problems on longer journeys.

Maintenance and Longevity
Achieving a smooth drive doesn’t stop at just replacing parts – it’s all about consistent maintenance. Regularly inspecting your shocks and struts for signs of wear or damage is a proactive approach to avoid sudden surprises down the road.
Typically, these parts wear out every 50,000 to 100,000 miles. However, it’s important to keep in mind that your driving habits play a pivotal role in their longevity. Aggressive driving, frequent off-roading, or constantly traversing potholed roads can shorten their life. Conversely, a smoother driving style and being mindful of road conditions can extend their durability.

Final Thoughts for the Road
When all’s said and done, your vehicle’s suspension system plays a pivotal role in ensuring a comfortable and safe driving experience. Now that you know all the tips and tricks, you can finally give your precious four-wheeler the smooth ride it deserves. Just remember, while DIY has its merits, always prioritize safety and know when to seek professional advice. Happy driving!
FAQ
How Often Should I Replace Shocks and Struts?
Typically, shocks and struts should be checked every 50,000 miles, but their lifespan can vary based on driving conditions and habits. It’s always best to stay attentive to signs of wear and get regular inspections.
Can I Replace Just One Shock or Strut at a Time?
It’s generally recommended to replace shocks and struts in pairs (either both fronts or both rears) to ensure balanced handling and performance. Replacing just one can lead to uneven wear and a less stable ride.
Is There a Difference Between Shocks and Struts in Terms of Maintenance?
Both shocks and struts serve similar functions, but struts are a structural part of the suspension system, often making them more complex to service. Regardless, regular inspections and understanding their typical lifespan are essential for both components.


