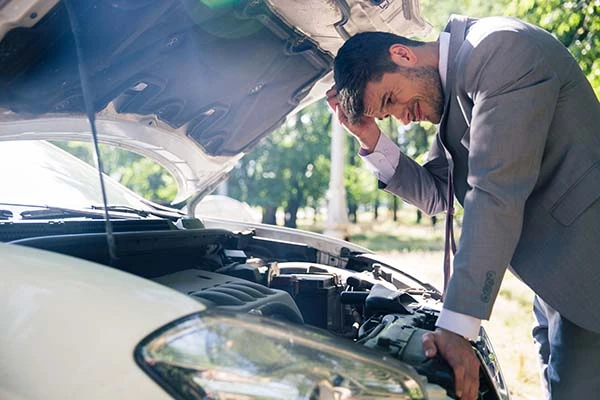
The parking brake is an essential safety feature, so you must keep it in good working condition. Adjusting it is a relatively simple task that anyone can do with just a few tools. By following my steps, you can learn how to adjust a parking brake and ensure it’s there when you need it most.
How to Identify the Parking Brake and Cable
Whether you’re performing emergency brake adjustments on your vehicle, adding brake fluid, or conducting repairs and general maintenance, knowing how to identify the parking brake and its corresponding cable is important.
First, it’s helpful to understand where these components are located. On most vehicles, the emergency brake is on the driver-side floorboard and is usually a lever or pedal with a short handle and/or button. Pulling or pushing this lever into the emergency stop position activates both emergency brakes simultaneously to prevent your car from rolling if parked on an incline.
On drum brakes, the emergency brake cable extends from the emergency brake handle to one of the rear wheels. On disc brakes, there is usually a separate emergency brake caliper that straddles each disc rotor attached to either side of the rear axle housing by mounting bolts.
The emergency brake cable runs down through the emergency brake levers into a flexible housing that wraps around and under the emergency brake cross shafts. From there, it runs outwards in front of both emergency brakes to attach calipers above each wheel.
Being aware of your emergency brake’s location and understanding how it operates can be valuable information for knowing when components need to be serviced or replaced—as well as helping you avoid potential safety risks for yourself and other drivers. It’s almost as important as being able to tell if your spark plugs are bad.
How to Adjust the Parking Brake
The parking brake, also sometimes called an emergency brake or e-brake is a vital safety feature in your vehicle. It helps to keep your car from rolling when it’s parked on an incline and can be engaged even if the regular brakes fail.
Because the parking brake is so important, it’s vital to keep it in good working order. That means adjusting its corresponding cable when necessary. Here’s a step-by-step guide on how to adjust the emergency brake:
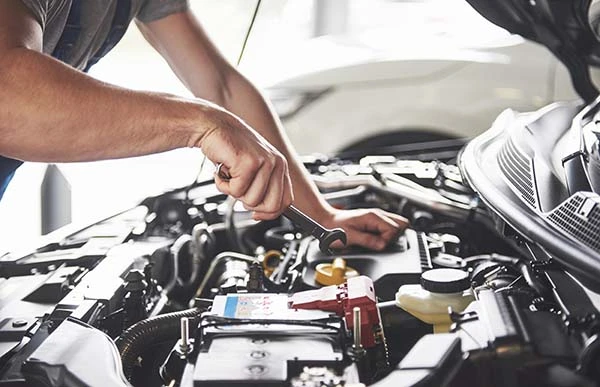
- Lift your car’s hood and locate the parking brake cable. The cable will run from the handle (in the cabin) to a point near the wheels,
- Once you’ve found the cable, follow it to where it connects to the lever near the wheels. There will likely be a tension adjustment nut located here,
- To adjust the tension, turn the adjustment nut clockwise to tighten it or counterclockwise to loosen it,
- Once you’ve made adjustments, test the parking brake by engaging it and trying to move the car forward or back. If it’s not holding firmly, readjust as necessary until you find the perfect tension,
- When you’re satisfied with how well the parking brake is working, close the hood and enjoy peace of mind knowing that your brake is working and that you can drive at night and by day safely.
How to Adjust the Cable
Now it’s time to learn how to adjust the parking brake cable on your car. This is a relatively simple task that anyone can do at home with the right tools. You’ll need:
- A socket wrench set
- A flat-head screwdriver
- A ratchet and an extension
- New brake shoes (optional)
- Brake grease (optional)
Firstly, gather the tools listed above. You may not need all of them, depending on the condition of your current brake shoes. If they’re in good condition, then you won’t need new brakes or brake grease.
Next, jack up your car, like when changing a flat tire, and remove the wheel. Once the wheel is off, you should be able to see the parking brake assembly. It will be located near the rear brakes.
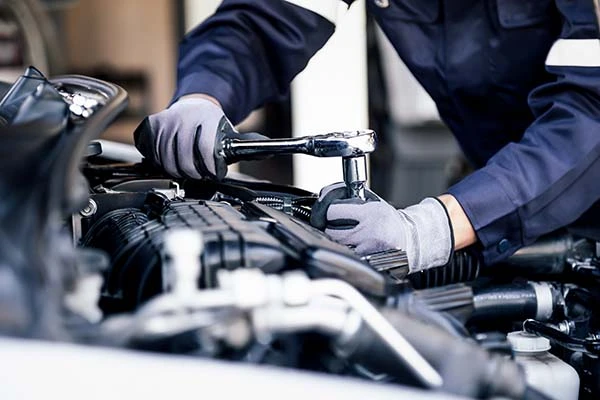
Use the socket wrench set to loosen the adjusting nut and locknut that are holding the cable in place. Once those are loose, pull the old cable out and thread in the new one. Be sure to leave some slack in the cable so that it doesn’t get too tight when putting everything back together.
After the new cable is in place, tighten down the adjusting nut and locknut. Make sure they’re tight enough that they won’t come loose but not too tight that they’re difficult to remove later on.
Now you can put the wheel back on and lower the car off of the jack. Test the parking brake to ensure it’s working properly before you drive off. That’s it – easier than replacing the U-joint.
Tips and Tricks for a Successful Parking Brake Adjustment
The parking brake can become less effective over time as the cable stretches or the brake shoes wear down. Adjusting the parking brake is a simple process (like changing a tail light) that can be done at home with just a few tools. With some tips and tricks, it’ll work like new again.
Identify Whether Your Car Has a Rear Disc Brake or a Drum Brake
This information can be found in your car’s owner’s manual. If you don’t have the manual readily available, you can also look for an identification plate or sticker on the brake itself. Once you have determined which type of brake you have, you can proceed with the appropriate instructions – how to adjust the emergency brake on disc brakes or drum brakes.
If your car has a rear disc brake, begin by loosening the locknut on the corresponding cable. Next, use a hex key to loosen the adjusting screw in the middle of the cable housing. Pull the excess cable through the housing until there is no slack. Finally, retighten both the locknut and adjusting screw. Be sure not to overtighten, either.
If there’s a drum brake, start by removing the dust cap on the adjusting nut at the top of the backing plate. Once the cap’s been removed, use a wrench to turn the adjusting nut clockwise until there is no slack in the cable. Finally, replace the dust cap and give the parking brake a few firm test pumps before releasing it completely.
Check Whether the Cables Are Connected to the Rear or Front Brakes
Depending on your vehicle, the parking brake cables may be connected to either the rear brakes or the front brakes (or both). The location of the connection will depend on the make and model of your vehicle, as well as its design.
For example, some four-wheel drive vehicles have front and rear brakes connected by two sets of cables (one set for each axle). Other vehicles may have only one set of cables that connects both front and rear brakes.
Locate the Emergency Brake Adjustment Mechanism
Some vehicles have an access panel under the steering wheel, allowing access to the adjustment mechanism without removing anything from under the hood or inside the vehicle cabin. However, most cars will require removing a wheel (not the steering wheel, though) to access the adjustment mechanism.
FAQs About Adjusting the Parking Brake and Cable on Your Vehicle
You may need to adjust your parking brake and cable in case your vehicle is not stopping as quickly as it should or if the brake is engaging too easily. Here are some frequently asked questions about adjusting the parking brake and cable on your vehicle.
What Are the Benefits of Adjusting These Components?
There are a few reasons why you might need to adjust your parking brake and cable. Most often, it’s because the parking brake pads have worn down and need to be replaced. You may also need to adjust the parking brake if it’s not holding the car in place when engaged.
Are There Any Risks Associated With It?
When adjusting your parking brake, you’re essentially changing the tension on the cables that connect it to the wheels. If not done correctly, this can lead to problems such as premature wear on the cables or uneven braking. Additionally, if the parking brake isn’t adjusted properly, it may not hold the vehicle in place on a steep incline, which could lead to an accident.
How Can I Tell If There’s Something Wrong With My Parking Brake System?
The parking brake system can get damaged even on off-road cars and even if they’re good cars for women. Each vehicle needs maintenance every once in a while.
There are several ways to tell your parking brake system is off. They include:
- The “check engine” light is on – this is one of the most common signs that something is wrong with your car. If this light comes on, it could mean that there’s a problem with your parking brake system. You should take your car to a mechanic to have it checked out as soon as possible,
- You hear grinding or popping when you use the parking brake – if you hear strange noises coming from the brakes, it’s time to get them checked out. These noises could be an indication that the brake pads are wearing out and need to be replaced,
- Your car pulls to one side when you use the parking brake – if you notice your car starting to pull to one side when engaging the brake, it could be an indication of a problem with the cables that connect it to the wheels. These cables could be stretched or frayed and will need to be replaced if they are the cause of the problem.
Should I See a Mechanic Instead?
Taking your car to a mechanic has pros and cons. On the plus side, mechanics are experienced with working on cars, so they’ll be able to adjust your parking brake and cable quickly and efficiently. Additionally, if something does go wrong after the adjustment, you can take your car back to the mechanic and they will fix it for free (most mechanics offer some kind of warranty).
However, there are also some disadvantages to taking your car to a mechanic. The biggest is cost; mechanics usually charge more than doing it yourself. Additionally, some mechanics might try to upsell you on other services, like checking the car thermostat, that your car doesn’t need.
Learn How to Adjust the Parking Brake Cable Quickly and Easily
If you notice your parking brake doesn’t work as well as it should, it is probably time to adjust the corresponding cable. This is a relatively easy fix that you can do yourself with some simple tools.
Follow my instructions, and you’ll adjust the parking brake and its corresponding cable in no time. If you run into any difficulties or are unsure about something, contact a mechanic, at least for a consultation, before taking the vehicle to them. Use our advice to adjust the parking brake and cable, and rest assured, knowing that your car will park safely once again.


