Sometimes, a change from beneath can make all the difference up top. If you’re planning to spruce up the interior of your prized ride, learning how to install a new carpet in the car can be a great way to do just that. Giving it a new lease of life might be simpler than imagined. So, let’s take it step by step and ensure your road companion feels plush and fresh again.
Installing new flooring in your vehicle involves, first and foremost, selecting the right flooring based on durability, thickness, and preference. After removing the old flooring, measure and dry-fit the new one, ensuring minimal waste. Apply adhesive evenly and secure the mat firmly, all while avoiding bubbles. Post-installation, allow the adhesive to set, maintain cleanliness, and take measures to protect this new fit.
Why Should You Install New Carpet in a Car?
You might think switching up the floor covering is just about looks, but there’s so much more to it! While giving your ride a fresh feel is a perk, there are other reasons you’d want to roll out some new threads:
- A cushier step underfoot can make long drives more enjoyable,
- You can enjoy enhanced sound dampening,
- The interior air quality is improved once you remove the dusty layers,
- A well-maintained interior can add to the vehicle’s resale value,
- Fresh lining often offers better resistance to those accidental spills.
Step 1 – Prepare for the Installation and Gather Everything You Need
You’re probably wondering – how much does it cost to install a new carpet in your car professionally? Well, this job can easily add up to a few hundred dollars, so why not skip out on labor costs and turn the whole ordeal into a fun DIY day in the garage? You can even add some interior lights as part of this hands-on project to completely revamp your precious ride!
Here are the tools and materials you need to gather before embarking on this task:
| Utility Knife | For precise cutting of the floormat |
| Scissors | For trimming the excess parts |
| Socket wrench | For removing the seats |
| Adhesive | To bond the mat to the floor |
| Glue Gun | For quick fixes and securing edges |
| Measuring Tape | To get the right dimensions |
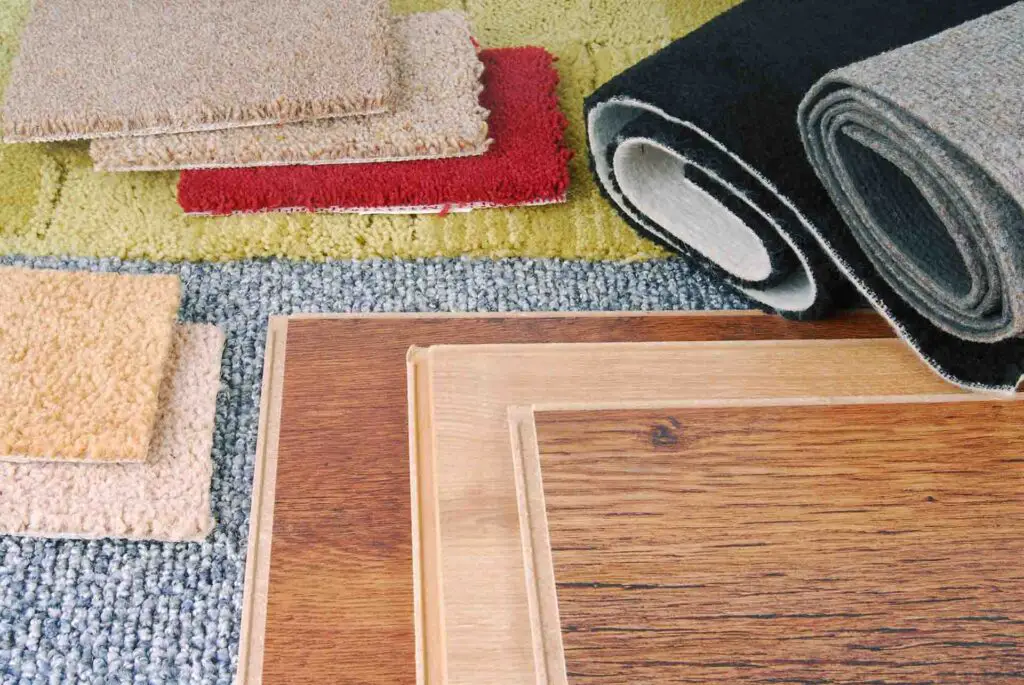
Considerations for Choosing the Right Carpet – It’s Not Just About Color Matching
While Gorilla Glue or the Lucomb Super Glue are good enough choices for creating a formidable bond, when it comes to the flooring itself, the sky’s the limit. Yes, there’s the all-important color-matching, ensuring the new addition complements your ride’s interior. However, a few critical factors should guide your choice:
- Material – polypropylene is known for its durability and resistance to stains, while nylon offers a plush feel and resilience,
- Thickness – thicker carpets can provide added comfort but may be harder to install,
- Environmental factors – consider your local climate, as some materials fare better in certain conditions.
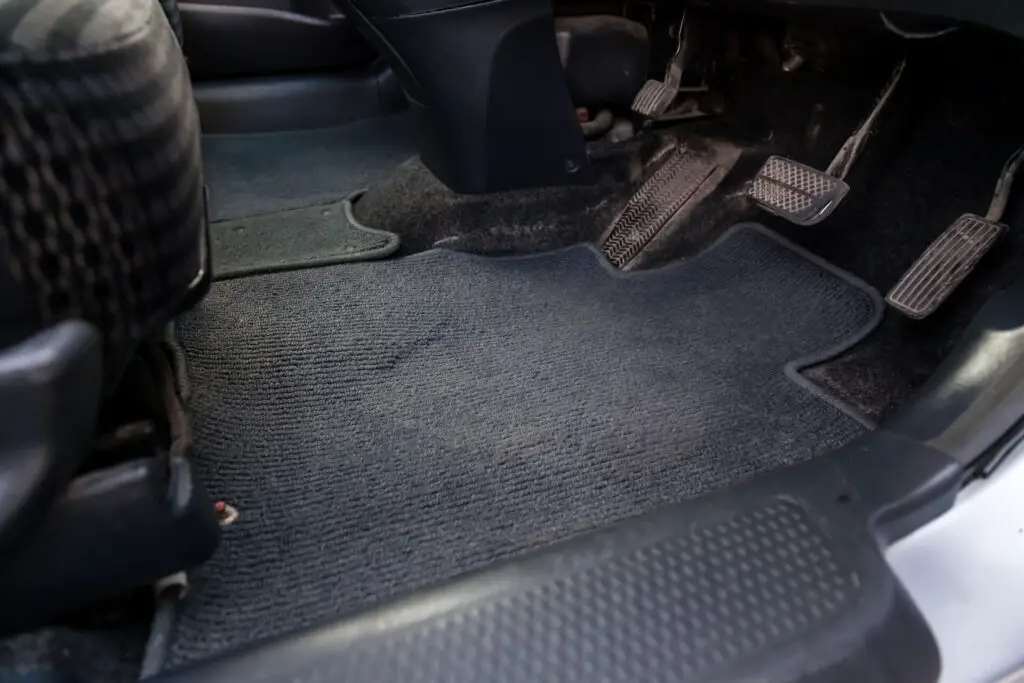
Step 2 – How to Remove the Old Carpet From Your Car
Peeling away the old flooring might seem complicated, but it’s all about having the right approach. Removing aged mats requires patience and a touch of precision to ensure no damage comes to the interior during the process.
Here are the steps you need to take:
- Begin by clearing out any personal items and debris,
- Use a socket wrench to unfasten the bolts and remove the seats,
- Start from a corner and gently pry the edges using a utility knife or your hands,
- For larger vehicles, such as those off-road driving beasts or family SUVs, it might be easier to cut the flooring into sections,
- Continue to gently pull up the flooring, ensuring no damage to any underlying wires or structures.
Make Sure to Dispose It Properly and Recycle if Possible
Out with the old doesn’t mean tossing it carelessly. This rings true not only for battery disposal – many old floorings contain materials that can be recycled or repurposed. Therefore, take them to a recycling center that accepts such materials.

Step 3 – Measuring and Pre-Fitting the Carpet
What is the mantra for any successful DIY project? Measure twice and cut once. Ensuring an accurate measurement of your vehicle’s interior can make the difference between a snug fit and a frustrating redo.
After meticulously jotting down the dimensions, it’s wise to dry-fit the floormat. Lay out the new flooring and smooth it out, taking note of areas that might need trimming or further adjustment. You can use chalk or a non-permanent marker to indicate where you should take off the excess.
Make Sure You’re Left With Minimal Waste During the Process
As you embark on this carpeting journey, aim to cut precisely and strategically. Not only will this minimize waste, but it also ensures you get the most out of the purchased materials. Remember, those extra pieces left over might come in handy for minor touch-ups or other DIY projects down the line.
Step 4 – Applying the Adhesive and Securing the Carpet
Finally, we’ve got to the real deal – pimping out your prized ride with a new look. A smooth, secure fit is all about the adhesive application. Here’s a step-by-step guide to make sure the new addition stays flat and firm:
- Clean the floor thoroughly – before starting, ensure the floor is clean and free from dust, old adhesive residues, and any moisture,
- Apply the adhesive evenly – following the manufacturer’s instructions, spread the adhesive evenly across the exposed floor, ensuring no spots are missed,
- Lay the flooring down – gently lay the new flooring onto the freshly applied adhesive, starting from the center and working your way out to the edges,
- Roll the carpet – use a clean paint roller to press the flooring into the adhesive, achieving a strong bond and removing any trapped air,
- Apply pressure – place some weight, like books or flat boards, over the new flooring to ensure it bonds well with the adhesive as it dries.
Step 5 – It’s All About Post-Installation Care
After successfully laying down the new flooring, the work doesn’t stop there. Ensuring its longevity and maintaining its fresh appearance comes down to post-installation care. Here are the most important aspects you should think about:
Allowing Time for Adhesive to Set
The adhesive used during installation needs adequate time to set and cure. While it may seem dry to the touch within a few hours, it’s crucial to allow a full 24-48 hours (based on the manufacturer’s recommendations) for complete curing. During this time, avoid subjecting it to extensive foot traffic.
Cleaning and Maintenance
Regular vacuuming is essential to keep dirt particles from embedding deep into the fibers. For stains, opt for gentle automotive cleaners – my favorite is the Chemical Guys Cleaning Kit. Remember, avoiding excessive moisture is crucial, so always ensure the flooring dries thoroughly after any wet cleaning. This will prevent mold growth and unpleasant odors.
Protecting Your New Carpet
To maintain the carpet’s pristine appearance, consider using protective mats, especially in high-traffic areas like the driver’s side. These mats can be removed and cleaned easily, safeguarding the underlying carpet.
Additionally, minimizing exposure to direct sunlight can prevent premature fading. If parked outdoors frequently, using a shade or cover can be beneficial. Moreover, addressing spills immediately can prevent permanent stains, keeping the flooring looking fresh and new for years.
Here Are a Few High-Quality Recommendations You Should Check Out
Individual preferences should always take precedence when making these kinds of choices – after all, you’ll be the one cruising down the famous US routes in your revamped ride. However, it’s worth noting that many fantastic options are available in today’s market. Here are some of my personal favorites:
- The Halero Underfelt Carpet – made from polypropylene, this flooring has a wide range of uses and boasts a high resistance to all kinds of accidental spills,
- The Bbox Black Carpet – made from non-woven fabric, this plush carpet is very comfortable and built to last,
- The Uxcell Acoustic Absorption Foam – if you prefer to get something with excellent insulating properties, you should definitely have this flooring on your radar.

Wrapping up Your DIY Journey Successfully
In conclusion, swapping out your vehicle’s flooring can be a rewarding endeavor, not just aesthetically but also financially. While it might seem complicated at first, with the right tools, materials, and a bit of patience, you’ll have a fresh, comfortable interior in no time. So here’s to successful DIY projects and the sense of accomplishment they bring!
FAQ
Can I Use Any Flooring Material for My Car?
While technically possible, it’s recommended to use automotive-grade flooring. This type is designed for durability and resistance to elements. It’s also great because it conforms to the unique shapes within vehicle interiors.
Is It Essential to Use Adhesive When Laying Down the Carpet?
Yes, using adhesive ensures the flooring sticks properly to the car’s floor, preventing slips, trips, or movement, especially during driving. It helps in achieving a professional, snug fit.
How Often Should I Replace the Flooring in My Car?
Quality automotive flooring can last many years. However, if it starts to wear out, smell, or get damaged due to spills or other incidents, it’s time to consider a replacement.
Can I Replace Just a Section of the Carpet if It’s Damaged?
It’s possible to replace sections, especially if the damage is localized. However, matching the new section’s color and texture to the existing flooring might be challenging. In many cases, a full replacement yields the best results.
What Should I Do if the Carpet Starts to Rise or Bubble After Installation?
Bubbling can occur if the adhesive isn’t applied evenly or hasn’t set properly. It’s crucial to address these bubbles quickly. You can carefully lift the affected area, apply additional adhesive, and smooth the flooring back down, ensuring a tight fit.


