Do you ever leave your car dormant in the driveway or garage for a few days, only to come back and find that it won’t start? This common phenomenon can be frustrating, leaving owners searching for answers. When you know how to test for parasitic draw, you have an easy way to check if there is anything wrong with your vehicle’s battery or electrical system. Let’s walk through how exactly you can do this yourself with just a few simple tools.
What Is a Parasitic Draw?
A parasitic draw refers to the common phenomenon where an electrical device or component in an automobile keeps on drawing power from the car’s battery even when the engine is turned off. It typically occurs due to faulty equipment, such as a malfunctioning relay, a short circuit, or a defective component.
Why Do You Need to Test It?
This continuous power drain can eventually deplete the vehicle’s battery, leading to starting issues or a complete battery drain. So, learning how to test for a parasitic draw on a car battery can be a great way to diagnose the vehicle’s electrical system and pinpoint the source of the excessive power consumption. Additionally, you can measure the amount of current being drawn from the battery when the vehicle is idle.
Without this testing process, it would be difficult to determine the source of the power drain, leading to continued battery depletion and potentially further issues with the vehicle. Once the source is identified, appropriate measures can be taken to rectify the issue, such as repairing or replacing faulty equipment, fixing wiring problems, or addressing any short circuits.
Start by Gathering Tools
Before you go ahead with the testing, it’s crucial to make sure that you have the right tools for the job. Here are the essential tools for diagnosing and troubleshooting:
| Equipment | Description | Approximate Price |
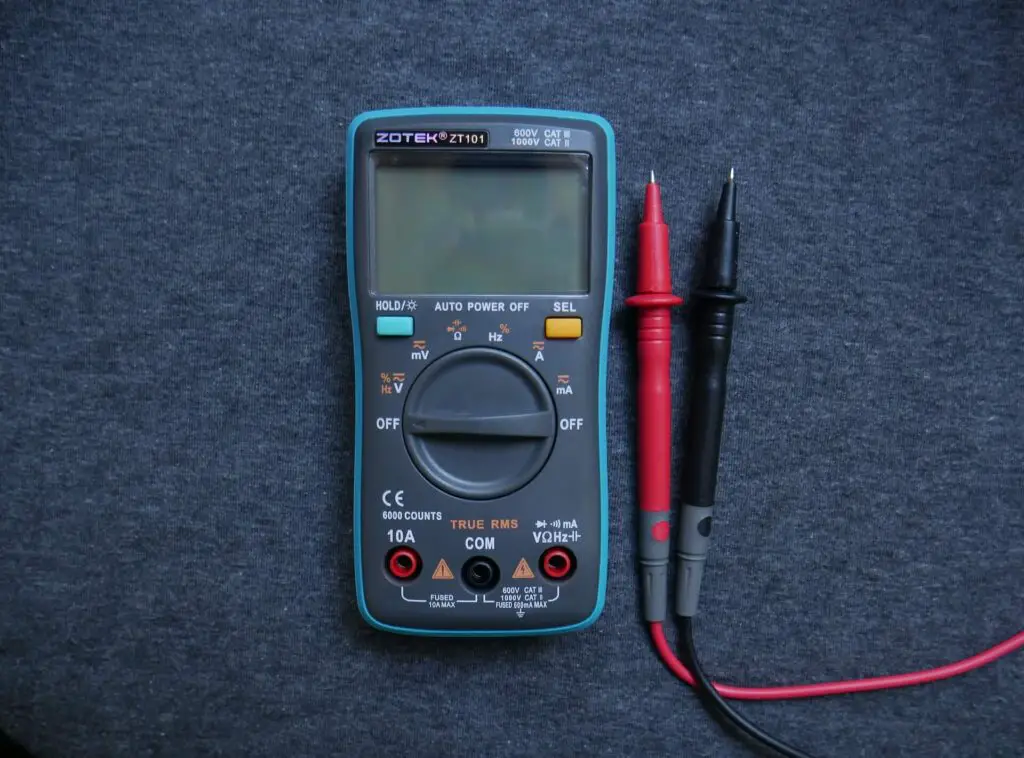
| Digital Multimeter | A device used to measure voltage, current, and resistance, necessary for accurately measuring current draw | $30-$100 |
| Fuse Puller | A tool designed to safely remove fuses from fuse boxes during testing, allowing for individual circuit testing | $5-$15 |
| Memory Saver | A device that connects to the vehicle’s OBD-II port to preserve electronic settings while the battery is disconnected | $20-$50 |
| Circuit Tester or Test Light | A tool used to test circuits for the presence of voltage and identify potential issues | $10-$30 |
Don’t Forget the Safety Equipment Too
Whether your task is as simple as changing a tail light or maybe something more complicated like replacing a valve stem, prioritizing safety precautions is a crucial aspect of the whole ordeal. The same goes for this diagnosing process, as working with electrical components can be hazardous, and improper handling can result in injury or damage to the vehicle.
So, make sure you wear appropriate protective equipment, such as insulated gloves and safety goggles. Additionally, you should have a wiring diagram or vehicle repair manual by your side, as it will be a helpful reference guide for your specific make and model. However, if you feel uncertain or uncomfortable with electrical work, it’s best to seek assistance from a qualified professional – it’s not worth all that driving stress.

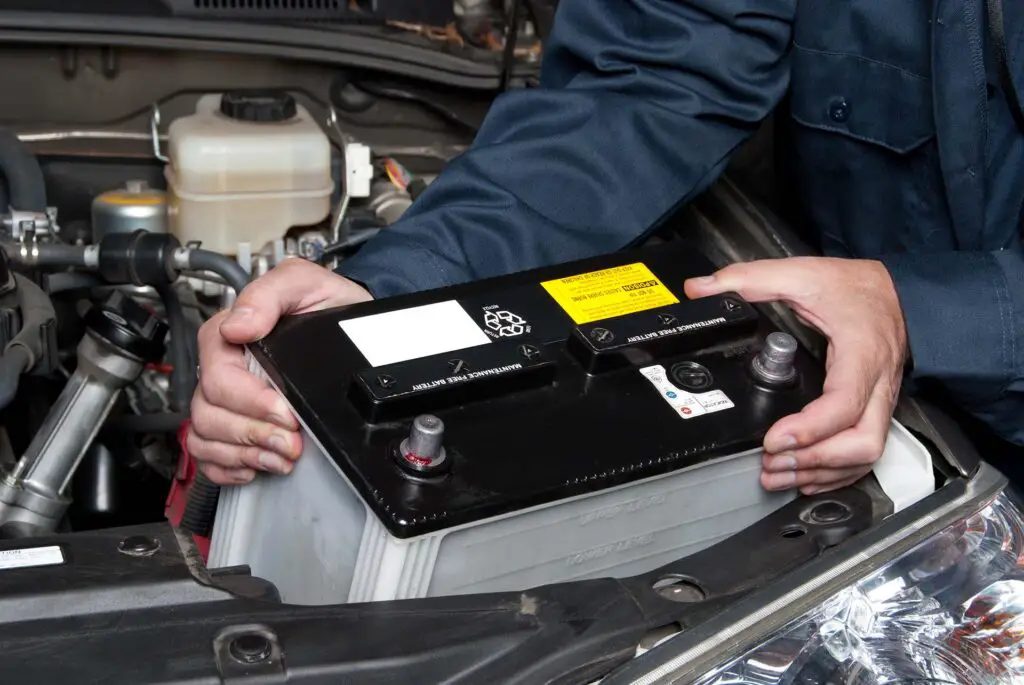
The Next Step Is to Disconnect the Battery
There’s one more thing you need to do before you go ahead with measuring and diagnosing the power drain, and that’s to disconnect the battery. Here’s a step-by-step guide:
- Locate the battery – The battery is typically found under the vehicle’s hood, but there are other possibilities. If you’re unsure about its exact location, refer to the owner’s manual,
- Identify the battery terminals – There are two terminals: the positive (+) and the negative (-). They are often color-coded, with the positive terminal being red and the negative terminal being black,
- Disconnect the negative terminal – Lose the nut or bolt on the negative terminal using the appropriate wrench or socket. Once loose, carefully remove the terminal from the battery post. Move the terminal away from the battery or cover it with a cloth to prevent accidental contact,
- Disconnect the positive terminal – Do the same thing for the positive terminal,
- Inspect the terminals and cables – Take a moment to inspect the battery terminals and cable connections for any signs of damage, loose connections, or even corrosion. Clean any corrosion using a battery terminal cleaner or a mixture of water and baking soda, and tighten any loose connections if necessary,
- Store the disconnected terminals – To prevent accidental contact and electrical discharge, keep the disconnected battery terminals away from the battery or any metal surfaces. You can cover them with a cloth or use battery terminal protectors.
How to Safely Disconnect the Battery
Disconnecting the car battery is fairly straightforward, but it involves following a few important steps to minimize the risk of electrical shock or damage. First things first, it’s absolutely crucial to start with disconnecting the negative terminal, as it is the ground connection, making it generally safer.
As mentioned earlier, wearing insulated gloves and safety goggles throughout the whole process is very important. Moreover, you should remove any metal jewelry or other accessories that could come into contact with the terminals, as that could be quite dangerous. So, consider the safety precautions your number one driver’s responsibility, and always make sure that you’re following the guidelines from the user’s manual.
Get Exact Baseline Measurement
Obtaining a baseline measurement is crucial in troubleshooting a parasitic draw in a vehicle’s electrical system. That’s because these measurements aim to establish the normal or expected amount of current draw when the vehicle is resting, with all systems and components in their typical standby mode.
Once you know these measurements, you can determine what constitutes a normal level of current draw for your specific vehicle. This, in turn, will help you identify any abnormal or unexpected power consumption that may be draining the battery when the vehicle is not in use.
How to Select the Appropriate Current Setting on the Multimeter
When uncertain about the expected current draw, it’s generally safer to start with the highest current range available on the multimeter and gradually decrease it, as this prevents the risk of overloading it and blowing a fuse. Here’s what you need to do:
- Take the multimeter’s positive (red) lead and connect it to the positive battery terminal from which you just removed the cable,
- Take the negative (black) lead and connect it to the negative battery cable,
- Monitor the reading on the multimeter’s display,
- Allow the multimeter to stabilize and record the reading as the baseline current draw.
Continuously monitoring the current readings and adjusting the range accordingly is important for accurate measurements. If the initial measurement on the higher current range indicates a lower current draw, you can gradually decrease it until you achieve a suitable range that provides accurate readings.
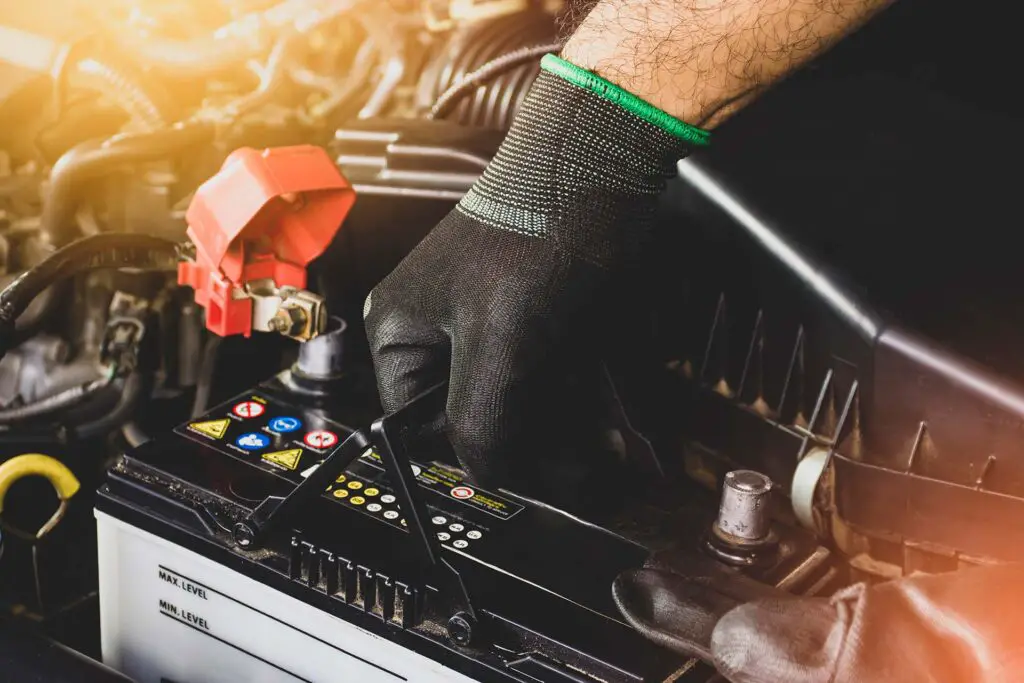
Identify Fuse Locations
When troubleshooting electrical issues, locating the fuse box is an essential step. This component is typically located in one of two places – either under the dashboard on the driver’s side or in the engine compartment. However, in some vehicles, there may be multiple fuse boxes, so it’s best to refer to the owner’s manual or consult a wiring diagram specific to the make and model.
The fuse box may have a protective cover or lid that needs to be removed to access the fuses. This cover or the diagram will provide information about the circuit associated with each fuse, and once you have access to them, you should follow the next steps:
- Use the fuse puller to grip the fuse firmly and pull it straight out of its slot by applying gentle pressure,
- Observe the reading on the multimeter’s display as it will represent the current draw of the vehicle’s electrical system,
- As you remove the fuse, monitor the multimeter for any significant changes in the current draw,
- Reinstall the fuse and move on to the next one to test different circuits one at a time.
Analyze Results From the Multimeter
After conducting tests and measurements, carefully review the data displayed on the multimeter, looking for any significant changes in the current draw when specific fuses were removed or circuits were tested. A noticeable drop could indicate an excessive power draw in that particular circuit.
What Is the Difference Between Normal and Abnormal Current Draw Values?
Comparing the readings you’ve got with the baseline current draw that you obtained earlier can help identify abnormal or unexpected power consumption. Normal current draw values are within the typical range for a vehicle when all systems are in a resting state, while abnormal values deviate significantly from the expected range.

Isolate the Affected Circuit
Here are a few additional troubleshooting tips if you’re having trouble identifying the affected circuit. While you’re testing each fuse, it’s important to inspect them visually, looking for any signs of damage or blown fuses. Additionally, visually examine the wiring associated with the circuit, checking for frayed or exposed wires, loose connections, or burnt insulation.
Once you’ve found a circuit that raises some suspicion, disconnect its components one at a time, monitoring for changes in behavior or current draw. Perform voltage drop tests across critical points in the circuit using a multimeter to identify high resistance or poor connections. By following these troubleshooting tips, you can narrow down and identify the problematic circuit, enabling you to go through with targeted repairs that will resolve the issue.
Identify the Culprit
By analyzing the results, you can narrow down the potential problem areas, such as malfunctioning components or wiring issues, and proceed with further diagnostics or necessary repairs. Here are the most common culprits:
- Faulty relay or switch,
- Malfunctioning module or control unit,
- Electrical device or motor,
- Wiring issues.
However, if you haven’t been so lucky with the method described above, a couple of additional techniques might help you figure out how to test the alternator for parasitic draw.
Current Clamp
A current clamp, also known as a clamp meter or amp clamp, is useful for measuring electrical current without interrupting the circuit. It clamps around a wire, allowing you to measure the current flowing through it. So, it’s a pretty straightforward process fit for those that got quite a lot of driving anxiety when tinkering with their vehicle.
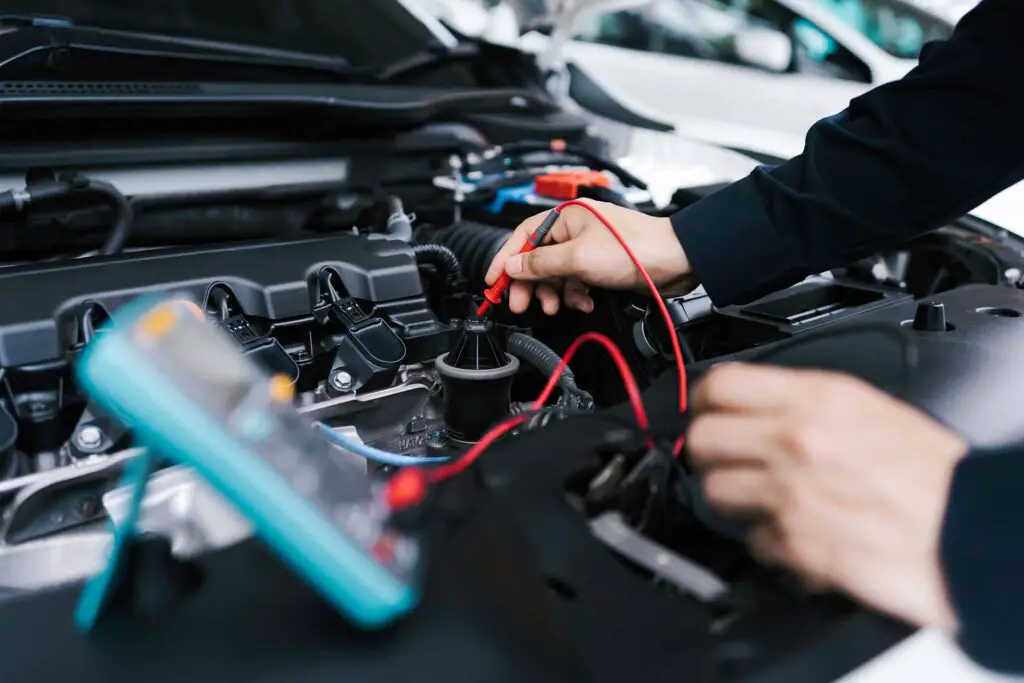
Test Light
A test light is another simple tool that you could use, consisting of a handle with a probe and a light bulb. The test light is used for checking the presence of voltage in a circuit. By connecting the test light between the negative battery terminal and the disconnected negative cable, the light will illuminate if there is a parasitic draw.
To pinpoint the source, start by removing fuses one by one while monitoring the test light. If it goes out after removing a specific fuse, it indicates that the corresponding circuit is likely the underlying culprit.

Resolve the Car Issue
Once you’ve identified the component responsible for the issue, it’s time to resolve it. Whether it’s a bad ignition switch or a serious problem with the engine, it’s best to consult a professional mechanic who can help you figure out your next options.
Regular battery and overall maintenance should be on top of every driver’s list, no matter if you’re driving a classic car or an off-road driving beast. Regularly checking the condition of your vehicle can go a long way in preventing this issue in the future. If you experience the same problem repeatedly, it’s crucial to get your vehicle inspected by a qualified technician.

Learn How to Test for Parasitic Draw and Avoid Taking Your Car to the Mechanic
All in all, testing for the parasitic draw is an important part of vehicle maintenance and owners should include it in their regular routine. However, it’s essential to take the necessary safety precautions, have the right tools, and know how to use them the right way. With the tips and tricks you’ve just learned, you’ll be able to safely test your fuses one by one until you identify where the draw is coming from.


