Picture this – you’re set for a smooth ride, but suddenly, your car’s electronics go haywire. Well, there’s one common culprit, and it probably got you wondering how to replace a blown fuse in a circuit breaker. Stick around, and we’ll dive deep into the world of these tiny electrical guardians and how to fix the issue DIY-style.
When one of these electrical devices blows, it’s essential to identify the culprit, safely remove it, and replace it with the correct type and rating. Prevention is key – regular inspections and understanding the underlying causes help dodge future blowouts. Remember, it’s all about striking a balance between hands-on DIY spirit and safety.
Before We Begin – What Are Fuses Exactly?
Before diving into the DIY steps, it’s essential to grasp what exactly these tiny components are. Serving as a vital link in your vehicle’s electrical system, these safeguarding devices ensure that excessive current doesn’t cause damage or start a fire. By melting internally, they interrupt the flow of an electrical surge, acting as the guardian angels of your vehicle’s circuits.
Different Types of Fuses and How They Function
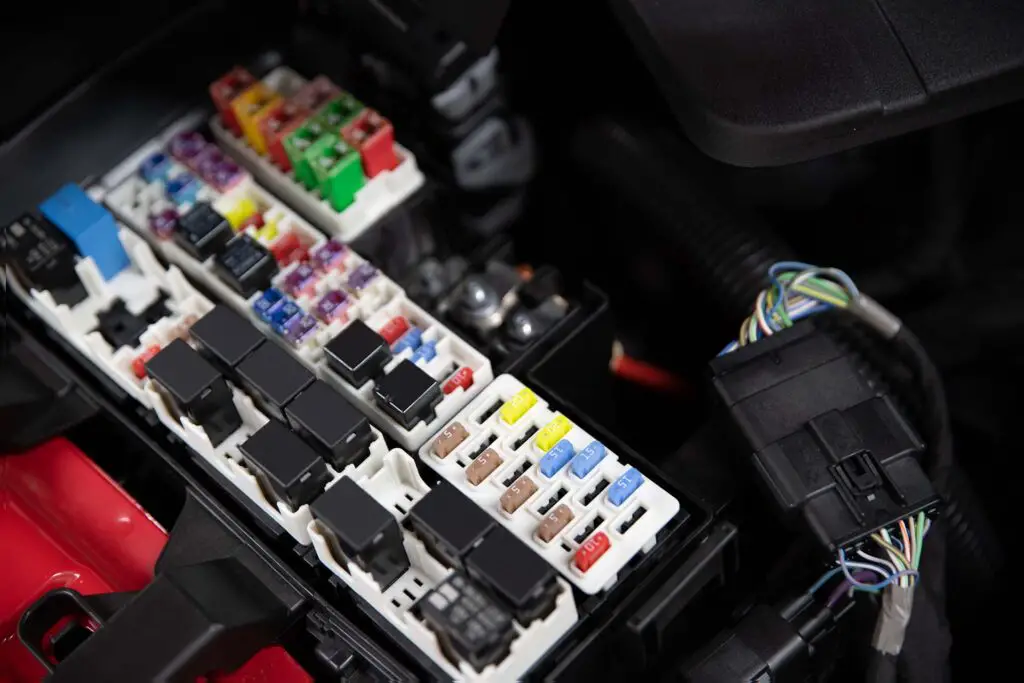
While all these protectors have a core purpose, they’re not all created equal. In the automotive world, these devices often vary in color and size. These characteristics often hint at its amperage rating, typically indicated on or close to the top.
Here are some common color options and the matching amperage ratings and sizes:
| Black | 1 A | Regular |
| Violet | 3 A | LP mini, mini, regular |
| Pink | 4 A | LP mini, mini, regular |
| Red | 10 A | Micro2 – regular |
| Blue | 15 A | Micro2 – maxi |
| Yellow | 20 A | Every size except Micro3 |
| Green | 30 A | Every size except Micro3 |
As you can see from this overview, these electrical currents also come in different sizes, each catering to a specific need:
- Micro2 – recognizable by their tall, slender form, these are the tiniest in the lineup,
- Micro3 – unique in design, they stand out with their three-pronged terminals, unlike the usual two,
- Low-profile mini – compact in size, their terminals barely protrude from the main body,
- Mini – while sharing a similar shape to the low-profile mini, these have noticeably extended terminals,
- Regular – considered the baseline, they’re moderately sized,
- Maxi – the giants in the category, they cater to systems with higher electrical demands.
When and Why Fuses Blow?
It’s an inconvenient truth, but these protectors can’t last forever. They blow or burn out primarily due to an overload, short circuit, or sudden electrical surge. After all, this is their primary role, as this process ensures that the overload doesn’t reach sensitive components like battery cables or those interior lights you’ve just installed.
The Role of Fuses in Safety and Preventing Electrical Fires
It’s clear by now that these handy devices play a critical role in safety. By interrupting power during surges or overloads, they shield the system and its user from potential mishaps, ensuring that fires caused by electrical issues remain a rarity in modern vehicles. So, consider taking care of these tiny components a driver’s responsibility. It will save you a lot of trouble in the long run.
Tools and Materials Needed
Before rolling up your sleeves, it’s paramount to ensure you’ve got the right gear on hand. Having the proper tools and materials simplifies the process, ensuring you get the job done effectively and safely. Let’s break down the essentials:
- A replacement piece – it’s crucial to match the blown fuse with an identical replacement, meaning you need to get one with the same amperage rating,
- Insulated pliers – insulated tools provide an added layer of protection when handling electrical components, ensuring you remain safe from any accidental shocks,
- Flashlight or headlamp – having a good light source ensures you see everything clearly and, therefore, can do the job efficiently,
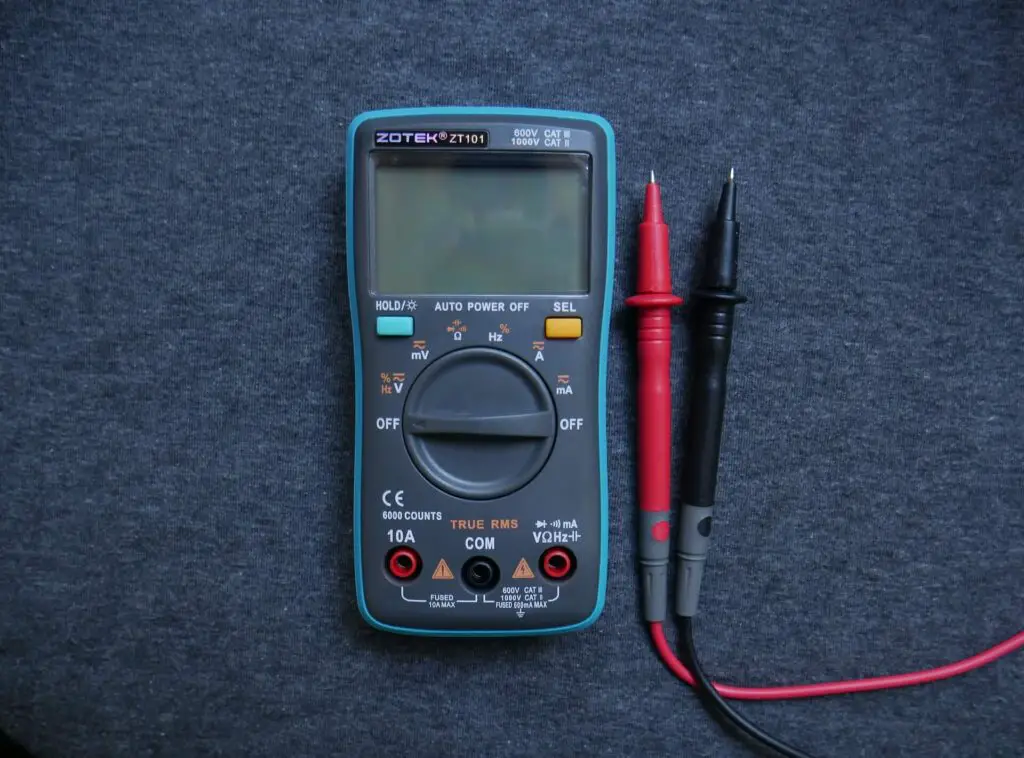
- Multimeter or continuity tester – this is optional, but it’s really helpful for determining if the tiny device is indeed the culprit behind the problem,
- Safety gloves and goggles – it’s always better to be safe, so protect your hands from sharp edges and your eyes from any unexpected sparks or debris.
Safety Precautions Before Beginning
Tinkering with your four-wheeler’s electrical system isn’t a light matter. While these tasks can be straightforward, they still come bundled with safety risks. So, let’s dive into the essential precautions to ensure a smooth and safe process:
Wear Suitable Clothing and Remove Jewelry
Aside from employing a pair of safety goggles and gloves, it’s important to consider your clothing as well. Loose clothes might get caught on something, and jewelry can act as a conductor of electricity. So, make sure you wear fitting clothing and remove any jewelry you might have on before you begin.
Turn off the Main Power Supply or Circuit Breaker
It’s the golden rule of any electrical job – before you even think of starting, always ensure that the main power source or circuit breaker is turned off. This step minimizes the risk of electrical shocks and protects both you and your vehicle’s electrical components.
Avoid Working In Wet or Damp Areas
Electricity and water are a dangerous mix. Even the slightest dampness can be a conduit for electricity, increasing the risk of shocks. That’s why it’s crucial to ensure your workspace is dry before you begin. If your surroundings are wet or damp, it’s best to wait or move to a drier location.
Always Use Insulated Tools
As already mentioned, using insulated tools adds an extra layer of protection, reducing the potential for any unintended electrical transfers to your body. I recommend the KNIPEX Flat Nose Plastic Pliers, which are made from reinforced fiberglass plastic. They might look like a kid’s toy, but trust me, it’s no child’s play. They get the job done while keeping you safe from potential mishaps.
Work in Well-Lit Conditions
Working in the shadows or poorly lit conditions can lead to mistakes. A well-lit environment ensures you see each step clearly, reducing the likelihood of mishaps and making sure you can spot and avoid potential hazards. If needed, get a flashlight or a headlight to improve visibility.
How to Replace a Blown Fuse – All the Steps to Replace It
You’ve gathered the necessary tools and understood the importance of safety, and now, we’ve arrived at the heart of our guide – the hands-on DIY replacement. By the end of this section, you’ll be armed with the knowledge and confidence to tackle that pesky electrical hiccup.
Identifying the Blown Fuse
Before diving into the replacement process, it’s essential to pinpoint the exact electrical device that’s giving you problems. Look for visual signs of damage or discoloration, often clear indicators that it’s time for a swap. If you’re unsure, employing a multimeter or continuity tester can give more definitive answers.
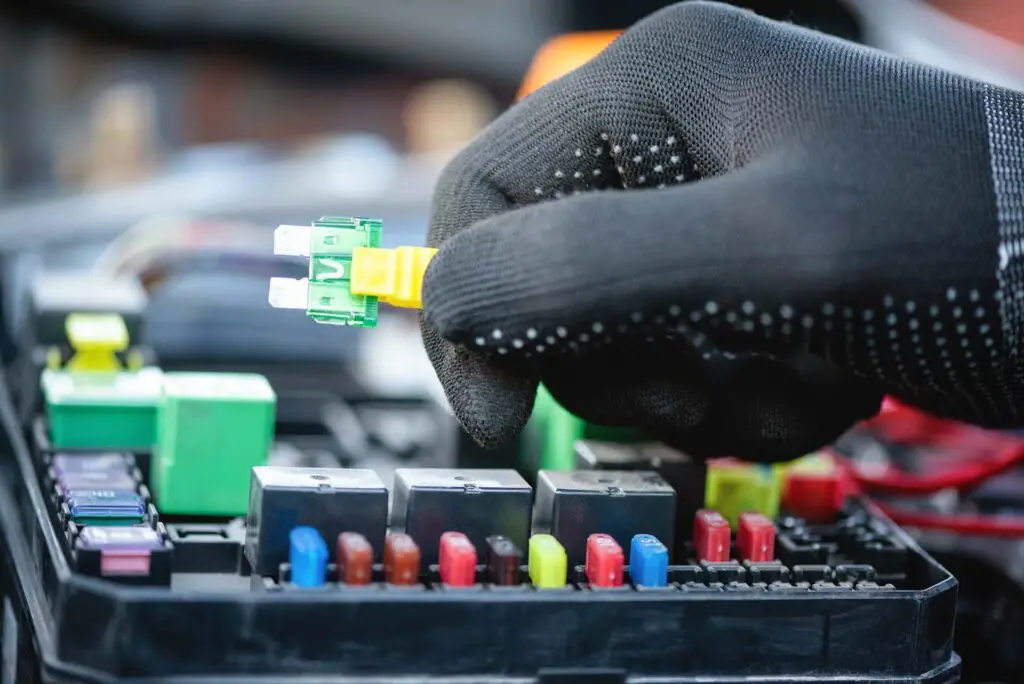
Removing the Blown Fuse
Identifying the faulty component is only half the battle – once you’ve located the troublemaker, it’s time for removal. Remember, caution is key in the whole ordeal. Here’s how to do it:
- Turn off any relevant switches or systems related to the circuit,
- ith your insulated pliers, either unscrew or gently pull the damaged component from its slot,
- Inspect the socket and confirm it’s free from any debris, broken parts, or residues, as this will ensure a smooth installation later.
Installing the New Fuse
Now, with the old one out, it’s time to usher in the new. Here’s the drill:
- Compare the replacement with the original, ensuring they match in type and rating,
- Align the new component correctly with its holder, ensuring it fits snugly,
- With your insulated pliers, either screw it in or push it into place, making sure it’s secure and sits flush with any neighboring components.
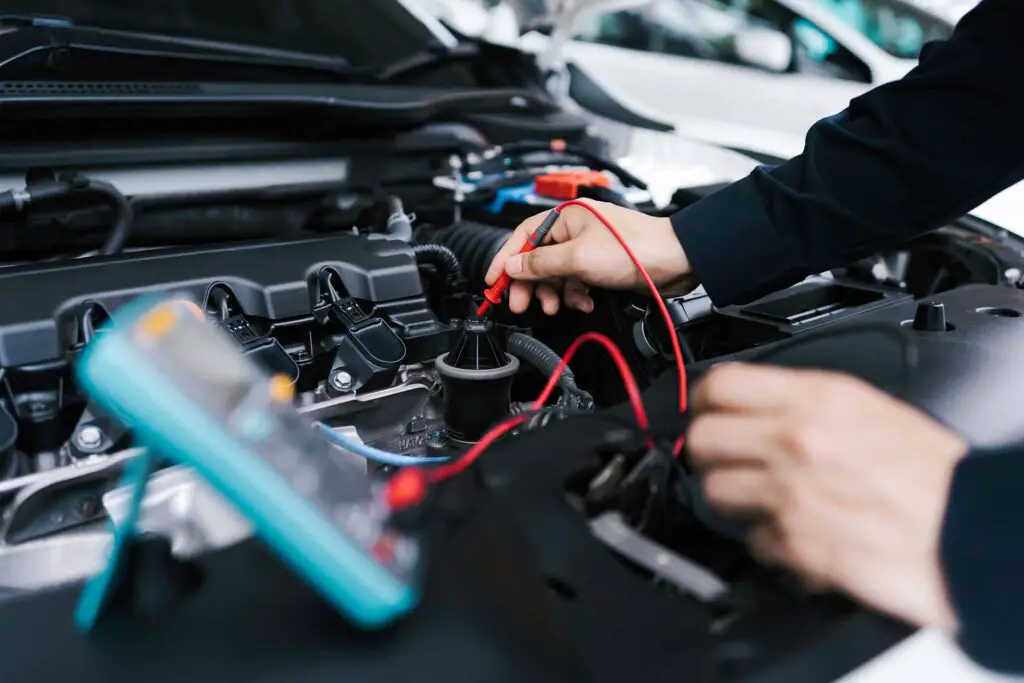
Testing the New Fuse
Once installed, it’s time to breathe life back into the circuit – restore the power and observe the restored functionality. Keep an eye out for any anomalies or issues in the initial stages. It’s crucial to make sure that everything operates as it should, safeguarding both you and your vehicle’s electrical system.
What if the New Fuse Blows Immediately?
Sometimes, swapping out that faulty component doesn’t quite do the trick. If you find the new piece meeting the same fate shortly after installation, it’s a signal that there’s a deeper issue lurking in the shadows. Here are a few potential scenarios:
- Electrical overloads – the best way to identify this is to check what was running when the blowout happened and redistribute or reduce the load to try once again,
- Faulty appliances – unplug the devices one by one, checking the fuses after each one, and if it stops blowing after removing a particular device, you’ve found your culprit,
- Wiring problems – look for signs of frayed electrical wires, burnt spots, or any loose connections to see if the wiring is damaged and causing problems.
After troubleshooting, if the issue remains elusive or if you’re unsure about any step, it’s always best to seek professional help. Auto mechanics possess the expertise to dive deeper, identify intricate problems, and ensure your four-wheeler’s electrical system remains in top shape. At the end of the day, safety is paramount – sometimes, the best DIY approach is knowing when to hand over the reins.
Tips for Preventing Future Fuse Issues
Maintaining the heart of your vehicle’s electrical system is more than just addressing issues as they arise – it’s about taking proactive measures to prevent them in the first place. First and foremost, regular inspections can help catch wear or signs of corrosion before they escalate.
Also, overloading circuits? A definite no-no – it’s like you’re only looking for trouble and unexpected electrical spikes. Lastly, ensure your ride’s electrical system is up-to-date. An outdated system is not just inefficient – it’s a ticking time bomb. If you treat it with care, it will surely return the favor by serving you seamlessly.

Wrapping up the Fuse Fix-Ups
There you have it – from identifying culprits to preventative measures, we’ve journeyed through the electrifying world of automotive fuses. Remember, while it’s empowering to tackle DIY repairs, always prioritize safety. Your vehicle’s a trusty sidekick, so a little care and know-how can go a long way.
FAQ
Why Do Fuses Blow in the First Place?
Fuses are designed as a safety mechanism. They blow or “trip” when there’s an overload or unexpected surge in the electrical current. This helps prevent potential damage to the system or more serious issues like fires.
Can I Use a Fuse With a Different Amperage Rating if I Don’t Have the Exact Match?
No, it’s crucial to use a fuse with the same amperage rating as the one you’re replacing. Using one with a different rating can pose serious risks, including potential damage or fire hazards.
How Often Should I Inspect My Vehicle’s Fuses?
It’s a good practice to check them annually or whenever you’re experiencing electrical issues. Regular inspections can help spot potential problems early and keep everything running smoothly.


