Are you a DIY lover looking to save on repair costs? If so, learning how to remove the alternator safely and without damaging this crucial vehicle component should be at the top of your list. With these comprehensive instructions and tips while also keeping in mind the common issues that might arise during the procedure, you’ll be well-equipped to handle this particular task.
What Is an Alternator in a Car?
The intricacy that goes into the inner workings of any vehicle is a remarkable feat of engineering and the evolution of cars. From the moment you turn the ignition key, a complex web of components and systems come to life, working seamlessly to power and propel the vehicle. One of these crucial components is the alternator, an electrical generator that converts mechanical energy into electrical energy.
How Does It Work?
As the engine rotates, it spins the rotor inside the alternator, consisting of a coil of wire wrapped around an iron core. As the rotor spins, it creates a changing magnetic field, which induces an alternating current (AC) in the stator windings.
So, by harnessing the rotational energy from the engine’s crankshaft, the alternator produces an alternating current. Additionally, it converts it into direct current (DC) to meet the electrical requirements of the vehicle.
Why Do You Need a Working Alternator?
Now that you know how this component works, you can probably figure out that its importance cannot be overstated – having a working alternator is essential for the proper functioning of any vehicle, from classic cars to the off-road driving beasts you might see occasionally on the famous routes in the US. It serves two primary purposes – generating electricity and recharging the battery.
As you drive, the car’s battery supplies energy to start the engine, but it relies on the alternator to replenish the energy it loses during the process. This component also powers various electrical systems, including headlights and tail lights, interior lights, radio, air conditioning, and more. So, it’s safe to say that, without an alternator, you’d be left with a stalled vehicle.

How to Remove an Alternator – Step 1: Preparation
No matter if you’re changing a flat tire or adjusting the parking brake, gathering the tools you need for the job is always the first step. Here’s the equipment necessary for this particular task:
| Tool | Usage | Price Range |
| Socket Set | Loosening and removing bolts | $20-$100 |
| Wrench Set | Accessing tight spaces | $20-$100 |
| Serpentine Belt Tool | Removing and installing the serpentine belt | $10-$30 |
| Pry Bar | Leveraging and prying | $10-$40 |
| Torque Wrench | Ensuring proper bolt-tightening torque | $30-$200 |
| Battery Terminal Puller | Disconnecting battery terminals | $10-$30 |
| Wire Cutter or Stripper | Cutting and stripping electrical wires | $5-$20 |
Safety Precautions Should Never Be Overlooked
Safety precautions are of utmost importance when working on a vehicle, and they should never be overlooked. One crucial step in this particular task is disconnecting the battery before performing any electrical work, as this minimizes the risk of electrical shock or accidental short circuits.
Another essential safety measure is referring to the user’s manual or wiring diagram specific to the vehicle being worked on. These resources provide valuable information about electrical connections and systems, helping to avoid mistakes and potential hazards. Additionally, wearing protective gear, using insulated tools, and working in a well-ventilated area further reduces the risk of accidents and injuries.

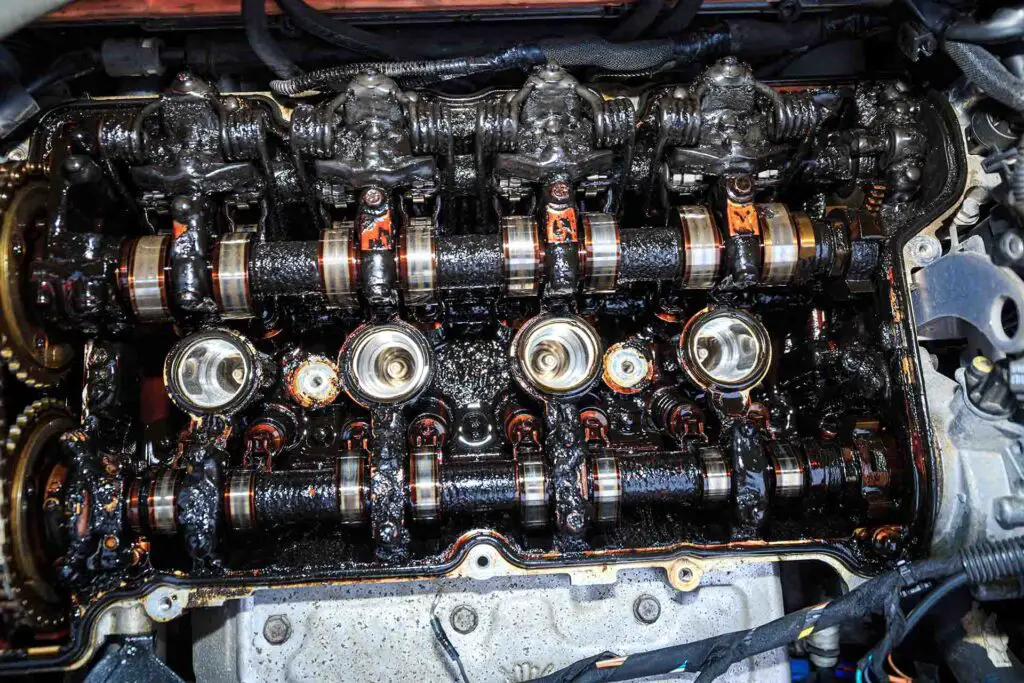
Step 2: Access the Alternator
Locating the alternator in a vehicle is typically a straightforward process, although it can vary depending on the make and model. In most cases, the alternator is situated at the front of the engine, often near the top or side. It is typically connected to various belts and pulleys that drive its rotation.
How to Remove the Alternator Pulley and Belt
So, to access this component, you need to learn how to remove the alternator belt and pulley. This can be done by locating the belt tensioner, which is a spring-loaded pulley that applies tension to the belt. By using a suitable tool like a serpentine belt tool or a wrench, the tensioner can be relieved, allowing the belt to be removed. And remember – when in doubt, always refer to the user’s manual.

Step 3 – Disconnecting Electrical Connections
When working on this particular part or any electrical component of a vehicle, it’s crucial to disconnect the electrical connections before you get to the real thing. So, before starting the task, ensure the engine is turned off and the battery is disconnected. Make sure that all of the electrical connections attached to the alternator are switched off.
Identify the Electrical Connections Attached to the Alternator
This component typically has several electrical connections that need to be properly identified and disconnected:
- Main power cable,
- Wiring harness connector,
- Voltage regulator connector,
- Field wire connector,
- Sense wire connector,
- Ground wire connection,
- Auxiliary power output connector,
- Exciter wire connector.
It’s important to underline that these connectors can vary depending on the make and model, so it’s best to follow the guidelines listed in the user’s manual or wiring diagram. Additionally, it’s a good idea to label or take photos as you’re going through this process – it’ll be a great helping hand once it’s time for reinstallation.
Step 4 – Removing Mounting Bolts
When you want to remove the alternator, first you need to locate the mounting bolts that secure this component and remove them. The number and position of these mounting bolts can vary depending on the vehicle’s make and model. Still, two or three bolts typically secure the alternator to its mounting bracket or bracket assembly.
While using a socket or wrench, carefully loosen these bolts while taking note of their position and length. Also, keep in mind that the alternator should be supported during this process to prevent it from falling or putting stress on the battery cables and other wiring. A common practice is to use one hand to support the component while removing the final bolt, or to have an assistant hold it steady.

Step 5 – Extraction of the Alternator
Once the mounting bolts have been loosened and removed, the alternator can be easily pulled away from the engine or its bracket. In some cases, limited space, surrounding components, or additional brackets may need to be temporarily moved or disconnected to create enough clearance.
How to Safely Remove the Alternator From Its Mounting Position
Here are the steps you need to take in order to remove this component from its mounting position:
- If necessary, temporarily move or disconnect any obstructions to create enough clearance for the component to be extracted,
- Gently and carefully pull it away from its mounting position, ensuring you don’t force or damage it or any surrounding components,
- Take note of the alternator’s orientation and positioning for reinstallation or replacement purposes.
Step 6 – Inspection and Replacement
With this component safely removed, further inspections, repairs, or replacements can be carried out as needed. Begin by examining the exterior for any visible signs of damage, such as cracks, leaks, or loose connections. Also, check the electrical connectors and wiring for any signs of wear or corrosion.
Once the component is removed, you can also further assess its internal parts, such as brushes, rotor, and stator, for signs of damage or excessive wear. It’s also a good idea to test its output using a multimeter to verify if it’s generating the appropriate voltage.
Finding a Good Replacement
If the component exhibits significant damage, such as internal failure or a severe electrical issue, it may be necessary to replace it entirely. If that’s the case, make sure that the replacement you’re purchasing is compatible with your vehicle’s exact make and model. Check the electrical output specifications, such as voltage and amperage, to match the requirements of your vehicle’s electrical system.
While shopping at your local store or browsing through online car parts stores, it’s also crucial to consider the quality and reliability of the replacement. That means looking for reputable brands or original equipment manufacturer (OEM) parts that offer a warranty. You can also consult your user’s manual or seek advice from a trusted mechanic to ensure you choose the right replacement.

Step 7 – Reinstallation
Before you go ahead with the reinstallation process, it’s important to compare the new alternator with the old one to double-check that they are compatible in terms of mounting brackets, pulleys, and electrical connectors.
Once you’ve made sure everything is in order, follow the next steps to install the new component or reinstall the old one:
- Position the new alternator in its mounting position, aligning it with the mounting holes or brackets,
- Carefully guide the electrical connectors into their corresponding connections, ensuring they are securely attached,
- If any components and pulleys were transferred from the old alternator, install them onto the new one following notes or markings made during the removal process,
- Insert the mounting bolts into their respective holes,
- Gradually tighten the mounting bolts following the specified torque values if available,
- Double-check the alignment of every part to ensure everything is properly positioned.
How to Reconnect the Electrical Connections
Reconnecting the electrical connections is done by referring to labels, photographs, or notes you’ve taken during the removal process. As mentioned before, creating these markings will make it easier to identify the correct placement of each electrical connection.
All that’s left to do is align the connectors with their respective ports and apply gentle pressure to push the connectors in until they are fully seated, ensuring a secure connection. Take care not to force the connectors, as they should slide in smoothly. Once all the electrical connections are reestablished, you can reassemble any components or reconnect the battery.

Step 8 – Testing and Final Checks
The last part of this whole ordeal is to test the vehicle and do final checks to ensure that the electrical system is functioning properly. So, after you’ve reconnected the battery, start the engine and use a multimeter to measure the voltage at the battery terminals – it should read around 13.5 to 14.5 volts when the engine is running.
Monitor the vehicle’s electrical systems, such as headlights, radio, and air conditioning, to ensure they are operating as expected. Also, listen for any unusual noises coming from underneath the hood. Finally, take the vehicle for a short test drive to confirm that the component is providing sufficient power to the electrical system.

Learn How to Remove the Alternator and Enjoy the Trouble-Free Ride
In conclusion, removing an alternator doesn’t have to be a difficult task. With the right tools and safety precautions, it can be accomplished quite quickly and efficiently. Now that it’s all said and done, you can have peace of mind knowing that you once again have a reliable vehicle for your everyday needs. Happy wrenching!


