Ever had that frustrating moment when you just can’t remove seized bolts from your beloved ride? Trust me, we’ve all been there. But before you reach for the nearest hammer or give it a reckless yank, take a second – there’s a smarter way to do it. So, let’s see how to go through the removal process safely and without causing any damage.
When it comes to this task, using tools like wrenches, hammers, and penetrating oils can be game-changers. The removal process begins with assessing the situation, followed by lubrication and the careful application of pressure. For particularly stubborn cases, specialized tools or even heat can be employed. Safety remains paramount, and post-removal, it’s vital to clean, treat, and maintain to prevent future complications.
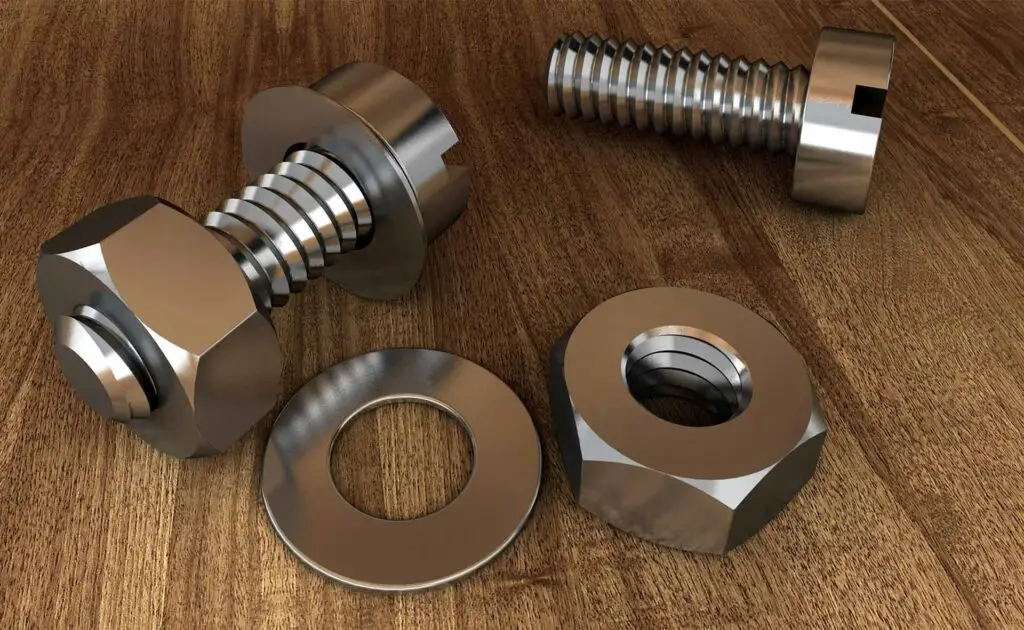
What Are Seized Bolts?
In the simplest terms, seized bolts are those stubborn pieces that have decided they’re not going anywhere. They’ve become overly attached to their current position and completely refuse to budge. Think of them like that old, stubborn jar lid that gives you a workout every time you try to open it.
This Problem Happens for a Couple of Reasons
There are a few culprits behind these bolts playing hard to get. Here’s an overview of the most common ones:
- Corrosion – over time and due to environmental factors, rust can form, making bolts and their surroundings one cohesive unit,
- Over-tightening – sometimes, if a bolt is fastened too tightly, it can become super difficult to remove later on,
- Exposure to high temperatures – constant heating and cooling can lead to metal expansion and contraction, leading these pieces to seize up.
Now, you might think – is it really such a big deal? Well, stuck pieces can hinder repairs, maintenance, or even simple adjustments. Because of that, they can lead to bigger issues down the road and damage other components.
So, addressing this issue as soon as you notice it can save you from bigger headaches in the future. At the end of the day, it’s all about keeping your beloved ride nice and roaring, no matter if it’s a small city car or one of those off-road driving giants.
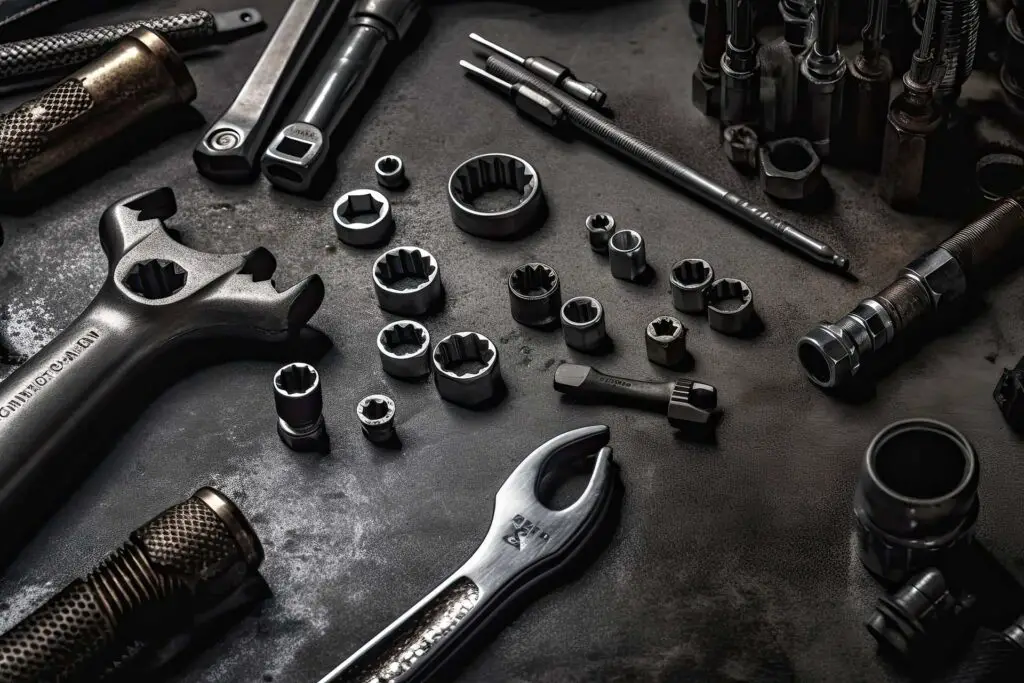
Necessary Tools and Materials
Before we dive into the nitty-gritty of getting those stubborn bolts to let go, let’s talk about equipment. Here are the tools and materials you’ll want by your side:
- Wrenches – the primary tool for dealing with stuck pieces, as they provide grip and mechanical advantage in turning objects,
- Pliers – also great for gripping, twisting, and pulling, so they offer that extra grasp when a wrench just won’t do,
- Hammer – handy for giving a stuck bolt a gentle tap to free it,
- Penetrating oil – specifically designed to loosen rust and corrosion, making the bolt easier to remove.
Penetrating Oils and Lubricants Are Must-Haves for This Task
The unsung heroes when dealing with those stubborn pieces are penetrating oils and automotive lubricants. Products such as KROIL Original Penetrating Oil and the SQ Mechanic’s Aid are specially formulated to seep into the tiniest of spaces, breaking down the rust and corrosion that’s causing all the drama.

Step-By-Step Process to Remove Seized Bolts Safely
Now that we’re clued in on what makes these little guys cling so tightly and have our toolkit ready, it’s time to dive into action. The process of safely removing seized bolts is more art than science, requiring patience, precision, and a little bit of elbow grease. Let’s break it down step by step.
Inspecting and Assessing the Bolt’s Seizure
Before you go all in, it’s crucial to understand what you’re dealing with. Take a moment to inspect the bolt – is it just a light layer of rust, or are we talking about deep corrosion that’s been building up for ages? The severity of the seizure can give you clues about the best approach to take.
Also, consider the size and location of the bolt. You wouldn’t use a sledgehammer to crack a nut, right? Likewise, choosing the right tool for the bolt’s size and location ensures you’re effective without causing damage. While this can vary based on the application and manufacturer, here are some common standards in the automotive industry:
| Wrench Size | Used for |
| 8mm | Brake lines and small engine parts |
| 10mm | A variety of under-the-hood components |
| 12mm | Engine components and some suspension parts |
| 13-14mm | Mid-sized automotive bolts, like the ones used for alternators and calipers |
| 15-16mm | Larger engine and suspension components, as well as drivetrain parts |
| 17mm | Suspension components, chassis bolts, and wheel nuts for some vehicles |
| 19-21mm | Larger suspension components, lug nuts on many cars, and chassis bolts |
| 22-24mm | Axle nuts, suspension parts, and other large components |
Applying the Penetrating Oil or Lubricant
Before diving straight into the extraction process, remember that a little preparation can make a world of difference. Start by generously applying your chosen penetrating oil or lubricant to the stuck fastener.
This magical liquid will creep into the tiniest crevices, working its wonders to dissolve stubborn rust and corrosion. Depending on the depth of the rust, you might want to let it sit anywhere from a few minutes to overnight. The more severe the rust, the longer you’ll want to wait. Patience is key here!
Gently Applying Steady Pressure
Now that the bolt has had its spa treatment, it’s time to persuade it to come out. Here’s how:
- Use your wrench to grip the bolt’s head, ensuring a snug fit,
- Start with gentle, consistent pressure, avoiding any sudden or forceful jerking,
- As you continue, slightly increase the pressure,
- If the bolt isn’t budging after a while, consider applying more penetrating oil or try out some methods described below.
Some Alternative Methods You Can Try
One tried-and-true technique involves using a propane torch to gently heat the surrounding metal. This expands the material, helping break the rust’s bond. But proceed with caution – it’s vital to be aware of nearby materials and the potential fire hazards when using open flames.
If heating things up isn’t your style, consider giving the bolt’s head a light tap with a hammer. This can help loosen rust without causing damage. But remember, the keyword here is light – the goal is to aid the process, not deform or damage the piece.

Tips and Tricks for Difficult Bolts
While the standard methods work for most, sometimes you need to pull out a few extra tricks from your toolbox to deal with that one bolt that seems to have taken a vow to never move again. Here are some advanced tactics for these particularly rebellious pieces:
Try Specialized Tools Like Impact Drivers or Bolt Extractors
When regular tools aren’t cutting it, it might be time to call in the big guns. Impact drivers are great because they apply both rotational and downward force, making it easier to loosen a stuck bolt.
On the other hand, bolt extractors are designed specifically for those fasteners that have been worn down or stripped. Their reverse-threaded design ensures that as you turn them, they grip tighter and help unscrew the fastener.
Use a Mixture of Heat and Penetrating Oil
Heating the area around the fastener can expand the metal slightly, breaking the rust’s bond. Once heated, let it cool for a moment, then apply your penetrating oil. This combo can sometimes work wonders, allowing the lubricant to seep into newly created spaces and further dissolve any resistance.
Try Drilling or Cutting as Your Last Resort
If all else fails, it might be time for more drastic measures. Drilling into the center of the bolt can create a channel for a screwdriver or another tool, giving you a better grip to turn and remove the piece.
Alternatively, carefully cutting a new slot or using a chisel might provide you with a new point of leverage. However, remember these methods should be a last resort as they carry a risk of damaging the surrounding material or the bolt itself. I’m sure you don’t want your precious ride to end up with a salvage title, so be careful about these methods.
Don’t Overlook the Safety Precautions
While you’re trying to successfully extract that tricky piece, ensuring you’re doing so safely is just as important. A little oversight can lead to serious consequences, so always prioritize safety and gear up before getting down to work with the following:
- Safety goggles – to protect your eyes from flying debris and oil splatters,
- Gloves – to shield your hands from sharp edges, heat, and chemicals,
- Protective clothing – long sleeves and durable materials will protect you against spills, splashes, or sparks,
- Closed-toe shoes – essential for ensuring nothing drops on or injures your feet,
- Ear protection – especially important if you’re using impact tools or drills that can get loud.
Remember, tools are only as safe as the hands wielding them. Make sure you’re using each tool correctly, reading any accompanying manuals, and being especially cautious. If you’re applying heat, always be hyper-aware of surrounding materials, as some can be highly flammable. It’s not just about getting the job done – it’s about doing so in a manner that ensures you and your precious ride live to tell the tale.
Post-Removal Process and Maintenance
Now that you know how to remove seized stainless steel bolts, it’s all about cleaning and treating the area thoroughly to deter future issues. When you’re ready to reinstall or replace, a dab of anti-seize compound can be your best friend, ensuring that the next removal is hassle-free.
But remember, a vehicle thrives on attention – periodic maintenance checks can make sure you’re cruising down the famous routes in the US for years to come. All in all, it’s all about staying proactive, so the past doesn’t repeat itself.
Wrapping Up Those Sticky Situations
Navigating the maze of stubborn bolts can be a bit of a rollercoaster. But now that you have the right tools, techniques, and a splash of patience, even the most stuck-in-the-mud component can be persuaded to budge. Here’s to smooth rides and zero surprise hiccups along the way!
Frequently Asked Questions About Removing Seized Bolts
Why Do Fasteners Get Stuck in the First Place?
A combination of factors can cause this – exposure to moisture leading to rust and corrosion, expansion and contraction due to temperature changes, or simple wear and tear over time. Regular maintenance can prevent many of these issues.
I Don’t Have Penetrating Oil on Hand – Are There Any Household Alternatives?
While specialized penetrating oils work best, in a pinch, you can try a mixture of equal parts white vinegar and water or even a splash of cola. These can help break down rust to some extent, but for severe cases, it’s worth getting the real deal.
How Often Should I Check My Vehicle for Potential Stuck Fasteners?
It’s a good idea to do a thorough check at least twice a year, typically before winter and after spring. Environmental changes, especially in areas with extreme seasons, can influence the condition of fasteners. Regular checks can help you catch and address any issues early on.