Ah, nothing quite beats the charm of an older model! But what happens when those electric windows decide they don’t want to work anymore? If you’re struggling with this very issue, you’re in luck. In this guide, we’ll explore how to fix electric windows in older cars so you can keep enjoying that classic ride without the modern hassle. Buckle up, and let’s dive in!
The most common culprits behind this issue are the window motor, regulator, switches, and wiring. You can DIY the repair with the right safety precautions and some essential tools. Once you’ve dealt with the problem, preventive maintenance measures such as silicone spray and keeping connectors clean will ensure the smooth functioning of these vital parts of your trusty ride.
How to Diagnose Electric Window Problems
Before you roll up your sleeves and grab your toolbox, accurately diagnosing the issue is crucial. Identifying the root cause will save you from wasting effort or money on unnecessary repairs.
Identify the Common Issues That May Affect Electric Windows in Older Cars
When it comes to what’s causing those windows to misbehave, here are some common issues:
- Window motor not working – if you press the switch, and you hear the motor trying to work, but the car window won’t go up, chances are the motor needs attention,
- A problem with the regulator – if the glass moves unevenly or makes strange grinding noises, it’s time to inspect the regulator,
- The switch not working properly – the window button not working on a car is the common culprit if there’s no response to the switch commands, either with the master switch or any of the individual switches,
- Problems with wiring – the maze of electrical wiring in older models can cause problems. So, if you notice intermittent functionality, flickering lights, or windows acting erratically, there might be a wiring issue in the system.
When it comes to the car window not working, it’s best to start by checking the fuse and the switches. If there aren’t any damages or loose connections, move on to testing the window motor by listening for any sound when activating the switch. Finally, if all else checks out, carefully examine the regulator for any signs of damage or wear.

Get All the Necessary Tools and Precautions
After you’ve found the culprit behind the electric car window not working and before you dive into the repair process, it’s time to gather the necessary tools and take safety precautions. As this part of the car involves electrical components, it’s crucial to ensure your safety. Do that by disconnecting the car battery before starting any repair work. Locate the battery in the engine bay or trunk and remove the negative terminal, usually marked with a minus sign.
As for gearing up on the essential tools, here’s what you need and where to find each piece:
| Equipment | Purpose | Average Price |
| Screwdrivers | Removing screws and panels | $10-$20 |
| Multimeter | Testing electrical connections | $20-$50 |
| Trim Panel Removal Tools | Safely prying off interior panels | $10-$20 |
| Pliers | Gripping and bending wires | $10-$20 |
| Socket and Wrench Set | Removing bolts and nuts | $20-$50 |
| Wire Strippers | Preparing wires for connections | $5-$15 |
| Electrical Tape | Insulating and securing connections | $3-$10 |
| Silicone Spray | Lubricating window tracks | $5-$15 |
Please note that prices may vary depending on the brand and quality of the tools. This is not the place to cut down car expenses. Investing in good-quality tools will provide you with a smoother repair process. Also, check your local automotive stores or trusted online retailers for the best deals.
How to Fix Electric Windows in Older Cars – A Step-By-Step Guide
Now that you’ve armed yourself with the necessary tools and taken safety precautions, it’s time to roll up your sleeves and get to work. Rest assured, I’ll walk you through each step, ensuring you handle the repairs with confidence. Here’s a comprehensive guide on how to fix a car window that won’t go up, down, or anywhere in between:
Removing the Door Panel
To access the window components, first, you need to remove the door panel. With trusty trim panel removal tools such as the ones in the Tresalto Tool Kit, carefully pry off any screws, clips, or fasteners securing the panel.
Pay attention to hidden screws behind handle caps or armrests. Once all attachments are taken care of, gently lift and remove the door panel, being mindful of any connected wires. Make sure to take your time to avoid damaging the panel or any delicate components contained within.
Accessing the Window Components
With the door panel out of the way, you’ll gain access to the window’s inner workings. Inside, you’ll find the motor, a small but powerful device responsible for moving the glass. Adjacent to it, the regulator plays a pivotal role in guiding the window’s movement and keeping it on track.
Alongside the regulator, you’ll spot the switches, allowing you to control each side individually and the wiring that interconnects everything. Take a moment to familiarize yourself with the layout and location of each part before proceeding.
Checking the Window Motor
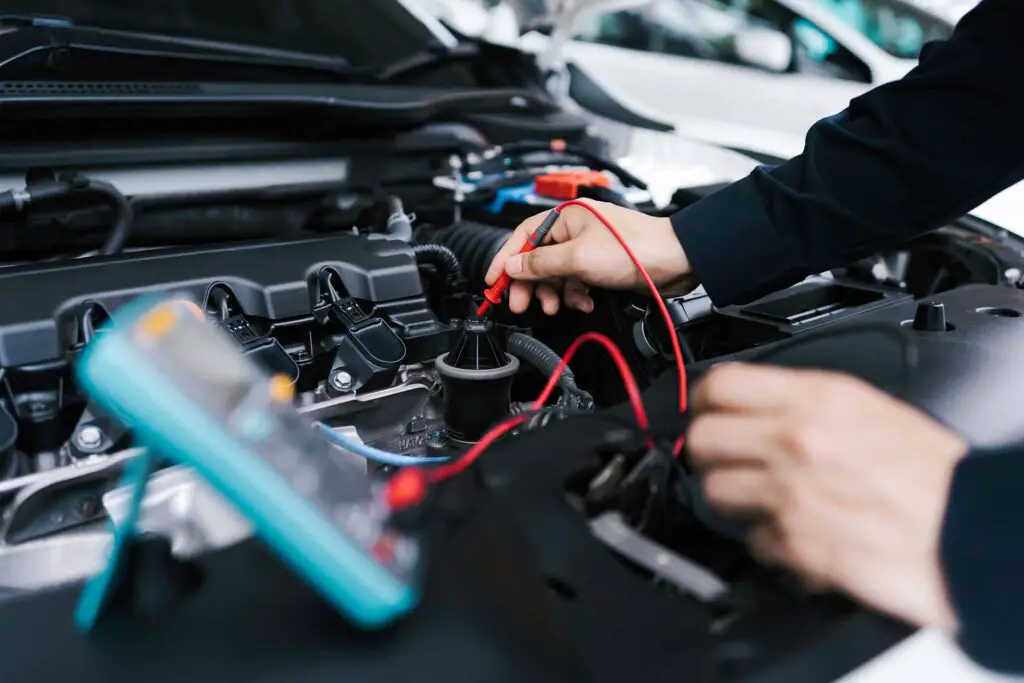
Now comes the moment of truth – testing the motor. Using a multimeter, connect it to the motor’s electrical terminals and activate the window switch. If the multimeter shows voltage, but the motor doesn’t move or makes unusual noises, it might be faulty and needs replacement. Remember that some vehicles might have more than one window motor, so ensure you are testing the correct one before making any decisions.
Examining the Window Regulator
Next, inspect the regulator for any signs of wear or damage. A broken or bent piece could be the reason for the malfunction. Look for frayed cables, broken plastic pieces, or any misalignment in the track. In some cases, replacement may be necessary, so prepare to source a compatible regulator for your particular model.
Inspecting the Window Switches and Wiring
It’s time to examine the switches and wiring for any visible damage or loose connections. Use your multimeter to check the switches’ functionality and ensure they are sending the proper signals to the window and regulator.
Fixing or Replacing Window Motor
If the motor is indeed the culprit, it’s time for repairs or a replacement. Disconnect the electrical connectors attached to the motor, and remove any mounting bolts. Carefully extract the motor from its housing. If it’s only a minor issue, some cleaning or lubrication might do the trick.
On the other hand, if the damage is severe and beyond repair, install a new and compatible motor for your particular model. Carefully install the new motor, reconnect the electrical connectors, and secure it with the mounting bolts.
Repairing or Replacing Window Regulator
In the case of a faulty regulator, some adjusting and realigning might be enough if it’s a minor issue. However, if the problem is bigger, detach it from the window and carefully uninstall it from the door. Take note of how the components are connected and oriented to facilitate an easy reassembly later.
If possible, try repairing the regulator by replacing worn-out parts or correcting any misalignment. However, if the regulator is beyond repair, find a suitable replacement and install it correctly to restore proper functionality.
Fixing or Replacing Window Switches and Wiring
The last thing you should do is address any problems with the switches or wiring. This might involve repairing or replacing damaged components. Also, ensuring all connections are secure and well-insulated to prevent future issues. Take extra care when dealing with wiring, as any improper handling can lead to more problems.
Reassemble the Door Panel
Once you’ve successfully addressed the problems, it’s time to reassemble the door panel and restore your car’s interior to its original glory. Begin by carefully aligning it with the door frame, making sure all clips and fasteners line up correctly. Gently press the panel into place, ensuring it sits snugly against the door’s surface.
Once the door panel is properly positioned, reattach all screws, clips, and fasteners you removed earlier. Double-check every attachment to ensure they are secure and tightly in place. Afterward, reconnect any electrical connectors and, before fully reassembling the panel, take a moment to test out the window.
Once you confirm that everything is operating flawlessly, go ahead and complete the reassembly by securing any remaining screws and clips. Your trusty ride is ready for the famous routes in the US.

Preventive Maintenance Tips
To keep everything running smoothly and prevent future issues and unforeseen repair costs, regular maintenance is key. Here are some recommendations to keep that glass gliding flawlessly:
- Periodically apply silicone spray or suitable lubricants to the window tracks and moving parts, as this will reduce friction, prevent wear, and ensure smooth operation,
- Dust and dirt can accumulate on the electrical connectors over time, causing poor connectivity. So make sure to regularly clean the connectors and inspect the wiring for signs of wear or damage,
- Routinely test the window switches to ensure they respond consistently, and clean or replace them if you notice any signs of wear or stickiness.

Follow My Guide and You’ll Be Able to Fix Your Vehicle
There you have it – with this step-by-step guide and some good old DIY spirit, you now know how to tackle window issues in your older vehicle like a pro. From diagnosing the problem correctly to accessing the internal components and carrying out repairs, you’ve got it all covered. So, the next time they start acting up, trust your instincts, grab those tools, and confidently embark on a window-fixing adventure.
FAQs
How Do I Know If My Window Motor is Faulty?
You can test the motor with a multimeter. If it receives voltage but doesn’t move or make strange noises, it might be faulty and needs attention.
Can I Repair a Broken Window Regulator?
Sometimes, you can repair a broken window regulator by replacing worn-out parts or realigning it. However, if the damage is severe, consider getting a replacement.
What Causes Window Switches to Malfunction?
Window switches can malfunction due to wear and tear, dust, or moisture. Cleaning or replacing the switches can often resolve the issue.
How Often Should I Lubricate My Window Components?
It’s recommended to lubricate the window components every 6 to 12 months to prevent friction and ensure smooth operation.
What Precautions Should I Take When Removing the Door Panel?
Before removing the door panel, always disconnect the car battery to avoid electrical hazards. Use trim panel removal tools carefully to prevent damaging the panel or clips.


