So, you’ve noticed something’s off with your beloved ride, and your troubleshooting has led you to try to figure out how to fix a short circuit. Don’t fret—it happens to the best of us. This is a common issue, and with a bit of knowledge and some handiwork, it can often be resolved without a trip to the mechanic.
Repairing short circuits often includes stripping, splicing, and reconnecting damaged wires, then insulating them properly. Utilizing tools such as the multimeter can help you identify the culprit easily to deal with the problem. However, if the issue exceeds your knowledge and skills, it’s best to consult a professional.
What Is the Role of Circuits in Cars?
Circuits are like your vehicle’s nervous system—they’re crucial for the functioning of nearly every component, from the tiny spark plugs to the LED headlights that illuminate the road ahead. These electrical paths ensure power flows to where it’s needed, keeping everything running smoothly.
Besides this crucial role of power distribution, here are other reasons why circuits are indispensable components of any modern vehicle:
- They enable the functionality of lights, windshield wipers, windows, locks, and more,
- They are essential for airbags, car alarms, and other safety sensors to operate correctly,
- They play a vital role in the engine’s performance, fuel management, and emissions control.
What Are the Common Symptoms Indicating a Short Circuit in a Car?
This issue occurs when electricity deviates from its designated path, often due to damaged or worn wiring. This can lead to an overload, causing fuses to blow or, in severe cases, damage to the vehicle’s electrical components. Obviously, this can result in quite costly repairs, so it’s important to know how to catch the problem early on.
Here are the most common signs that something’s wrong:
- Constantly replacing fuses is a clear indicator,
- Smoke or burning smell can occur due to the overload and heating of wires,
- Lights, stereo, or other electrical components are not working properly,
- There are visible signs, such as sparks or burning.

Here Are the Tools and Equipment You’ll Need for the Job
Before we dive into the nitty-gritty of fixing up your beloved ride, it’s essential to gear up with the right tools. Having these on hand not only makes the job easier but ensures it’s done safely and effectively.
Here are the tools needed to tackle specific aspects of the repair process:
| Equipment | Purpose |
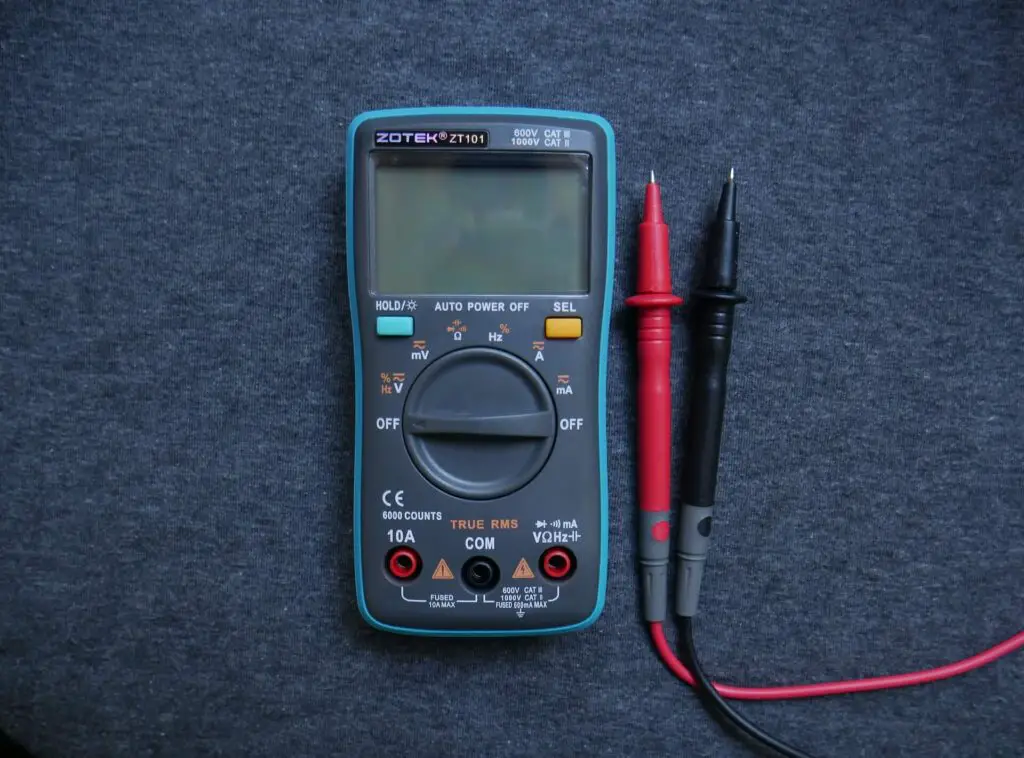
| Multimeter/Test Light | For diagnosing the issue by checking the flow of electricity |
| Wire Stripper and Crimper | For cutting, stripping, and crimping wires during the repair process |
| Electrical Tape/Heat-Shrink Tubing | For insulating repaired or spliced wires, ensuring they’re protected and secure |
| Replacement Fuses | For replacing blown fuses |
| Gloves and Goggles | To protect your hands and eyes from electrical shocks and other hazards |
How to Fix a Short Circuit in a Car – Step-By-Step Guide
Before we get into the repair process itself, it’s important to note that tasks that involve electricity can be tricky and should not be performed by inexperienced car owners. But if you’ve tinkered under the hood a few times already, let’s explore the whole ordeal to tackle this issue head-on.
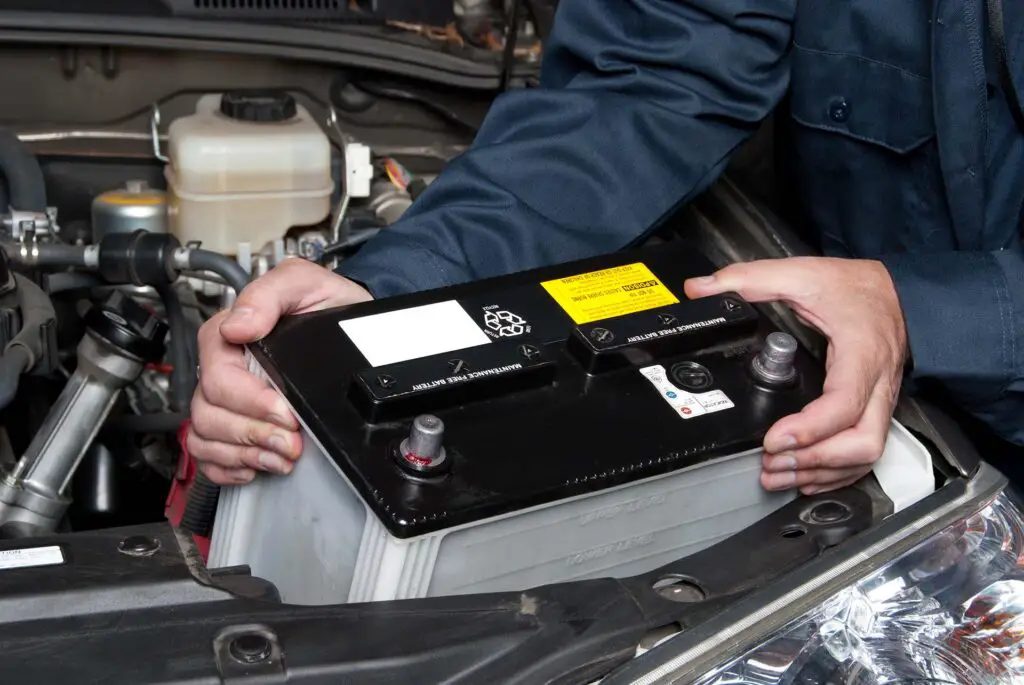
Start by Disconnecting the Battery to Prevent Any Electrical Mishaps From Happening
Safety is the number one driver’s responsibility, no matter if you’re driving at night or trying to fix a mechanical problem. When it comes to this task specifically, disconnecting the car’s battery is the initial step. It ensures that the electrical system is inactive, preventing shocks, sparks, or any potential damage to the electrical components while you work on fixing the issue.
Here’s how to disconnect the battery safely:
- Make sure the engine is off and the keys are removed to ensure no electrical current is flowing,
- Using the wrench, loosen the nut on the negative terminal first, which is usually marked with a minus sign and has a black cable,
- Once loosened, carefully remove the negative cable from the terminal and place it somewhere it won’t come into contact with any metal parts,
- Next up, loosen the positive terminal, which is usually a red cable, by following the same process and precautions as with the negative terminal,
- Make sure both cables are secure and won’t accidentally touch the battery terminals during the repair process.

Identifying the Problematic Circuit and Locating the Short
With the battery safely disconnected, your next move is to identify the circuit causing trouble. Your car’s manual or a wiring diagram becomes your best friend here – it will act like a treasure map leading you to the problematic circuit.
Once that’s nailed down, the multimeter or test light steps into the spotlight to help locate the exact spot:
- Begin testing different sections by setting the multimeter to continuity mode and checking if there’s a beep, meaning there’s no issue at that section,
- Start with areas where wires move frequently or are exposed to the elements, such as trunk (or frunk) lids and door hinges,
- If there’s no beep or the test light doesn’t illuminate, you’ve likely found the culprit,
- Once the issue is identified, visually inspect the wiring for damage, burns, or exposed wires which can be the root cause of the issue,
- Mark the problem spot and proceed with the repair.
Repairing the Damaged Wire or Component
Finding the culprit is half the battle, and now it’s time for the actual repair. If a damaged or broken wire is the culprit, you’ll need to strip, splice, and reconnect it. Begin by using a wire stripper to remove the insulation from both ends of the broken wire. Then, using a wire crimper, splice the wires together by twisting them securely.
Insulating the repaired area is the finishing touch, a vital step to safeguard the repair and prevent future electrical issues. If you’re using electrical tape, wrap it securely around the repaired section of the wire. For an even more secure and professional finish, consider using heat-shrink tubing. Slide the tubing onto the wire before splicing, and after making the connection, move it to cover the exposed area and apply heat.

It’s Time to Test the Repair Once the Job Is Done
With the damaged wire or component skillfully repaired and insulated, it’s showtime. Reconnect the battery, remembering to reverse the disconnection process – attach the positive cable first, followed by the negative.
Once the battery is reconnected, the moment of truth has come – fire up your vehicle and check the previously affected equipment. If all is well, you’ve just successfully fixed that pesky short circuit.
Secure Any Loose Wiring to Prevent Future Shorts
A victorious moment after a successful repair should also serve as a reminder – that preventative measures are golden, so take an extra step to survey your car’s wiring. Use cable ties or clips to secure any loose or hanging wires. This proactive approach not only tidies up the wiring but significantly reduces the risk of wires rubbing, wearing out, and causing similar problems down the road.

How to Keep Your Vehicle’s Electrical System in Check and Prevent Future Short Circuits
While we’re still on the topic of maintenance, let’s talk a bit more about which preventative methods to employ. After all, an ounce of prevention is worth a pound of cure. Here are a few handy tips to keep your vehicle’s electrical system in tip-top shape:
- Make it a habit to check the wiring in areas like door hinges and trunk lids, where frequent movement can lead to wear and tear,
- Always ensure wires are well-insulated and avoid the temptation to overload circuits, which can lead to overheating and shorts,
- Always replace fuses with the correct rating to ensure they provide the right level of protection, reducing the risk of overloaded circuits,
- Dirty or corroded terminals can lead to poor electrical flow, so regularly clean them to ensure optimal performance,
- Regular check-ups by a professional can identify and fix potential issues before they turn into significant problems, ensuring the electrical system’s longevity.
Here’s When You Need to Consult a Professional Mechanic
While you’re now empowered with the knowledge to tackle a short circuit, it’s also crucial to recognize that some electrical issues require a professional touch. Here are such scenarios:
- If the short circuit involves intricate electrical systems like engine control units or advanced driver-assistance systems,
- When the electrical problems persist,
- For cars still under warranty, it’s often required to have electrical repairs done by professionals to avoid voiding the warranty.

Navigating the Electrical Maze Successfully Results in a Smooth Drive for Miles to Come
We’ve journeyed through the mystic wires of your car’s electrical system, from diagnosing and repairing a short circuit to preventative pearls of wisdom. But remember, every car, like its driver, is unique, with its own quirks and complexities. Know your limits, respect the machine, and when in doubt, don’t be shy to seek professional help.
Frequently Asked Questions About Short Circuits in a Car
Can a Short Circuit Drain My Car Battery?
This is a placeholder tab content. It is important to have the necessary information in the block, but at this stage, it is just a placeholder to help you visualize how the content is displayed. Feel free to edit this with your actual content.
How Do I Prevent Short Circuits in Older Vehicles?
Preventive maintenance is key for older vehicles. To minimize the risk of short circuits, regularly inspect the wiring for wear and tear, replace aged or damaged wires, and ensure that all electrical connections are clean and secure.
Can Weather Conditions Affect My Car’s Electrical Wiring and Lead To Short Circuits?
Yes, extreme weather conditions, especially moisture from heavy rain or flooding, can affect your car’s electrical wiring. It’s essential to check and maintain the wiring insulation and consider professional inspections after extreme weather events to identify and address potential issues early.
How Often Should I Inspect My Car’s Electrical System to Prevent Short Circuits?
A general rule is to have your car’s electrical system inspected comprehensively annually. However, if you notice any electrical issues, like flickering lights or blown fuses, it’s advisable to get them checked immediately to prevent potential short circuits.
Can Aftermarket Installations Affect My Car’s Electrical System?
Yes, aftermarket installations can potentially lead to electrical issues if not done properly. Always ensure that installations are conducted by professionals and that the added components are compatible with your car’s specific make and model to avoid electrical complications.


