Summer road trips and daily commutes have one thing in common – they both need your vehicle’s engine to stay as cool as a cucumber. That’s where knowing how to check the coolant level in the car comes into play. It’s a simple yet essential skill that can save your engine from overheating and keep your road adventures smooth, so let’s get your car’s cooling system in tip-top shape.
How to Check Coolant Level in the Car
Checking your vehicle’s coolant level is a pretty quick task. After allowing the engine to cool, find the reservoir and carefully remove the cap. A simple visual inspection lets you assess the fluid level. If it’s low, topping up is necessary to maintain your engine’s health. After refilling, ensure the reservoir cap is securely fastened and give it one last check to confirm everything is in order.
The Chill Factor – Unraveling Coolant’s Role When It Comes to Engine Temperature Regulation
Coolants, often the unsung heroes of your vehicle’s engine, are like the thermostats of your four-wheeler. This liquid plays a pivotal role in car overheating prevention, ensuring that things don’t get too hot under the hood. It’s a bit like the body’s ability to sweat and cool down but for your prized ride.
Therefore, knowing how and when to check the coolant level is an important ingredient in vehicle maintenance. Here’s why:
- By absorbing excess engine heat, coolants prevent your vehicle from overheating, especially during those hot summer days,
- In colder climates, this liquid ensures that your engine doesn’t freeze up, which can result in costly repairs,
- It helps prevent rust and corrosion in the engine’s internal components.
The Difference Between Coolant and Antifreeze
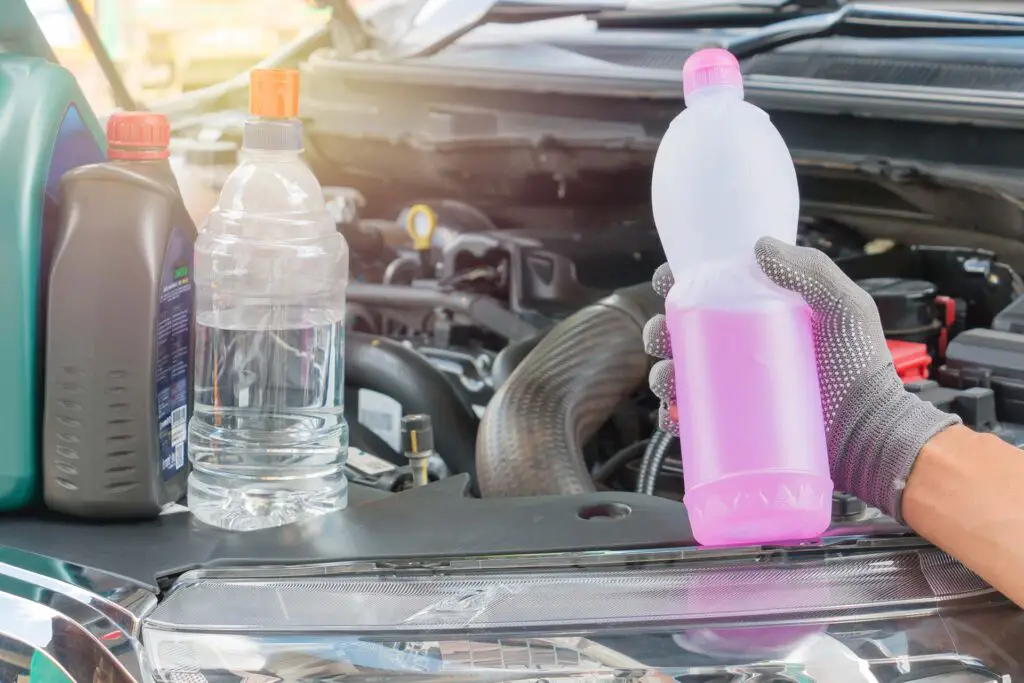
While often used interchangeably, these liquids aren’t quite the same, although they share their purpose. Antifreeze is the concentrated, undiluted form of the substance, which actually becomes coolant when mixed with water. The right balance is key to ensuring your engine stays in the Goldilocks zone – not too hot, not too cold, but just right.

Necessary Tools for This Vital DIY Auto Maintenance Task
Before we dive into the nitty-gritty of automotive fluid levels, let’s make sure you’re armed with the right tools. Here’s a handy table to ensure you have everything you need for this DIY adventure:
| Funnel | Ensures a neat and precise pouring of the liquid without any spills |
| Rag or cloth | Handy for wiping any spills or drips |
| Container for the old liquid | Essential for environmentally safe disposal |
| Distilled Water | Used to dilute concentrated antifreeze if needed |
| Safety gloves and goggles | Keeping your eyes and hands safe from any spills |
There Are Plenty of High-Quality Products for Cooling System Care
When it comes to taking care of your engine coolant levels, not all products are created equal. Out of the vast sea of choices, I would recommend the Prestone Antifreeze, as this universal formula works with most models out there. Its ease of use, along with the fact that it comes from a reputable brand, makes it a go-to for many DIYers.
Another notable pick would be the Zerex Original Green Ready-to-Use Antifreeze, which is specially formulated for newer vehicle models. This product offers excellent protection against rust and corrosion while maintaining your engine’s optimal temperature. Its long-lasting formula makes it a favorite choice for those looking for a reliable and durable solution.

Here Are a Few Safety Precautions to Get You Going
Before you start your antifreeze check, finding a level surface is key. Why? Well, it’s pretty simple. A level surface ensures an accurate reading. If you’re parked on a hill or an uneven surface, the reservoir might give you the wrong impression, leading to either overfilling or underfilling. Think of it like trying to measure a cup of flour on a tilted table – it just won’t give you the right amount.
Now, onto the cooling part. Rushing in right after a drive is a no-go. Why? Because opening the reservoir of a hot engine can be messy and potentially dangerous. The system is under pressure and the liquid inside can be scalding hot. So, give your four-wheeler some time to chill out and cool down. This not only keeps you safe but also ensures you get a more accurate reading when you do check the levels.

Locating the Reservoir Under the Hood to Get an Accurate Reading
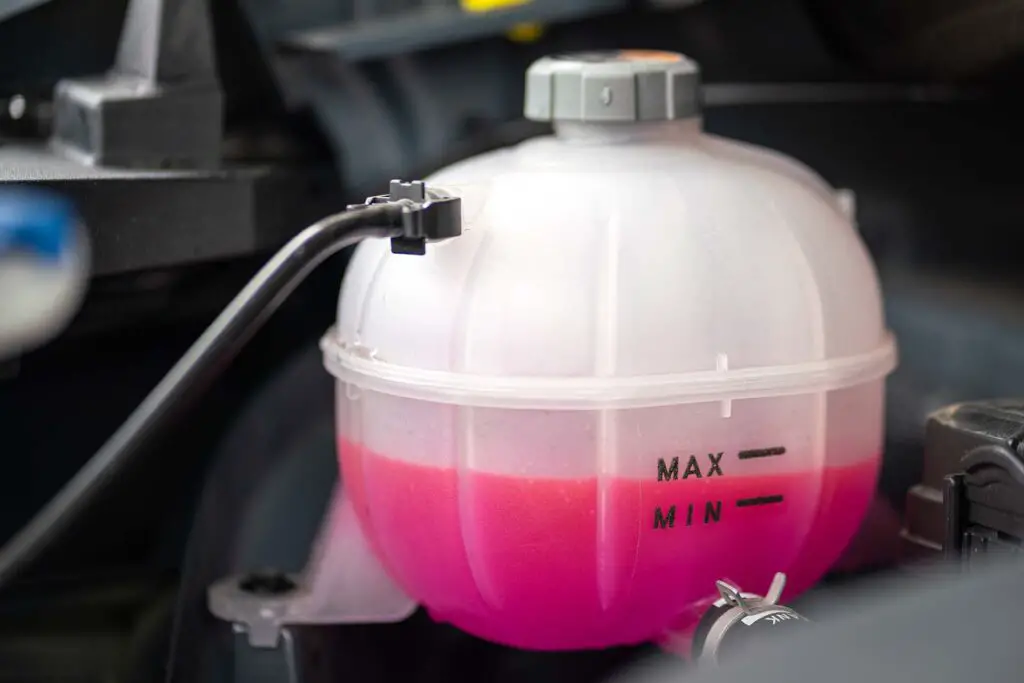
Finding the reservoir under the hood can be a bit of a treasure hunt, but thankfully, it’s usually not too tricky. In most models, this component is a translucent plastic container located near the electric radiator. This is typically on the side of the engine compartment, and it’s often labeled clearly, sometimes with symbols or text indicating it’s for the antifreeze liquid.
Consider the Owner’s Manual Your Guiding Light for This Maintenance Task
Think of your four-wheeler’s manual as the treasure map in this coolant-finding adventure. It’s the most reliable source to pinpoint exactly where the reservoir is or double-check to make sure you’ve found the right component.
Every vehicle is a little different, and your manual is tailored to the specifics of your model. By consulting it, you’re taking the guesswork out of the equation, ensuring you find the reservoir quickly and without any second-guessing. It’s like having a knowledgeable friend guiding you every step of the way – invaluable for a task like this.

Step-by-step Guide on How to Check the Engine Coolant Level and Address It Properly
Alright, fellow DIYers, let’s roll up our sleeves, put our safety gloves on, and dive into the heart of the matter. A little attention here can save you from a lot of headaches down the road. So, let’s get to it and demystify the process with some easy steps:
Take a Glance at the Markings on the Reservoir
When you peer into the reservoir, you’ll notice some markings that will literally be your best friends in this whole ordeal – the max and min lines. These are like the full and low indicators on a gas gauge. If the antifreeze levels are below the minimum mark, your prized ride is politely asking for a top-up. If it’s at or near the max mark, you’re good to go. It’s really that straightforward – no decoder ring is needed!
How to Add the Liquid if You Need To
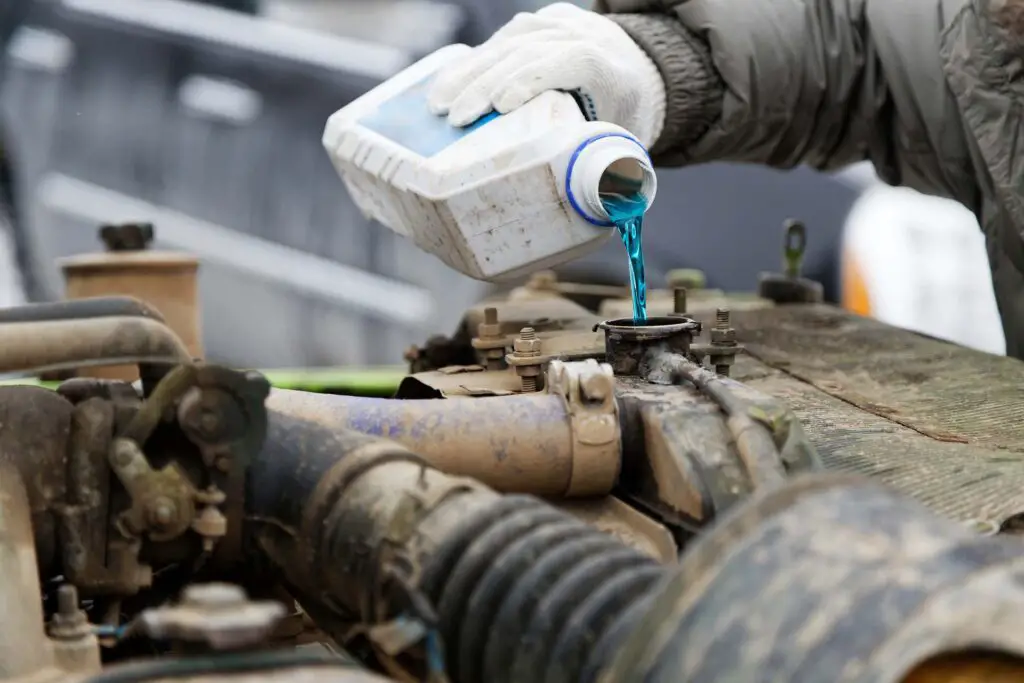
Adding antifreeze is a bit like making your favorite mixed drink – it’s all about getting the proportions right. The liquid should be added to the reservoir as slowly as possible until the level reaches just below the maximum line.
Be careful not to overfill, as this can cause problems when the liquid expands. Replace the cap securely and give it a gentle wipe if there are any spills. Congratulations – you’ve given your prized ride the refreshing drink it deserves.
Flush the System if There’s Contamination
Sometimes, you might notice that the liquid is discolored or contaminated. If that’s the case, it’s time to get rid of it and find a high-quality replacement. Flushing the cooling system involves draining the old fluid, taking a specialized cleaner through it, and refilling it with a fresh product.
However, flushing the system can be a bit intricate, so it’s best to leave it to the pros. If you’re not confident in tackling this task yourself, it’s wise to take your four-wheeler to a professional shop. They have the tools and expertise to ensure the job is done right, keeping your car’s engine cool and happy.
Dodging the Potholes – Common Mistakes and How to Avoid Them
This task might seem as straightforward as flipping a pancake, but even the simplest tasks have their pitfalls. To keep this crucial fluid in check as smooth as a Sunday drive through famous US routes, it’s important to know what to watch out for.
When Is the Best Time to Check the Coolant Level?
The golden rule of radiator fluid inspection? Timing is everything. The ideal time is when the engine is cool and has had a chance to rest after a drive. This usually means checking first thing in the morning before you’ve started your daily commute. Of course, this doesn’t mean you should check every morning – actually, twice a year is more than enough.
What to Do if There’s a Leak?
If you notice the antifreeze level is dropping frequently or see a puddle of liquid under your vehicle, you might be dealing with a leak. The first step is to identify where it’s coming from – hoses, the radiator, or maybe the water pump.
Sometimes it’s a simple fix, like tightening a clamp. Other times, it might need professional attention. Either way, addressing a leak promptly is crucial. It’s not just about keeping the level right – it’s about ensuring your engine doesn’t overheat and get into some serious trouble.

Stay Cool, Stay Ahead – Savvy Tips for Ongoing Maintenance
Keeping up with maintenance ensures a smooth voyage for your prized ride, no matter if it’s a brand-new city car or a rugged used vehicle. Here are some savvy tips to keep your cooling system shipshape in any weather:
- Make a habit of peeking at the reservoir every few months,
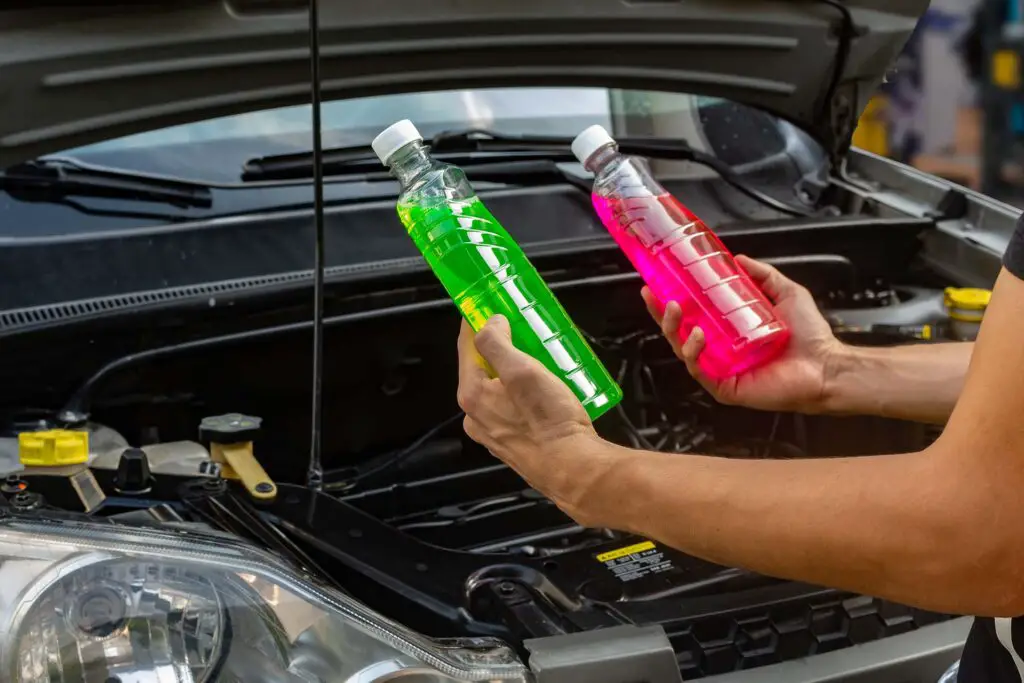
- Keep an eye on the color too, as murkiness or discoloration can be an important pointer as well,
- Watch for warning signs like your engine running hotter than usual or any weird noises coming from the radiator,
- Flush your system every 30,000 miles or so,
- Regularly check for and remove any debris around the radiator and reservoir cap.
Cooling Off and Wrapping up Our Vehicle Maintenance Crusade
From the art of the perfect check to dodging common pitfalls and mastering ongoing maintenance, you’re now well-equipped to keep your prized ride’s engine running cool and collected. Remember, taking a little time for this kind of care can save you a lot of time and trouble down the road. So, keep these tips in your toolbox, and your four-wheeler will thank you with many more miles of happy, cool-running adventures.


