Want to give your ride a fresh, revamped look without burning a hole in your pocket? Well, learning how to refinish wheels might just be the trick you’re looking for. With a touch of patience and a sprinkle of elbow grease, you can make those rims sparkle and shine in no time.
Armed with the right tools – from sandpaper in various grits to the specialized paint of a desired hue – the process involves cleaning, priming, painting, and sealing with a clear coat. With handy tips and pitfalls to avoid, this DIY journey ensures your ride will gleam and dazzle once more.
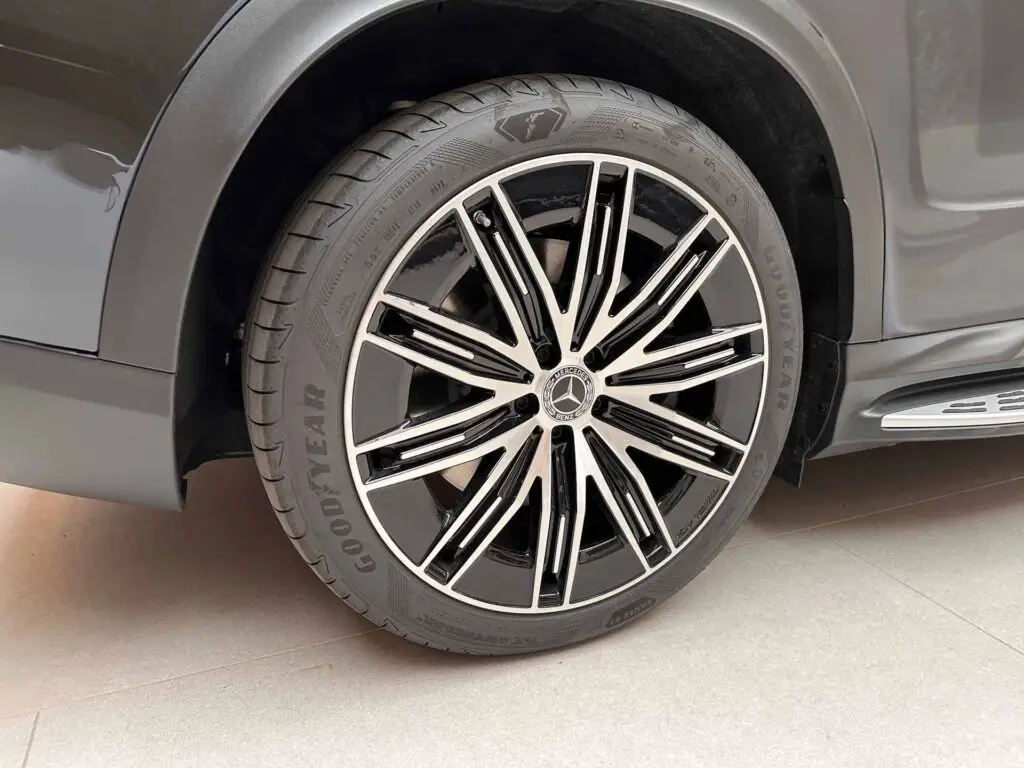
Understanding Wheel Damage
Over time, our trusty rides face the brunt of harsh roads, unpredictable weather, and yes, sometimes our misjudged parking. This happens no matter if you spend most of your time cruising down the famous routes in the US or being stuck in stop-and-go traffic in one of the cities with the worst drivers. This daily wear and tear takes a toll, resulting in unsightly damage to our precious alloys.
What Types of Wheel Damage Can Happen?
Though a myriad of scenarios can best those shiny rims, a few culprits rear their heads more often than others. Here’s the usual lineup:
- Curb rash,
- Corrosion,
- Scratches,
- Dents and bends,
- Peeling clear coat.
Such blemishes aren’t just cosmetic nuisances. Over time, they can affect tire performance, potentially compromising safety. Moreover, they play spoilsport to your vehicle’s aesthetic appeal, making it look like it has a salvage title. So, as we go through this guide, remember that it’s not just about looks – it’s about extending the life and safety of your ride.
Benefits of Wheel Refinishing
Taking the time to spruce up your rims isn’t just about vanity – it packs a punch in terms of practical benefits, too. From saving some bucks on the side to giving your ride that showroom shine, there are plenty of benefits to learning how to refinish aluminum wheels. Here’s what you can look forward to:
Cost Savings Compared to Buying New Wheels
Let’s face it – a brand-new set of alloys can put a significant dent in your wallet, and the car prices on the market are already high enough. Refinishing, on the other hand, is like giving your existing set a facelift at a fraction of the cost. It’s a win-win situation. You get a completely refreshed look for your precious ride without adding a strain on your ownership costs.
Enhanced Vehicle Appearance and Resale Value
Imagine trying to sell an otherwise beautiful four-wheeler that’s just got those pesky rim blemishes. It’s a turn-off, right? Refurbishing those blemishes can drastically uplift your vehicle’s overall aesthetic, making it far more appealing to potential buyers. So, you enjoy the enhanced look during your ownership and potentially boost the resale price when it’s time to part ways.
Extended Lifespan of Wheels
As mentioned, refinishing isn’t just a cosmetic procedure – it’s a longevity booster for your rims. By addressing issues like corrosion and peeling clear coat, you’re preventing these problems from escalating further. Think of it as giving your rims a protective barrier, ensuring they stand strong and shiny for many more miles to come.
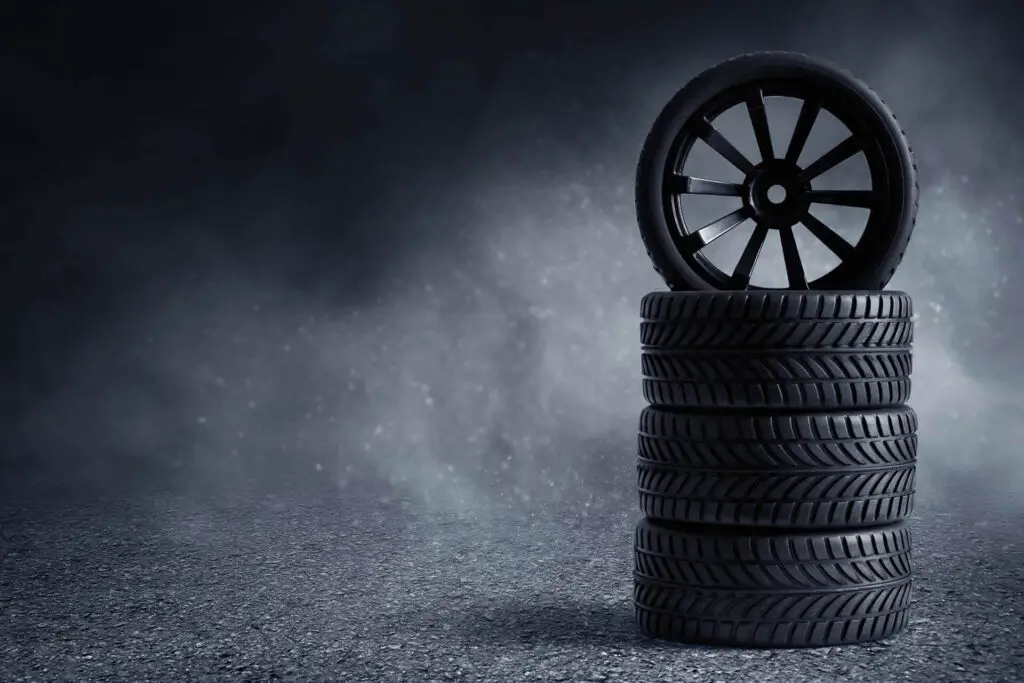
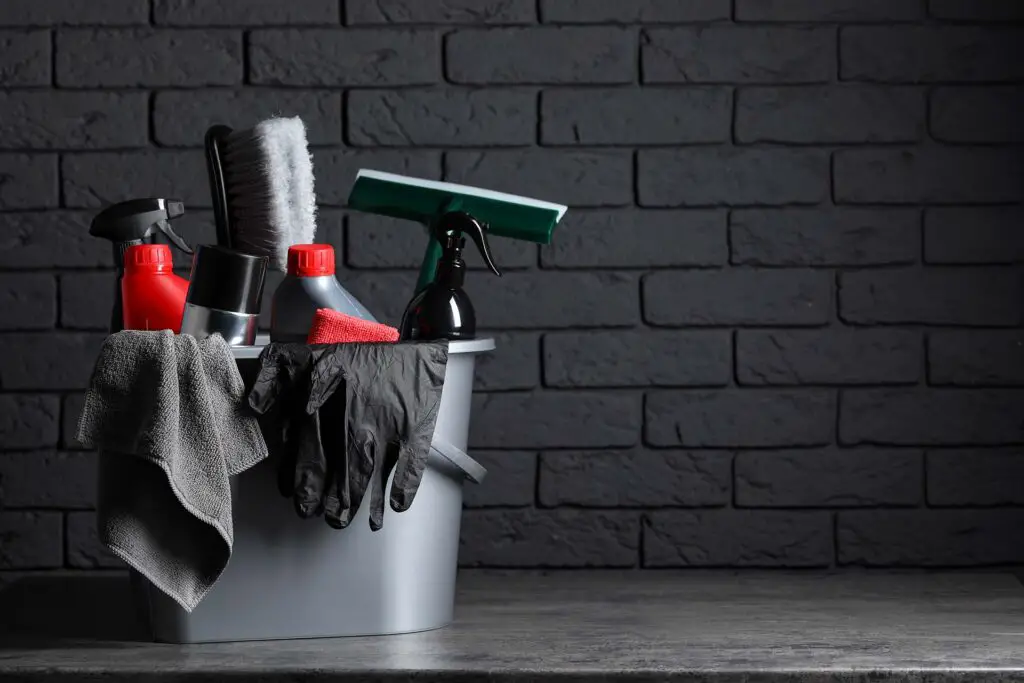
Tools and Materials Needed
Before we get those rims looking pristine again, we’ll need to gather a few essential tools and materials. Here’s what you need to refinish alloy wheels:
| Various grits of sandpaper | To smooth out the surface and remove imperfections |
| Wheel cleaner and degreaser | Ensure a clean surface for refinishing |
| Masking tape and paper | To protect areas not being refinished |
| Primer, paint, and clear coat | For the repainting process and to give it that finishing shine |
The cost to refinish wheels professionally hovers between $100 and $200. This range is influenced by the specific procedures employed and the quality of materials chosen. However, there’s a silver lining for all the hands-on enthusiasts. Diving into the DIY route can shave off a few dollars, ensuring your ride looks snazzy without straining the wallet.
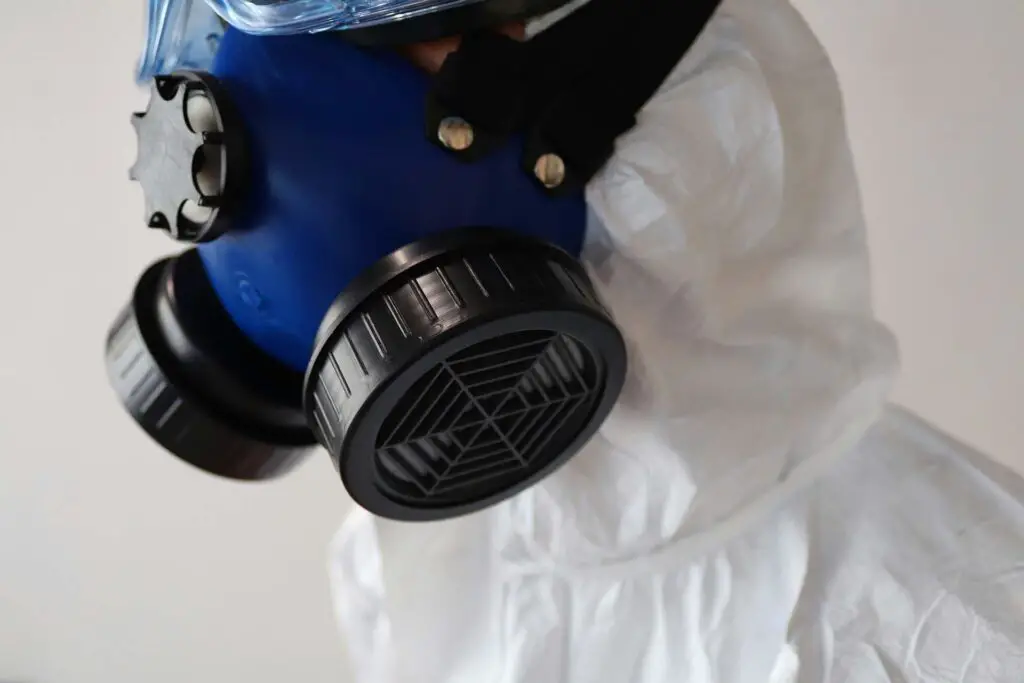
Safety Precautions Before Beginning
Aside from gathering the needed materials, there’s one more thing to take care of before diving into the refinishing process, and that’s to prioritize safety. First and foremost, always sport protective gear like goggles, gloves, and a dust mask to shield yourself from potential hazards.
Also, make sure your workspace is well-ventilated to keep those fumes at bay. And don’t overlook the basics. Keep the area clear of flammable materials, ensuring a mishap-free refinishing process.
Steps to Refinish Wheels Like a Pro
And now, the moment you’ve been waiting for – diving into the nitty-gritty of how to spruce up those rims and make them shine like brand new. With the safety precautions in mind and the few necessary tools gathered, it’s time to roll up your sleeves and get started.
Remove the Wheels and Prepare Them for Refinishing
Begin by removing the wheels from your vehicle, giving you unrestricted access to all their nooks and crannies. If you know how to change a flat tire, this first step will be a breeze. For those unfamiliar with the process, it’s all about jacking the four-wheeler up and loosening the bolts and nuts one by one. However, it’s best to ask for help from a more experienced person if it’s your first time doing it.
Once off, it’s essential to give them a deep clean. This is where a specialized cleaner and degreaser come into play. I personally recommend the Torque Detail Purple Destroyer, as this potent solution will ensure that all dirt, grime, and old residues are history, setting the stage for flawless refinishing.
Sanding and Priming the Surface for a Smooth Finish
Once each wheel is sparkling clean, it’s onto the other half of the preparation process. This stage is all about getting that surface as smooth as possible. Let’s walk through the steps:
- Sand out any scratches, dings, or peeling with sandpaper of suitable grit,
- Using your masking tape and paper, shield the tire and any other sections you want to remain untouched by paint,
- Apply a thin, even coat of primer to create a foundation for the paint,
- Allow the primer to dry thoroughly,
- Once dry, go in for a light sanding session to ensure the primed surface is as smooth as possible.
It’s Time to Start the Painting Process
The heart of the transformation lies in the painting. For a seamless look, it’s pivotal to apply your chosen hue in thin, consistent layers. This approach not only guarantees even coverage but also reduces the chances of drips or patches. Remember, patience is your friend here – allow adequate drying time between each coat to ensure a uniform appearance.
Apply Clear Coating to Protect the Paint
With the color locked in, the next step is sealing the deal. A clear coat acts as the guardian, defending the fresh paint beneath while also bestowing a glossy finish that makes those rims pop.
For this step, I recommend the Chemical Guys Clear Liquid Protectant, which is sprayable, making it more efficient and less time-consuming than other options on the market. However, you still need to take your time and apply it evenly, and just as before, allow it to dry completely.
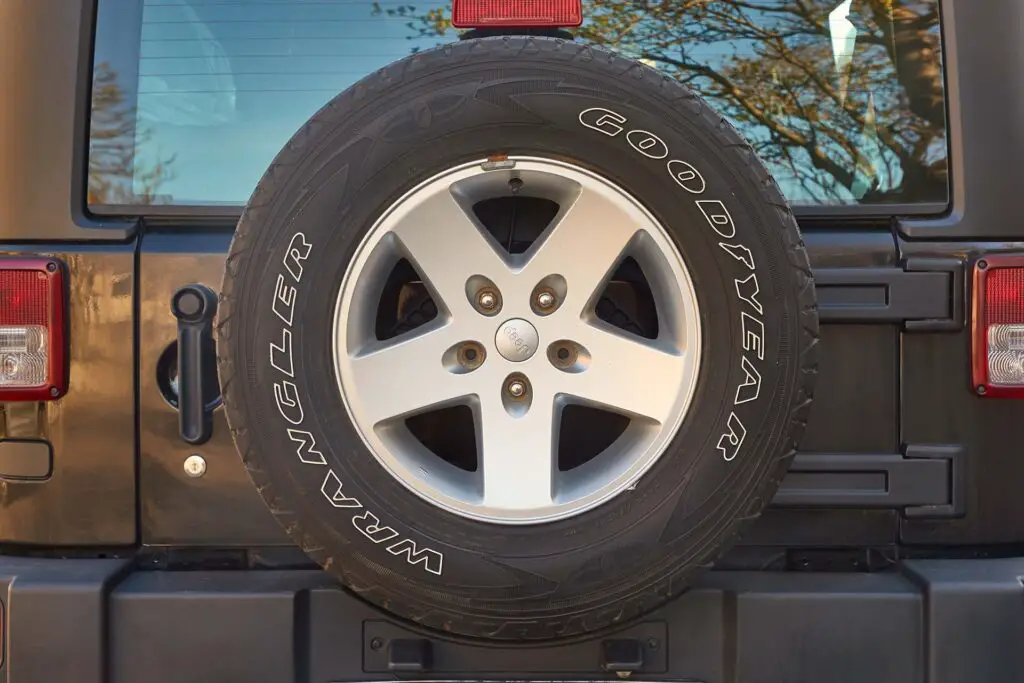
Reattach the Wheel and Test It Out
With your rims looking better than ever, it’s time to get them back where they belong. Let’s get them reattached:
- Align them correctly with the vehicle’s hub,
- Tighten the lug nuts in a crisscross pattern to ensure even pressure,
- Double-check that all the lug nuts are securely fastened.
Now, before you take on the world with your rejuvenated ride, it’s wise to take a short spin around the block. This ensures everything is in place and feels as it should. After that, all that’s left to do is relish in that smooth and stylish ride.

Tips for Refinished Wheels
Once you’ve given those rims a brand-new look, it’s vital to ensure they stay pristine. Regular cleaning can fend off unsightly buildup and prevent premature corrosion. Opt for products specifically crafted for rim maintenance, as they offer tailored protection.
The already-mentioned Torque Detail Purple Destroyer works magic when it comes to regular maintenance. But whatever you choose, make sure to steer clear of overly aggressive chemicals or tools – they might do more harm than good.
Common Mistakes to Avoid
Everyone’s eager to see their rims gleaming, but haste can sometimes lead to overlooked steps or mishandled procedures. Let’s navigate through a few common pitfalls that can hinder your refinishing journey and learn how to sidestep them.
Skipping the Priming Stage
Primer isn’t just an optional layer – it’s the bridge that ensures your paint adheres correctly and lasts longer. Without this foundational coat, your pain might not stick well to the surface, leading to peeling or uneven results. So, always invest the time in priming for a finish that not only looks professional but also stands the test of time.
Applying Paint or Clear Coat Too Thickly
A rookie mistake is believing that thicker coats mean better protection. However, laying it on too thick can result in drips, bubbles, or an uneven finish. The mantra to remember? Thin and steady wins the race. Apply several light coats rather than one or two heavy ones for a smoother, more polished look.
Not Allowing Adequate Drying Time Between Coats
I get it – it’s hard to wait when you’re eager to see the end result. But rushing the drying process can lead to a tacky finish or even worse, smudging. Each layer, be it primer, paint, or clear coat, needs its time in the spotlight to dry and cure properly. Give it the time it deserves, and your patience will be rewarded with a flawless finish.
Wrapping up on Rims – It’s Time to Roll
Now that you’ve learned about the nitty-gritty of giving your rims a fresh new face, it’s time to try it out yourself. Remember, the journey to refinished perfection is all about patience, the right tools, and avoiding those pesky pitfalls. With the know-how you’ve just gained, your ride is sure to turn heads.
FAQ
Can I Refinish the Wheels With Any Material?
While most metal wheels, such as aluminum and alloy, can be refinished, it’s essential to choose the right paint and primer specific to the wheel material. Always check the manufacturer’s recommendations before starting.
How Often Should I Refinish My Wheels?
It really depends on wear and tear. If you’re avoiding curbs, cleaning them regularly, and aren’t facing harsh weather conditions, a good refinishing job can last several years. Keep an eye out for signs of damage or wear.
Do I Need Special Paint for Wheel Refinishing?
Absolutely! Wheel-specific paints are designed to endure the heat and conditions wheels face. Regular paint may not hold up as well or provide the same finish, so always opt for wheel-specific products.


