Nowadays, you’re probably seeing more and more vehicles with tinted windows. While there are many reasons why someone might want that extra layer of tint film on their windows, it doesn’t last forever, and you might need to replace it. That’s when knowing how to remove car window tint comes in handy, so here are all the most effective methods to make it happen.
When it comes to removing tint, there are a few easy ways to do it. You can use a steamer, a hair dryer, or a heat gun to dissolve the adhesive so it makes the tint easier to remove with a razor blade. Or, you could take advantage of a sunny day and do it by soaking your windows with some ammonia and soapy water. There’s also the option to just simply scrape it off, but it should be done carefully. With a little bit of skill, any of these methods can help you to successfully remove the tint from your windows.
There Are Many Benefits to Putting Tint Film on Car Windows, but You Will Need to Replace It Sometimes
Tint film can be a great addition to the windows and sunroofs of your vehicle – it protects the interior from UV rays and consequently reduces sun damage, keeps the inside space cool during the hot summer days, and adds an extra layer of protection, literally. However, the tint film has a limited lifespan, and you will surely need to replace it at least once in your driving career. So, knowing how to do it right is very important.
Reasons Why You Might Need to Remove and Replace Window Tints
Concerning practical and aesthetic purposes, there are a few reasons why you should consider removing your window tints and replacing them with new ones if you like having them on. Here are some of the most common reasons why you might want to remove the tint from your windows:
The Tint Film Started Bubbling Over Time
When the adhesive applied to your window gets long-term exposure to UV rays, it will start to bubble at some point. Heat breaks down the glue, and it gradually becomes less sticky, resulting in air bubbles. It doesn’t look good, and there’s no way to really fix it. Peeling the bubbles will only leave an even bigger mess of tint chunks and glue. However, with it being less sticky, removing the tint film will be much easier.
The Tint Started Changing Color Also Due to Sun Exposure
Over time, not only will the tint film start to change color, but it may also lose the ability to protect the car’s interior from the sun. The change in color appears due to the breakdown of non-metallic dyes, and it can’t be reversed. So, if you’ve noticed that your window tint has gotten more of a purplish shade, it would be a good time to consider replacing or removing it altogether.
Even Simple Aesthetic Reasons Can Be a Good Enough Motive
Sometimes, you just simply don’t want your windows to be tinted. Maybe you’ve just bought a used vehicle that already has the windows tinted, or you’ve tried it but come to the conclusion that it’s not for you. No matter the reason, it’s a good idea to try and remove the tint film from your car windows. Since the glue is probably at its strongest, it might be a bit more difficult to remove, but with one of these methods, it will work just fine.
There Are Several Easy Methods That Will Get the Tint Film off Your Car Windows
No matter what your reason for learning how to remove window tint from a car is, there are a few inexpensive methods you can try yourself. Most of them involve heat and are very effective, but it should be mentioned that you might be using sharp tools such as a razor blade.
So, before you get down to one of these methods, it’s important to remember that safety is always the number one driver’s responsibility. That’s why, besides the necessary tools, it’s important to carefully do the job, and it would be a good idea to use gloves for extra protection.

How to Remove Car Window Tint With a Steamer
Using a fabric steamer to loosen the adhesive is a big help for removing the tint film from your window. But before you start steaming, you should roll your window down just a little bit so that the edge of the tint is visible. Hold the steamer a couple of inches away, and make sure to get the edges of the tint thoroughly. The adhesive will start to dissolve, and you should repeat the process on the other side of the window until it’s evenly steamed.
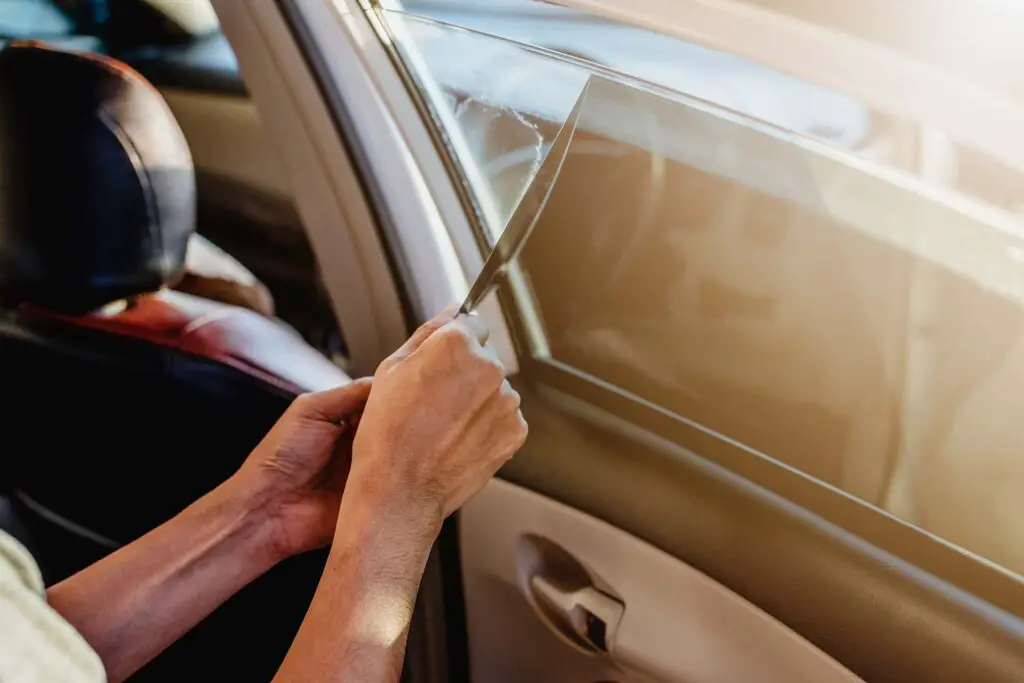
Remove the Tint With a Razor Blade
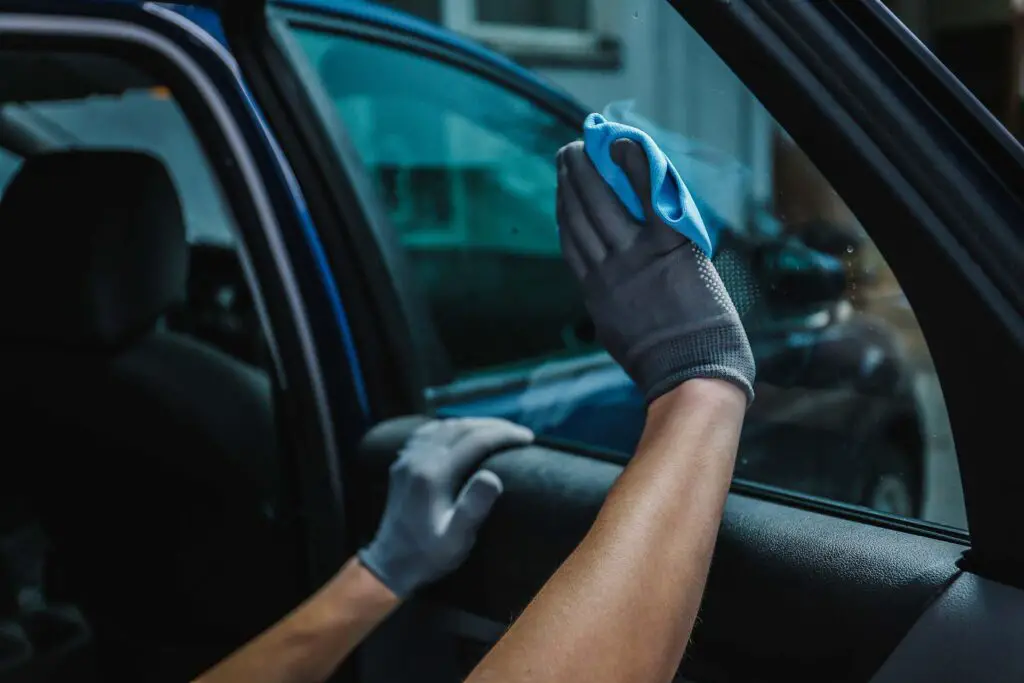
Once it’s thoroughly steamed, it should be no trouble to lift the corners of the tint film with a razor blade. After you get the edges off, the rest should be carefully removed by peeling it with your hands from the top downwards. While peeling, continue to steam where the tint is still very sticky. When it’s successfully removed, it’s time to simply clean your windows.
You Can Do This by Using a Hair Dryer or a Heat Gun, but It Will Take a Bit More Patience
There’s an additional approach to this method – you can do everything the same while using a hair dryer or a heat gun instead. The adhesive will start to loosen due to heat, but it might take a while to heat the whole window thoroughly. However, with a little bit of patience, the glue will dissolve, and the film will be easier to remove.
Tint Will Be Easy to Remove With a Little Bit of Heat, Soapy Water, and Ammonia
A warm, sunny day can make the job easier in more ways than one. For this method, all you’ll need are some black plastic bags, two spray bottles – one with ammonia, the other with some soapy water, and a little bit of sunshine. Before you get to work, it’s important to take safety precautions before you start using ammonia. A safety mask and some gloves will be needed, and it would also be wise to cover the rest of your interior to avoid any mishaps.
The Soapy Water or Ammonia Will Make the Garbage Bags Stick To Your Windows
After you cut the plastic bags the same size as the insides and outsides of your windows, spray some soapy water on the outside of your window. This will help the garbage bag stick, and you should smooth it out with your hand. Then, spray ammonia on the other side and also cover it up with a garbage bag. If they don’t stay up, you can use tape in order to make them fully stick to the window.
Leave It a Few Hours in the Sun Before You Start Removing the Tint
While the ammonia soaks in the sunlight, you can maybe get some maintenance or cleaning done. Add brake fluid, or remove that unwanted paint that’s been bothering you for a while, and let the adhesive dissolve for a few hours. When it’s been that long, remove the garbage bags and use a razor blade to slowly peel off the window tint. It should be coming off quite effortlessly, and any leftover glue will be easy to get rid of.
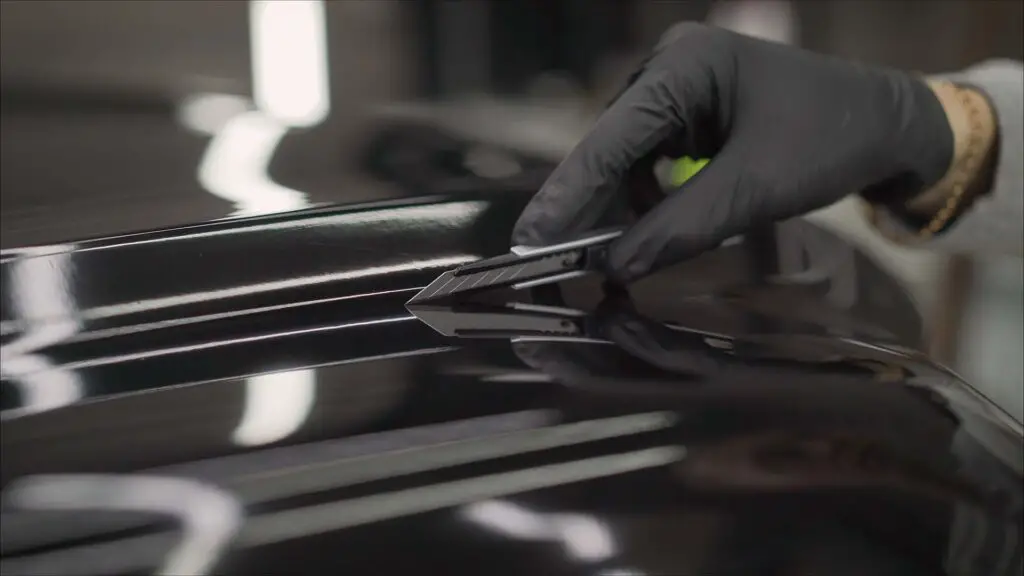
You Can Also Try the Scraping Method, but Do It Very Carefully
The tint film can also be removed by a sharp object – a non-metallic scraper, a razor, or a specially designed tint removal tool. All of these options work quite well, but you need to be extra careful while removing the tint to avoid scratching the glass. Remember to always hold the blade at an angle and be patient while you slowly scrape off the tint. If it’s not working, you can always go back to the first method – a bit of heat will surely help the job get done.
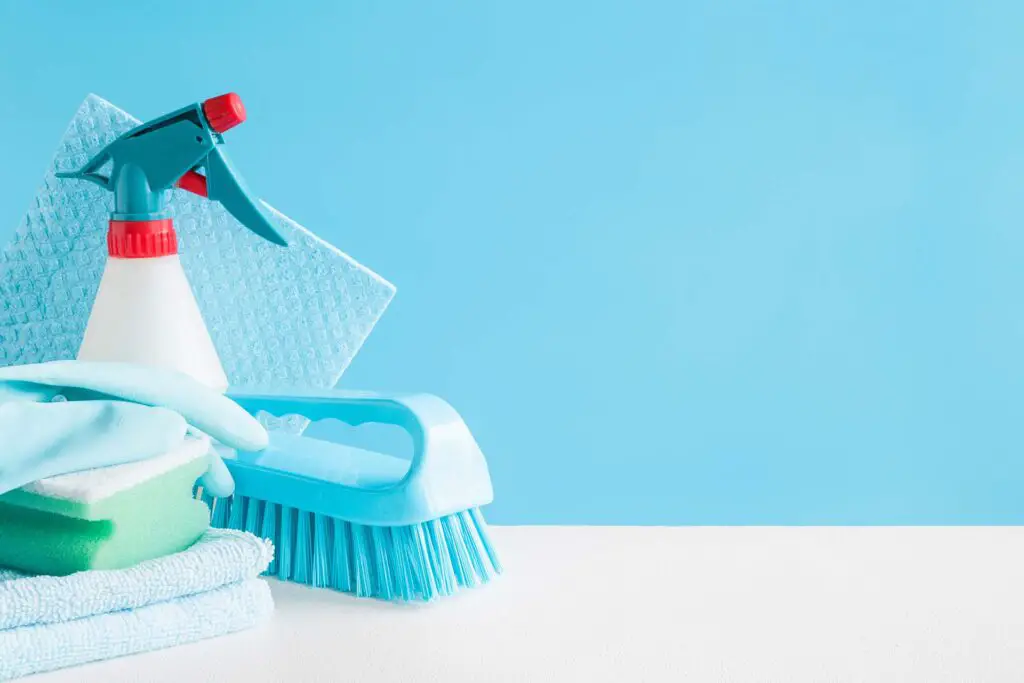
Take Care of the Finishing Touches by Removing the Leftover Adhesive
Once you’ve got the job of removing tint from your windows successfully done, there might be some leftover glue on your windows. But don’t worry, as learning how to remove car window tint glue is just as easy. Simply spray the area with more ammonia, isopropyl alcohol, or a nail polish remover, and scrub until the window is clean. If certain spots are giving you trouble, you can use an ice scraper to remove the glue residue. Of course, finish off with a glass cleaner to get that nice shine.
Why It Might Be a Good Idea to Put New Tint Film On
If you liked the feel but had to remove it for practical purposes, it would be a good idea to install a new set of window tints. After all, you probably spend a lot of time in your vehicle, and it’s important to feel comfortable. But it’s not only about the looks and the feel, as window tints also have a lot of practical benefits. Here are the main ones:
- Tint protects your car’s interior – your leather upholstery can easily get sun damaged, and tinted windows act as a protective layer against the UV rays, so they can extend the life of the car’s interior in the long run,
- There will be less glare of the sun – reducing the glare will not only make things way safer and easier to navigate when you’re on the road, but it will also help keep your vehicle cooler during those warm summer days,
- Tint provides that extra layer of privacy – it’s important to have privacy in your vehicle, especially for a family car or when you pass through sketchy areas, and tinted windows can create that safer environment you’re looking for,
- It can prevent glass shattering on impact – if there’s an accident, shattered glass is the most common result, but the tint films can hold the glass together and prevent it from breaking into thousands of shards.
The Pros and Cons of Each Type of Car Window Tint
So, if you’ve decided to refresh your tinted windows, but are not sure which type of tint film is the best for you, here are the main pros and cons of each one:
| Tint Type | Pros | Cons |
| Dyed Tint | The most affordable choice | Least effective at blocking sun rays |
| Metalized Tint | Durable and very effective at blocking the sunlight | Can get very expensive |
| Carbon Tint | Great insulation and doesn’t fade over time | Also an expensive choice |
| Ceramic Tint | The most effective for reducing glare | The most expensive option on this list |
Whether You’re Removing the Tints Altogether or Replacing Them With New Ones – You Can Do the Whole Thing Yourself
So, now that you know all the possible methods for removing the car window tint, as well as why it might be a good idea to consider putting new tint films on your windows, it’s time to actually do it. As you could gather yourself, it’s an easy process, but it might take some time to get it done, similar to, for example, removing dog hair from your interior. However, with a little bit of care and patience, you will surely finish this job easily. Good luck!


