Steering wheel covers have become more and more popular over the years. People love having something custom and adding their personal touch to their cars. The only problem is that they are a bit difficult to put on, so here is how to put on a steering wheel cover in the most efficient and easiest way possible.
Why Do People Use Steering Wheel Covers?
There are many reasons why people love using steering wheel covers and why it’s become such a trend these last few years, especially among women drivers. For starters, the main reason why people love these so much is the aesthetic appeal. You can get any kind of steering wheel cover you want.
You can easily find them and buy them online in any color and material you’d like. There’s something out there for everyone, whether you want a simple black leather cover or a bedazzled green fluffy one. But steering wheel covers don’t just pretty up the interior of your car. They also have a few practical purposes.
Covers Protect the Original Material of the Steering Wheel
Besides car seats and seat belts, steering wheels easily show the first signs of aging in a used car. They start to crack and dry out due to the time spent frying up in the sun, especially when it comes to leather steering wheels. Some people choose to solve that issue by using certain sprays and creams that are supposed to refresh the steering wheel, but a cover is definitely the most effective way of protecting your steering wheel against deteriorating over time.
A Cover Can Serve as a Temperature Regulator
We all know that as soon as you hit that point where you have to switch from winter to summer tires, you can expect a minor stroke due to the heatwave you will experience every time you get into your car. Also, during the summer, finding a parking spot in the shade is the most important thing. Otherwise, you won’t be able to touch your steering wheel since, after an hour or more in the sun, it will be way too hot to hold and control.
But if you have a steering wheel cover, you won’t be experiencing this issue. Your cover won’t get overheated from baking in the heat all day, and you will be able to drive normally as soon as you get into the car. Just make sure it’s a cloth cover, not a leather or vinyl one. The cover will have the same effect during cold winter months – it won’t freeze the way your steering wheel would, and it will keep your hands warm.
It’s a Must if You Suffer From Hand Pain or Fatigue
You might have noticed that a lot of truck drivers use steering wheel covers, and that’s not because they want to have a nicer interior. If you’ve ever had a long trip and found yourself driving a few hours in one go, you must have experienced hand fatigue or cramps at some point. There are many steering wheel covers that are specifically made to be comfortable and protect and support your hands, alleviating pain. Think of them as tiny pillows or cushions for your fingers.
How Do You Find the Right Steering Wheel Cover?
Today, there are countless options when it comes to steering wheel covers. These accessories have become so popular that there is a new brand out there every day. You can find a website and create your own custom one, or you can choose from the ones that are already made in auto stores or other online retailers.
These car accessories are relatively cheap, with the price range starting at around $20 to $100 for high-quality luxury covers. You can find any color, texture, or print you want, and while leather, cloth, and vinyl are the most common materials used, you can also find a cover in other materials such as:
- Silicone,
- Microfiber,
- PVC,
- Wool,
- Faux fur,
- Cowhide,
- Rhinestones,
- Crochet.
Make Sure to Take Measurements Before You Buy the Cover
Before we get into the instructions on how to place the cover on your steering wheel, the number one step you need to take is to measure your steering wheel to make sure the cover will fit. You have to check the diameter and grip circumference of your steering wheel, you will need it later on when purchasing the cover, so you don’t mess up the size.
The easiest way to do this is by taking a stretching measuring tape and holding it horizontally across the wheel to measure the diameter, and then taking the tape and wrapping it once around the wheel to measure the grip circumference (the thickness) of the steering wheel. You can expect that the diameter will be somewhere between 35 and 45 cm, and the grip circumference should range between 5 and 11 cm. If your measurements are vastly different, you’re doing something wrong, and you should measure everything again.

How to Put On a Steering Wheel Cover the Right Way
Most people have issues when attempting to put on a steering wheel cover. But if you do it the right way, it doesn’t have to be complicated at all. There are just a few simple steps you should follow, and you’ll have your cover on in a few minutes.
The first step is to take a microfiber towel or any other piece of fabric and some isopropyl alcohol. You can also use some other cleaner, like a vinyl cleaner, but some isopropyl alcohol does the best job at this. Use whatever you have at hand, just make sure to clean it thoroughly. Otherwise, bacteria and mold could get under your cover and grow over time.
Once Everything Is Clean, You Have Two Options
Once your steering wheel is all clean, you need to figure out whether you have a cover that can be simply stretched and put on the wheel, or you will have to stitch your cover into place. The two methods of placing the covers are pretty different, so have that in mind when purchasing your cover. You should also know that some materials are harder to put on the wheel than others.
For example, a furry fluffy cover will be much easier to slide over the wheel than a stiff cover made of rhinestones that could fall out if stretched out too much or a hard-leather cover that needs to be stitched on, as are most luxury covers. No matter which method you end up going for, the very first step is to place and set your steering wheel in a straight, up-right position – the 12 o’clock position.

The Stretching Method
The stretching method is the easier one because pretty much all you have to do is place the cover on the steering wheel, there is no stitching involved. However, there are a few steps you should follow if you want to place the cover on correctly.
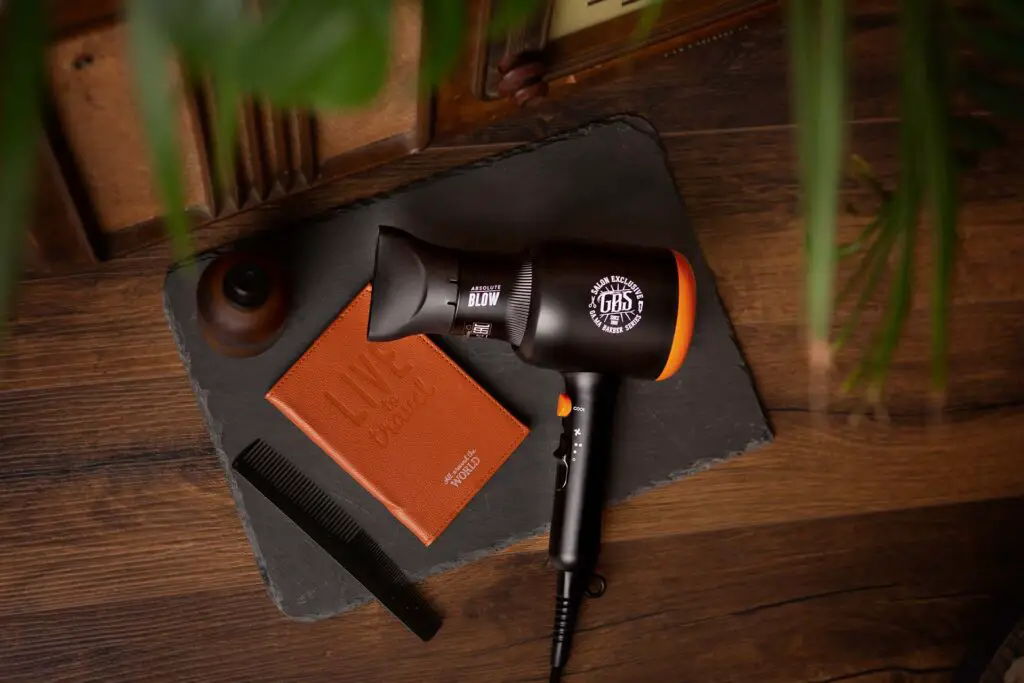
A Blow Dryer Will Make the Application Process Go By a Lot Smoother
The first thing you need to do is grab a blow dryer. Yes, you read that right, you will need a blow dryer, and it will make your life easier as it’s one of the best tricks for putting on steering wheel covers. By blow-drying your cover, you will soften it up a bit, which will allow you to stretch it out easier.
Just be careful and mindful of the material of the cover – for example, if you have a leather cover, this trick will do wonders. However, if you bought a crochet or rhinestone cover, it wouldn’t loosen that much, and you might even end up melting the glue holding the rhinestones together. Once you’ve unwrapped your brand-new steering wheel cover, you can turn your blow dryer to medium heat and start blow-drying your cover while keeping a 2-3 cm distance between the cover and the dryer.
Heat up each section of the cover for 10-15 seconds, and focus on the inside, or the interior part of the cover, since it will allow for better heat distribution. Move the dryer gradually until you can feel that the cover has become warm and softer. Once you feel like the cover is flexible enough, you need to act fast so that it doesn’t cool off and move on to the next step.
Place the Cover Over the Top Part of the Steering Wheel
Once you have your heated cover ready to go, quickly place the top part of the cover over the top part of the steering wheel. If you didn’t already do it, make sure your steering wheel is in the upright position before starting the installment process. Pull the cover over the top of the wheel as much as you possibly can, and make sure that the seam of the cover is facing down.
Do the Sides Next
After you’ve pulled the cover over the top part of the wheel, it’s time to stretch the cover as much as you can and pull it over the sides of the wheel. This is where you will be thankful for the blow dryer. Another great tip is to alternate between both sides, do the left one first, and then move over to the right one.
Last Step – Pull the Cover Over the Bottom Part of the Wheel
The last step is going to be the hardest since you will need to use some force. Be patient and persistent, and slide the remaining part of the cover over the bottom of the steering wheel. If you followed the previous steps quickly, the cover should still be warm and flexible and make it easier to pull. Once you manage to pull every part of the cover over the wheel – you’re done. Just check one more time to see if everything is set in place and fix any loose ends.
The Stitching Method
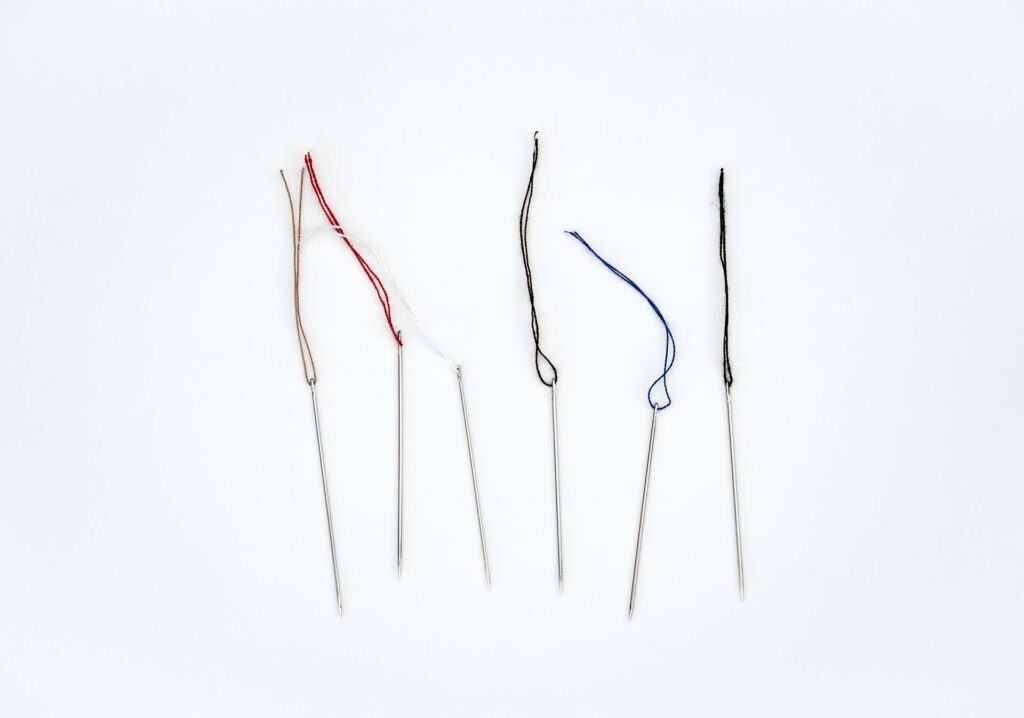
If you purchase a cover that requires stitching, you should know that you don’t need a blow dryer or to stretch the cover. These covers are generally very loose and flexible, which is why you will need to stitch them in place. Most of these covers will come with sewing materials. If not, use a simple lacing string. In both cases, you will need a needle.
Start By Pulling the Cover Over the Wheel
The very first step shouldn’t be an issue – all you have to do is stretch an already pretty loose cover over the steering wheel on all sides. In some cases, you will receive a tape or some other adhesive alongside the sewing material, so use it to secure the cover while you sew.
Thread the Needle and Push It Through the Inside of the Cover
Push the string through the eye of the needle and tie a knot. Once you’ve got a threaded needle, push that needle through the precut holes on the inside of the cover. Start with the side closest to you and then move on to the other side, and pull the string to connect the sides.
Slide the Needle Under the Pre-Sewn Thread
Most covers come with pre-sewn threads in their seams. All that you need to do is connect the pre-sewn thread with the string by sliding the needle under the thread a couple of times until you have reached the end of the cover.
Tie a Knot to Secure It
Once the stitching part is all done, all that’s left to do is tie a knot and cut off the leftover string. Make sure to tie a tight knot and try not to cut off too much string. After that, you’re officially done.
Be Patient and Take Your Time
The key to success here is to be careful and not rush the process and skip important steps. Also, be smart about what you’re putting on your car. Even though a cover can easily be removed by sliding it off or cutting the string that’s holding everything in place, a bad cover could cheapen the look of a high-priced car and even be distracting to other drivers if you put lights or reflective materials on it.


