In the world of vehicle maintenance, some issues are less talked about but can be equally frustrating to deal with. A case in point is trying to figure out how to fix a stuck power antenna on a car. So, let’s turn this potential DIY nightmare into a doable task, unsticking that stubborn radio receiver and getting it to soar high once again.
How to Fix a Stuck Power Antenna on a Car?
Start by cleaning the mast to remove any dirt or debris. Then, lubricate it with lithium grease to ensure smooth movement. If the component remains stuck, inspect for physical damage like bends or breaks, and consider replacing the mast if necessary. Additionally, check the motor and its gears for any signs of wear or damage, and replace them if needed.
Power Antenna Troubleshooting – Common Reasons Why This Automotive Part Gets Stuck
Picture this – you’re all set for a drive through famous US routes, your favorite tunes lined up, but as you start your four-wheeler, you notice the radio receiver stubbornly refuses to budge. This isn’t just a minor hiccup – it’s a full-blown annoyance for any car owner. But why does this seemingly simple automotive part decide to play hardball?
Let’s break down some of the common culprits behind this whole ordeal:
- Over time, dirt, dust, and small debris can accumulate inside the antenna’s mechanism, causing it to stick,
- Exposure to moisture and environmental elements often leads to rust and corrosion, hindering the antenna’s movement,
- The motor or gears that power the antenna’s movement can wear out or malfunction,
- Physical damage to the mast, such as bends or breaks, can prevent it from extending or retracting properly,
- Problems with the car’s electrical system can impact the power supply to the radio receiver, affecting its functionality.
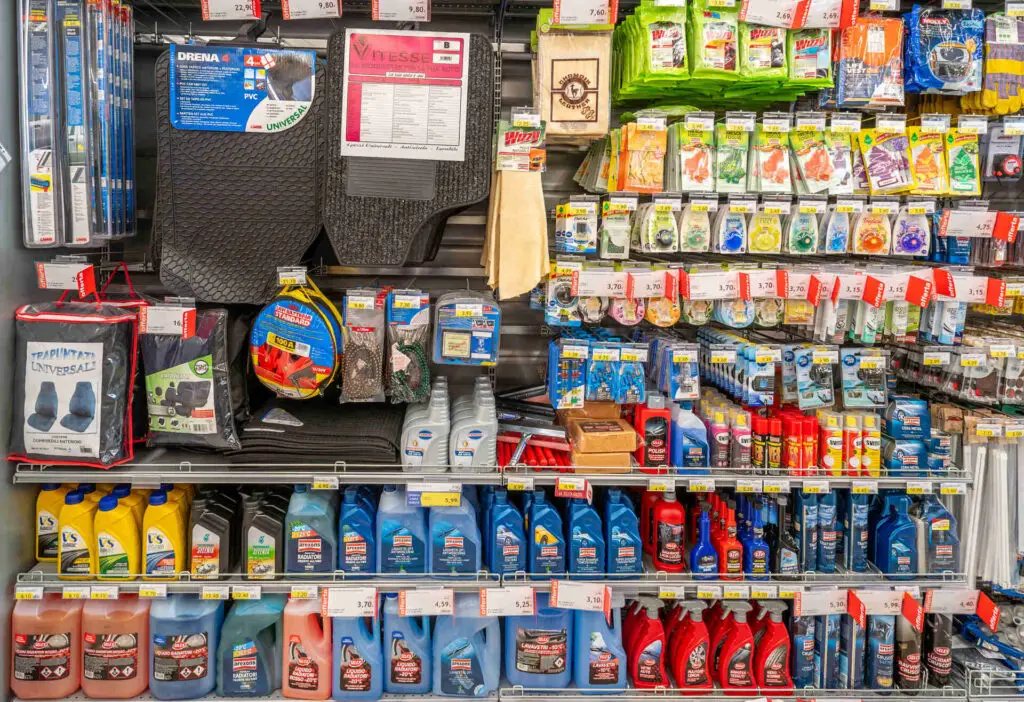
Gear Up – Tools and Materials Needed for Car Antenna Repair
If you’re struggling with a stubborn radio receiver, it’s usually one of two things – a tired motor or a gritty geared cable inside the mast. Luckily, both of these fixes are pretty easy and can be done with just two hours of your time.
But before diving in, let’s get your toolkit ready. You’ll need a few handy tools and materials to make this repair a breeze. Here’s a quick rundown:
| Socket or ratchet set | For loosening and tightening various bolts |
| 4-in-1 screwdriver | Versatile enough for various tasks |
| Side cutter | For cutting and trimming wires |
| Nut driver | Ideal for handling nuts in tight spaces |
| Replacement mast kit | To replace the old component if needed |
| Degreaser | To clean out old grease and debris |
| Lithium grease in a spray can | For smooth operation and protection |
There Are Plenty of Replacement Mast Kits Available on Today’s Market
When it comes to finding a good replacement kit, you’re spoilt for choice. The market today is brimming with options that cater to various models and budgets. While it’s always advisable to stick to your owner’s manual and get a replacement that’s suitable for your specific make and model, the Anina Universal Radio Antenna Mast Replacement Kit is also a good choice. Made from premium stainless steel, this piece is a suitable choice no matter if you’re driving a Mercedes-Benz or a Toyota Corolla.
Having a High-Quality Lubricant in Your Garage Is Essential
Keeping a can of high-quality lubrication such as the WD-40 White Lithium Grease Spray in your garage can save the day, and not only when it comes to this particular task. It’s also a lifesaver for various automotive and household applications, ensuring smooth operation and long-lasting protection.
Crucial Preliminary Steps – Safety Precautions Before Fixing the Power Antenna
Before diving into the nuts and bolts, it’s crucial to take a few safety precautions. After all, it’s the number one driver’s responsibility, on and off the road. Firstly, ensure your four-wheeler is parked on a level surface and the engine is turned off. Also, disconnect the car battery to avoid any electrical mishaps. Remember, a safe repair is as important as a successful one!
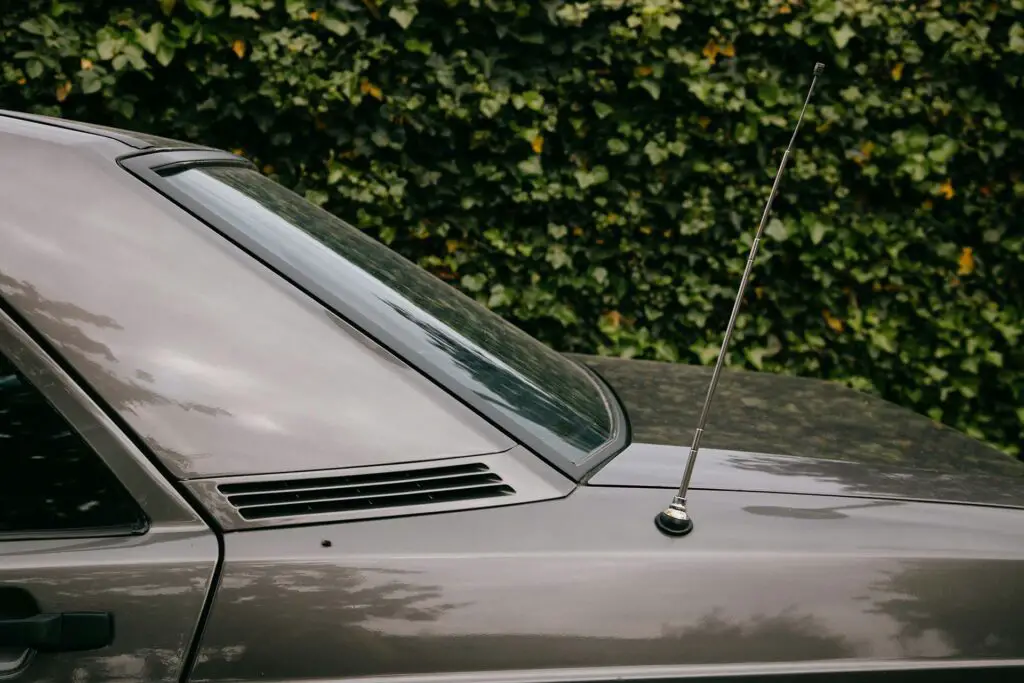
How to Access the Antenna and Its Components
Getting to the heart of the issue is an unavoidable part of the whole ordeal. This might sound complicated, but with the right steps, it’s perfectly doable. Here’s a detailed guide to help you reach this component and start your repair journey:
- Locate the radio receiver – it’s usually on the outside, either at the front or rear,
- Remove exterior cover – if it has an exterior cover and cap, carefully remove it by gently prying it off or unscrewing it,
- Access interior panels – inside the vehicle, locate the panels or trims near it, either in the trunk (or frunk), along the side, or under the dashboard, depending on your model,
- Carefully remove panels – use a screwdriver to gently remove the panels, staying cautious not to break any clips or fasteners,
- Disconnect the lead – carefully disconnect the lead, which is the link to your car’s stereo system,
- Unbolt the assembly – use your socket or ratchet set to unbolt the assembly from its mounting, keeping all the screws and bolts in a safe place,
- Carefully extract the antenna – with all bolts removed, gently extract the assembly, being mindful of any wires or connectors still attached.

Step-By-Step Guide to Fixing a Stuck Power Antenna
Now that we’ve navigated through the preliminaries, it’s time to tackle the real deal. Let’s walk through the entire process, ensuring that your radio receiver is not just unstuck but also functioning as smoothly as the day your ride rolled off the lot:
Step 1 – Inspecting the Antenna for Physical Damage
First things first, inspect the component for any physical damage. Look for bends, breaks, or rust on the mast. These can be tell-tale signs of why it got stuck in the first place. If you find any severe damage, it may be time to consider a replacement. On the flip side, minor issues like slight bends can often be gently corrected.
Step 2 – Cleaning the Antenna and Surrounding Area
With the component now fully visible, it’s time to give it a good clean. Use a high-quality product such as the Oil Eater Original Degreaser to remove any dirt, grime, or old grease from its housing. A clean component is more likely to function properly, as dirt and debris are common causes of sticking. Ensure the surrounding area is also clean to prevent future issues.
Step 3 – Lubricating the Antenna Mast
Once the component is clean and dry, apply a liberal amount of lithium grease. This will not only help it move more freely but also offer protection from future corrosion. Spray the grease evenly along the mast, ensuring thorough coverage.
Step 4 – Checking and Replacing the Antenna Motor if Needed
If cleaning and lubricating didn’t do the trick, the motor might be the culprit. Test the motor by reconnecting the car battery and turning on the radio. If it still doesn’t move, you may need to replace the motor. This is a fairly straightforward task if you carefully stick to what’s inside your owner’s manual.
Step 5 – Testing the Antenna Functionality
Finally, it’s time to test your hard work. Reconnect the lead and battery, then turn on your vehicle and radio. The component should now glide up and down smoothly. If it does, congratulations – you’ve successfully fixed your problem. If not, retrace your steps to ensure every component is clean, lubricated, and properly connected.
Troubleshooting Common Problems to Streamline the Whole Repair Process
Even with the best preparation, sometimes things don’t go as planned. To fully complete the repair process, let’s go through some common hiccups and their solutions:
- If the radio receiver doesn’t extend post-lubrication, check for a disconnected or damaged lead,
- If the motor runs but nothing moves, this could indicate broken gear inside the motor, so you should open the assembly and check it out,
- If rust is extensive, it might be more practical to replace the entire unit.
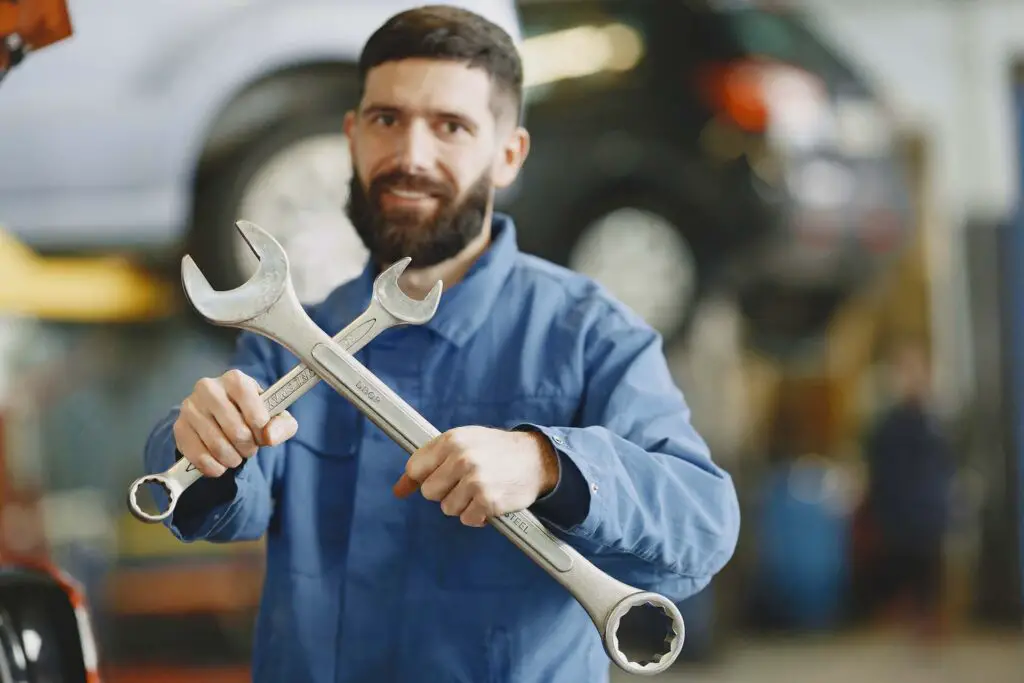
Some Car Radio Antenna Issues Should Be Dealt by a Professional
While many issues can be tackled with DIY auto repairs, there are times when it’s best to call in a professional. Complex problems like intricate electrical faults or internal radio issues are often beyond the scope of home repairs. If you’re facing persistent problems despite following all steps, or if you’re uncomfortable with any part of the process, seeking professional help is the way to go.
Power Antenna Maintenance Tips to Keep That Glide for Miles to Come
When it comes to vehicle maintenance DIY, regular cleaning is always a great start. About once every few months, gently wipe down the mast with a soft cloth and a mild cleaner. This simple act can prevent the build-up of dirt and debris that often leads to sticking issues. Additionally, applying a thin layer of lubricant after cleaning can do wonders. It will ease the movement and also protect against rust and corrosion, especially in areas with harsh weather conditions.
Another important aspect of maintenance is being mindful of this component during car washes. If possible, retract the component before you go through the wash, as this can prevent accidental bending or breaking. Also, be attentive to the antenna’s performance. As soon as you start noticing slower movement or unusual noises during extension or retraction, it might be time for a quick clean-up or lubrication.

Wrapping up Our Smooth Journey Through Automotive Antenna Solutions
As we wind down our journey into the world of fixing our radio receivers, it’s clear that this task is not rocket science. Whether it’s a sneaky stuck component or just regular maintenance, everything should be all set to glide smoothly and reliably, ready to catch all those sweet radio waves. So the next time your antenna decides to play hide-and-seek, just whip out your newfound skills and show it who’s boss!