Having trouble assessing your car’s performance? It might be time to figure out how to test the PCV valve. It’s an important part of routine vehicle maintenance. With simple supplies, including wire cutters and needle-nose pliers, you can quickly diagnose any issues with this essential automotive component. So, let’s walk through all the necessary steps to keep your four-wheeler running like clockwork.
To test the PCV valve, you must first locate it on your vehicle. It is usually on the top of the engine. Next, remove it with the socket set or pliers. Inspect the part by shaking it. Then, check for the vacuum by placing the thumb over the end of the valve. If the suction is weak, it is time to change the part.
What Is a PCV Valve?
No matter if you’ve got a brand-new car, a used vehicle, or maybe even one with a salvage title, these intricate machines are made up of numerous components, each with its own purpose. From the engine to the transmission, brake system, suspension, and electrical system, every component plays a vital role in the operation of the vehicle.
One of these vital components is the PCV valve, which is short for the Positive Crankcase Ventilation valve. This small but crucial valve stem is a part of a vehicle’s emission control system, and it helps to reduce harmful emissions by redirecting blow-by gases from the engine’s crankcase back into the combustion chamber, where they can be burned off.
Why Is It Important to Know if It’s Working Properly?
While the PCV valve may be small and often overlooked, it plays a vital role in maintaining a vehicle’s engine’s overall health and performance. If it’s faulty, a range of issues can develop and negatively impact the inner workings of your four-wheeler. For example, a clogged or stuck valve can cause excess pressure to build up in the crankcase, which can lead to oil leaks, engine damage, and decreased fuel efficiency.
In addition, a malfunction can result in increased emissions, which can cause your vehicle to significantly contribute to air pollution and fail the emissions test. So, knowing how to test a PCV valve is an important part of ensuring that your trusty four-wheeler is working properly. By doing so, you can help prevent further issues that might develop.

What Are the Symptoms of a Faulty PCV Valve?
There are several symptoms that can indicate you’re dealing with a malfunctioning part in your four-wheeler. Here are some of the most common ones:
- Illuminated check engine light on the dashboard,
- Rough idle or stalling at low speed,
- Engine misfires or hesitation during acceleration,
- Decreased acceleration or power,
- Increased oil consumption or leaks,
- A buildup of sludge and debris in the engine,
- Excessive smoke from the exhaust,
- Whistling or hissing noise coming from the engine,
- Fuel odor coming from the engine or exhaust,
- Poor fuel economy,
- Engine overheating.
It’s Important to Address This Problem as Soon as Possible
If you’re noticing any of the symptoms listed above, it’s best to have your PCV valve tested as soon as possible. Identifying these symptoms is crucial because it allows you to catch any issues early on and prevent further damage to your vehicle. However, it’s worth noting that these symptoms can also be caused by other issues. So, it’s important to have a professional mechanic diagnose the problem to ensure it’s properly addressed.
Ignoring the symptoms can lead to more serious engine problems, such as oil leaks or engine damage, which can result in costly repairs that add quite an amount to your already high cost of owning a car. Additionally, a faulty part can contribute to increased emissions, which can harm the environment and lead to failed emissions tests. Better safe than sorry – so let’s see how it’s done.

What Tools Do You Need to Test a PCV Valve
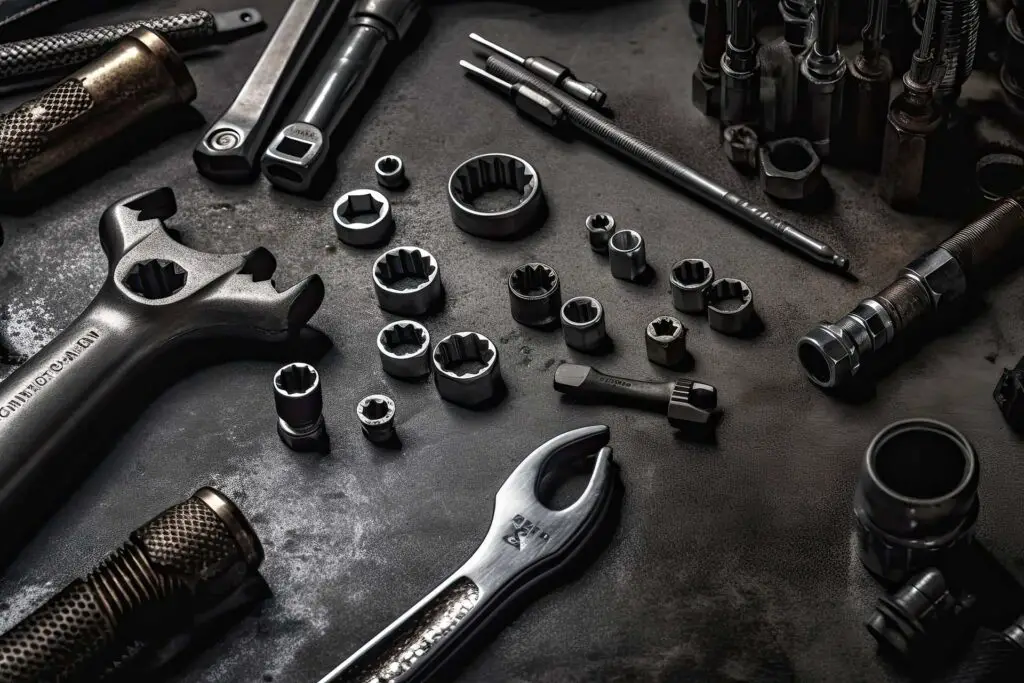
Here are the tools you’ll need for the job, along with where you can find them and for what price:
| Tool | Used for | Where to Find | Average Cost |
| Socket Set | Removing the component | Auto parts store or a home improvement store | $20-$100 |
| Pliers | Removing the component | Auto parts store or a home improvement store | $5-$20 |
| Carburetor Cleaner | Cleaning the component | Auto parts store | $5-$10 |
| Rags | Cleaning the component | Home improvement store | $5-$20 |
Gather the Necessary Tools and You’re Good to Go
As you can see, you don’t need a lot of specialized tools for this particular task, and all of them are pretty affordable and easy to find. Of course, the cost can vary depending on the quality and brand you choose, but most of these pieces of equipment will serve you well for other vehicle issues as well.
Take, for example, the socket set, a collection of tools that includes a ratcheting wrench and a range of sockets in various sizes. You’ll use it to remove the PCV valve, but these sets are also commonly used for removing and tightening bolts and nuts of different sizes in a variety of applications. If you’ve ever changed a flat tire, you’re well-acquainted with this handy tool. I personally recommend the 145-piece Amazon Basics Mechanics Socket Set – it’s a good value set that’ll serve you well for years to come.
Don’t Forget the Safety Equipment
Using the right tools can make the job much easier and more efficient, saving you time and effort. Furthermore, using specialized tools designed for specific tasks can help you prevent injury or accidents while working on your four-wheeler.
In addition to having the appropriate tools, it’s important to get safety gear as well, including protective glasses and gloves. These useful tools will protect your eyes and hands from potential hazards, and you’ll be able to work on your car while ensuring your health and safety, which is the most important thing at the end of the day.

How to Test PCV Valve – A Step-by-Step Guide
Let’s get down to it and finally answer your question – how to test my PCV valve and replace it if needed. Fortunately, this task is a simple process that can be done with some basic mechanical knowledge. So, let’s walk you through the necessary steps you need to take if you’re noticing any symptoms of a faulty part, such as rough idling, decreased acceleration, or increased oil consumption.
Let’s take it one step at a time:
Step 1: Locate the PCV Valve
Obviously, the first step in testing your PCV valve is to find where it’s located. This vital component is typically located on the valve cover, which is on the top of the engine. However, the exact location can vary depending on the make and model of your vehicle, so you can refer to your owner’s manual or do a quick online search to locate the part.
Once you’ve located this component, it’s crucial to make sure that the engine is cool before proceeding with the testing process, as this will help avoid any unnecessary burns or further damage, as well as ensure accurate readings.
Step 2: Remove the PCV Valve
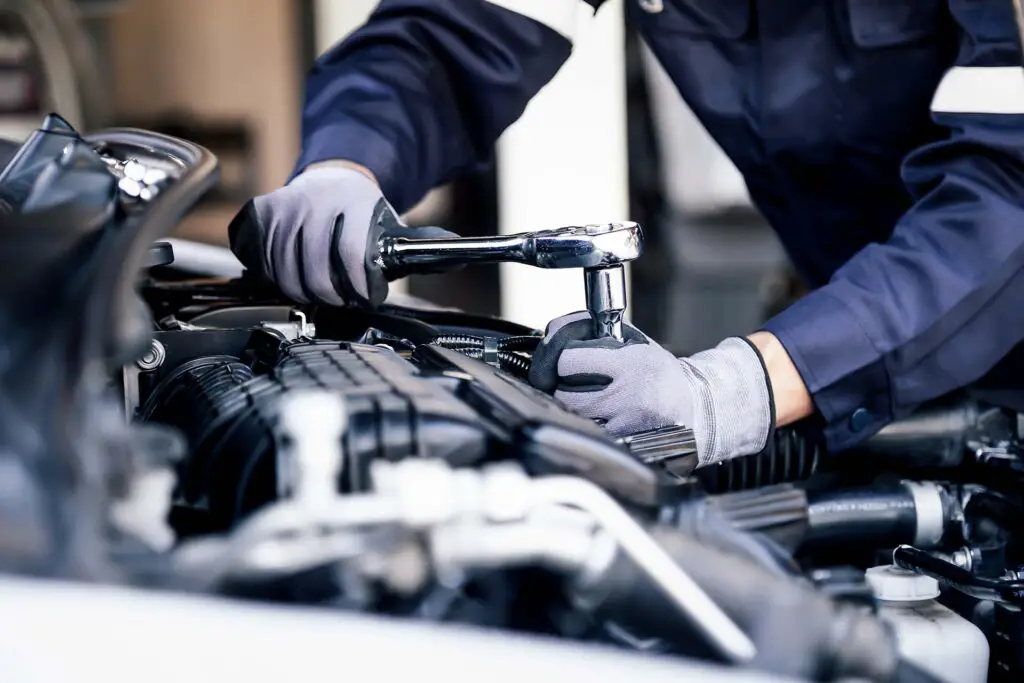
The next step is to remove this component from the engine. This should be done with a socket set or pliers, depending on the design and size of the valve. Just make sure that your safety glasses and gloves are on before going through with the removal process – it’ll protect your hands and eyes from any debris or fluids.
Use a socket or a pair of pliers to grip the valve and gently wiggle it back and forth while pulling it out of the cover. You can use a twisting motion to break it loose if it’s stuck. Just be careful not to damage the parts. Once this component is removed, inspect it for any signs of damage, such as cracks or leaks, as it’ll help you determine if it needs to be replaced.
Step 3: Shake the PCV Valve
Besides visual inspection for any signs of damage, shaking the PCV valve can also be a way to check if it’s functioning properly. Simply hold the component upright and gently shake it back and forth. If it rattles, this indicates that it’s working as it should and that you just need to reinstall it.
However, if the valve doesn’t rattle at all or rattles rather excessively, this may indicate that it’s stuck or clogged and may need to be cleaned or replaced. Additionally, inspect the component for any signs of carbon buildup or debris, which can also indicate that it’s not working properly. If that’s the case, clean the valve with carburetor cleaner and retest it to see if it’s working properly now.
Step 4 Check for Vacuum
The fourth step in the testing process is to check for a vacuum. To do this, start the engine and let it idle, and then remove the PCV valve from the engine and place your thumb over the end of the valve. You should feel suction or vacuum pulling your thumb towards the valve.
If there is strong suction, this component is functioning properly and can be reinstalled with no trouble. On the other hand, if there is no suction or it’s rather weak, this may indicate a problem with this component or the engine’s vacuum system. So, you need to check this system and replace the part if necessary.
Step 5: Replace the PCV Valve if Necessary
Naturally, the last step in fixing this problem is to replace the PCV valve if necessary. If you’ve inspected and cleaned this component, but it still isn’t working properly, or if it shows signs of damage, it’s time to replace it.
You can purchase a replacement part from an auto parts store or online retailer, making sure to choose the correct component for your vehicle’s make and model. To replace it, simply remove the old one and insert the new component, ensuring it’s properly seated and tightened. Once that’s done, repeat the testing process to see if everything is functioning properly now.
After You Test PCV Valve Enjoy a Safe Ride
To sum it up, the importance of regularly testing a PCV valve shouldn’t be underestimated. Not only does it ensure your vehicle’s optimum performance, but it can also indicate any underlying issues long before they become a bigger problem. So, make sure to get this component into routine check-ups, and don’t wait until something more serious happens. After all, this cost-effective and easy process could save you a lot of time, money, and hassle in the long run.


