Many new owners wonder how to remove a dealer sticker from their cars. It’s not as easy as it sounds – you’ve got to have the right tools so you can do it without damaging the paint. Here’s everything you need to know to get that sticker off and still hit the road with a spotless new ride.
Why Would You Need to Remove a Dealer Sticker From a Car?
Whether it’s a new or used car, buying a four-wheeler is a huge deal. Plenty of research is involved – according to a study by Cox Automotive, up to 60% of car shoppers start the journey online, but 45% of them still like to do the good old dealership walk-in. After all, nothing beats seeing the vehicle in person and even getting to take it out for a test ride.
So you’ve just got a new set of wheels, and it’s looking so perfect – except for that dealership sticker. Most people would like to remove it for aesthetic reasons, but there are other ones, like wanting to customize the look of the car or simply wanting cleaner lines. Maybe you’ve bought a used four-wheeler and don’t want to advertise the fact, or maybe you’re trying to sell it and want it to look nicer – all reasons are valid. But once you’ve put your mind to it, you’ve got to do a clean job!

Different Types of Dealership Stickers
There are over 17,000 new-car dealerships across the US, and they use different stickers. You might think knowing the different types is not that important, but each of them requires a different removal method, so you should do the research. Here are the three most common types of stickers:
Window Decals
The most common sticker is a window decal, designed to be affixed to the outside of your car’s window. They’re usually made from vinyl and can range in size from a few inches to a few feet. Most window decals can be removed relatively easily – however, some may require a razor blade or other sharp object to get started.
Bumper Stickers
Another common type of dealer sticker is a bumper sticker. These are smaller than window decals and designed to be affixed to the rear bumper. Bumper stickers are also usually made from vinyl and can be removed using many of the same methods as window decals. However, because they’re often placed in hard-to-reach places, they can be more difficult to remove.
Paper Stickers
Finally, some dealerships may also affix paper stickers to your car’s doors or windows. These types of stickers are usually not as durable as vinyl stickers and can be more difficult to remove without causing damage. If you have a paper sticker on your four-wheeler, you may want to take it to a professional detailer who can help you remove it without making scratches.
The Methods For When You Want to Remove a Dealership Decal
There are two main methods for removing dealer stickers – chemical and manual. Chemical removal is considered the most effective as it breaks down the adhesive bond between the sticker and the surface of the vehicle. However, it’s important to use the right chemicals, as some can damage the paint if used incorrectly.
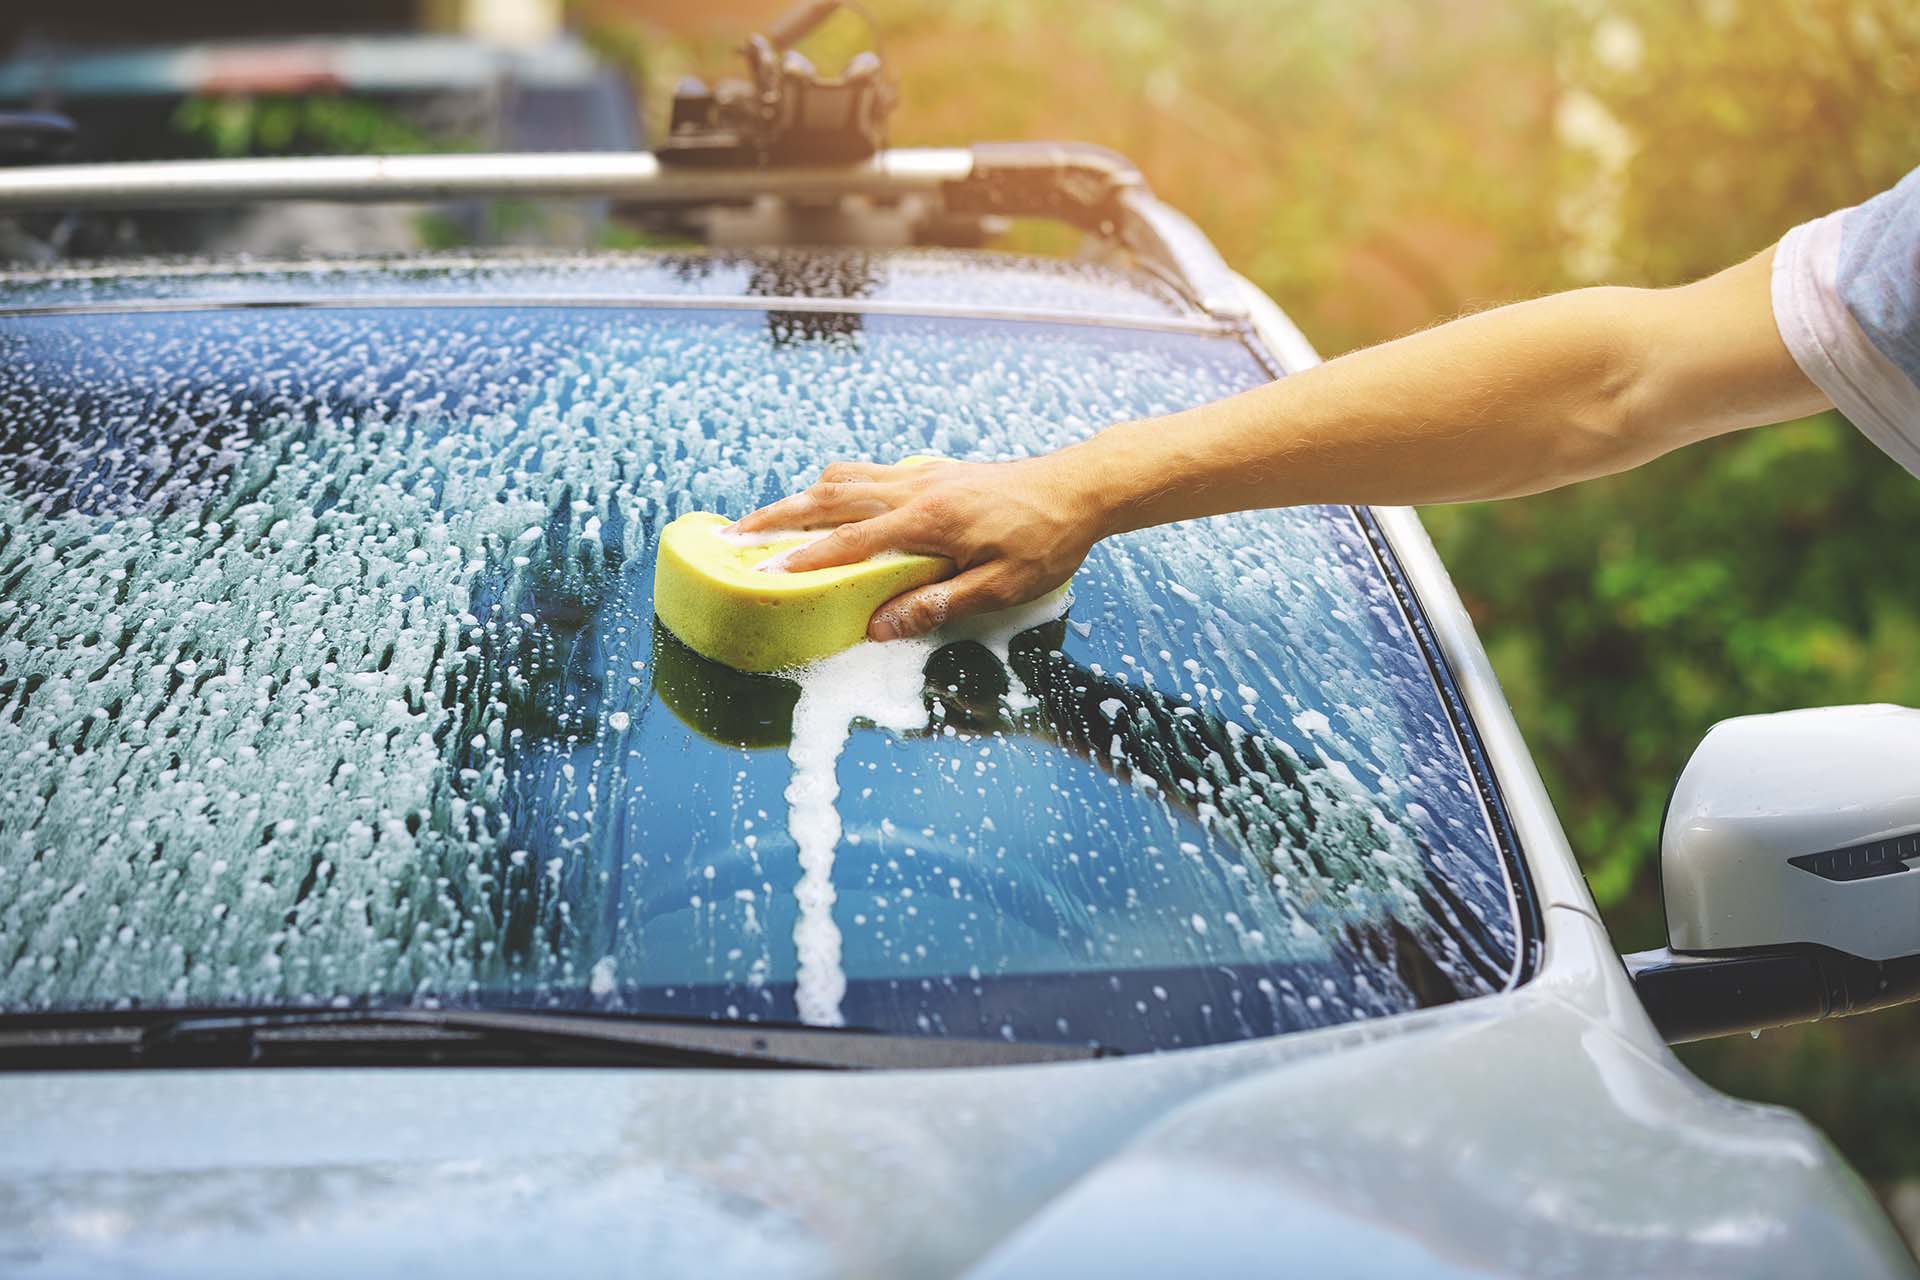
The most common chemical used for sticker removal is rubbing alcohol. If you apply it to a clean cloth and rub it over the sticker until it loosens, you’re good. Of course, you may need to do this a few times before it all comes off. Once the sticker is gone, wash the four-wheeler with soap and water to remove the residual.
If you prefer not to use chemicals, you can also try manually removing your dealer sticker. This method requires a little more patience, but it’s doable. Start by heating the sticker with a hair dryer or heat gun. Then, use a putty knife, credit card, or anything with a sharp, non-metalic edge to slowly peel back one corner of the sticker. Continue heating and peeling until the entire thing is removed. Finally, use soapy water or rubbing alcohol to clean off any residue.
The Tools Used to Successfully Remove Dealer Decals
The first step in removing a dealer sticker is gathering the right supplies. You’ll need a few basic household items, including:
- A hairdryer – the heat from the hairdryer will help loosen the adhesive, making it easier to remove,
- A putty knife or razor blade – you’ll use this tool to scrape the decal off of your ride,
- Soap and water – this is for cleaning up any residue left behind by the decal,
- Tape – you can put tape around the sticker edges before heating it to protect the car’s paint.
For some alternative methods, use a citrus-based cleaner to help break down the adhesive, or try a commercial adhesive remover. If you’re dealing with a textured surface, use a razor blade to carefully scrape away the residue. You’ve got plenty of options when it comes to the tools you could use, but whatever you end up choosing, you’ve got to make sure you’re careful with it!
For tougher stickers, try using steam from an iron or boiling water to loosen the adhesive. Other solutions include rubbing alcohol or a nail polish remover that breaks down the glue and makes it easier to remove. You could also apply some cooking oil to the sticker residue and let it sit for 15 minutes before wiping it off with a clean cloth. Always test these methods on an inconspicuous area before applying them directly onto the sticker.
A Step-By-Step Guide on How to Remove a Dealer Sticker From a Car
As we’ve already mentioned, the first step is to heat the decal with a hair dryer or some other tool, like a heat gun. You want to hold the hair dryer about six inches away and move it around so that the entire surface of the sticker is heated up. This will help loosen up the adhesive holding it in place.
Use the Putty Knife to Lift the Edges of the Decal
Once the adhesive is nice and warm, use your putty knife or similar object to lift an edge away from the window. Be careful not to use too much force – you don’t want to end up scratching your car’s paint job. Just apply enough pressure to loosen up the adhesive and lift an edge of the decal.
Continue Peeling Off The Sticker Until You See It Coming Off
Now that you’ve lifted an edge, continue peeling it off in one smooth motion. However, we all know stickers are fickle and annoying and don’t always go down like that. If any parts of it are giving you trouble, just apply more heat with the hair dryer until they loosen up. The heat will work nine times out of ten.
Clean Up Adhesive Residue Stuck on the Four-Wheeler
You know how, even after removing the biggest part of the decal, there is always some adhesive residue left behind? That could also happen to your ride’s window. To remove this residue, spray a vehicle cleaner of choice generously and wipe it away with a clean rag.
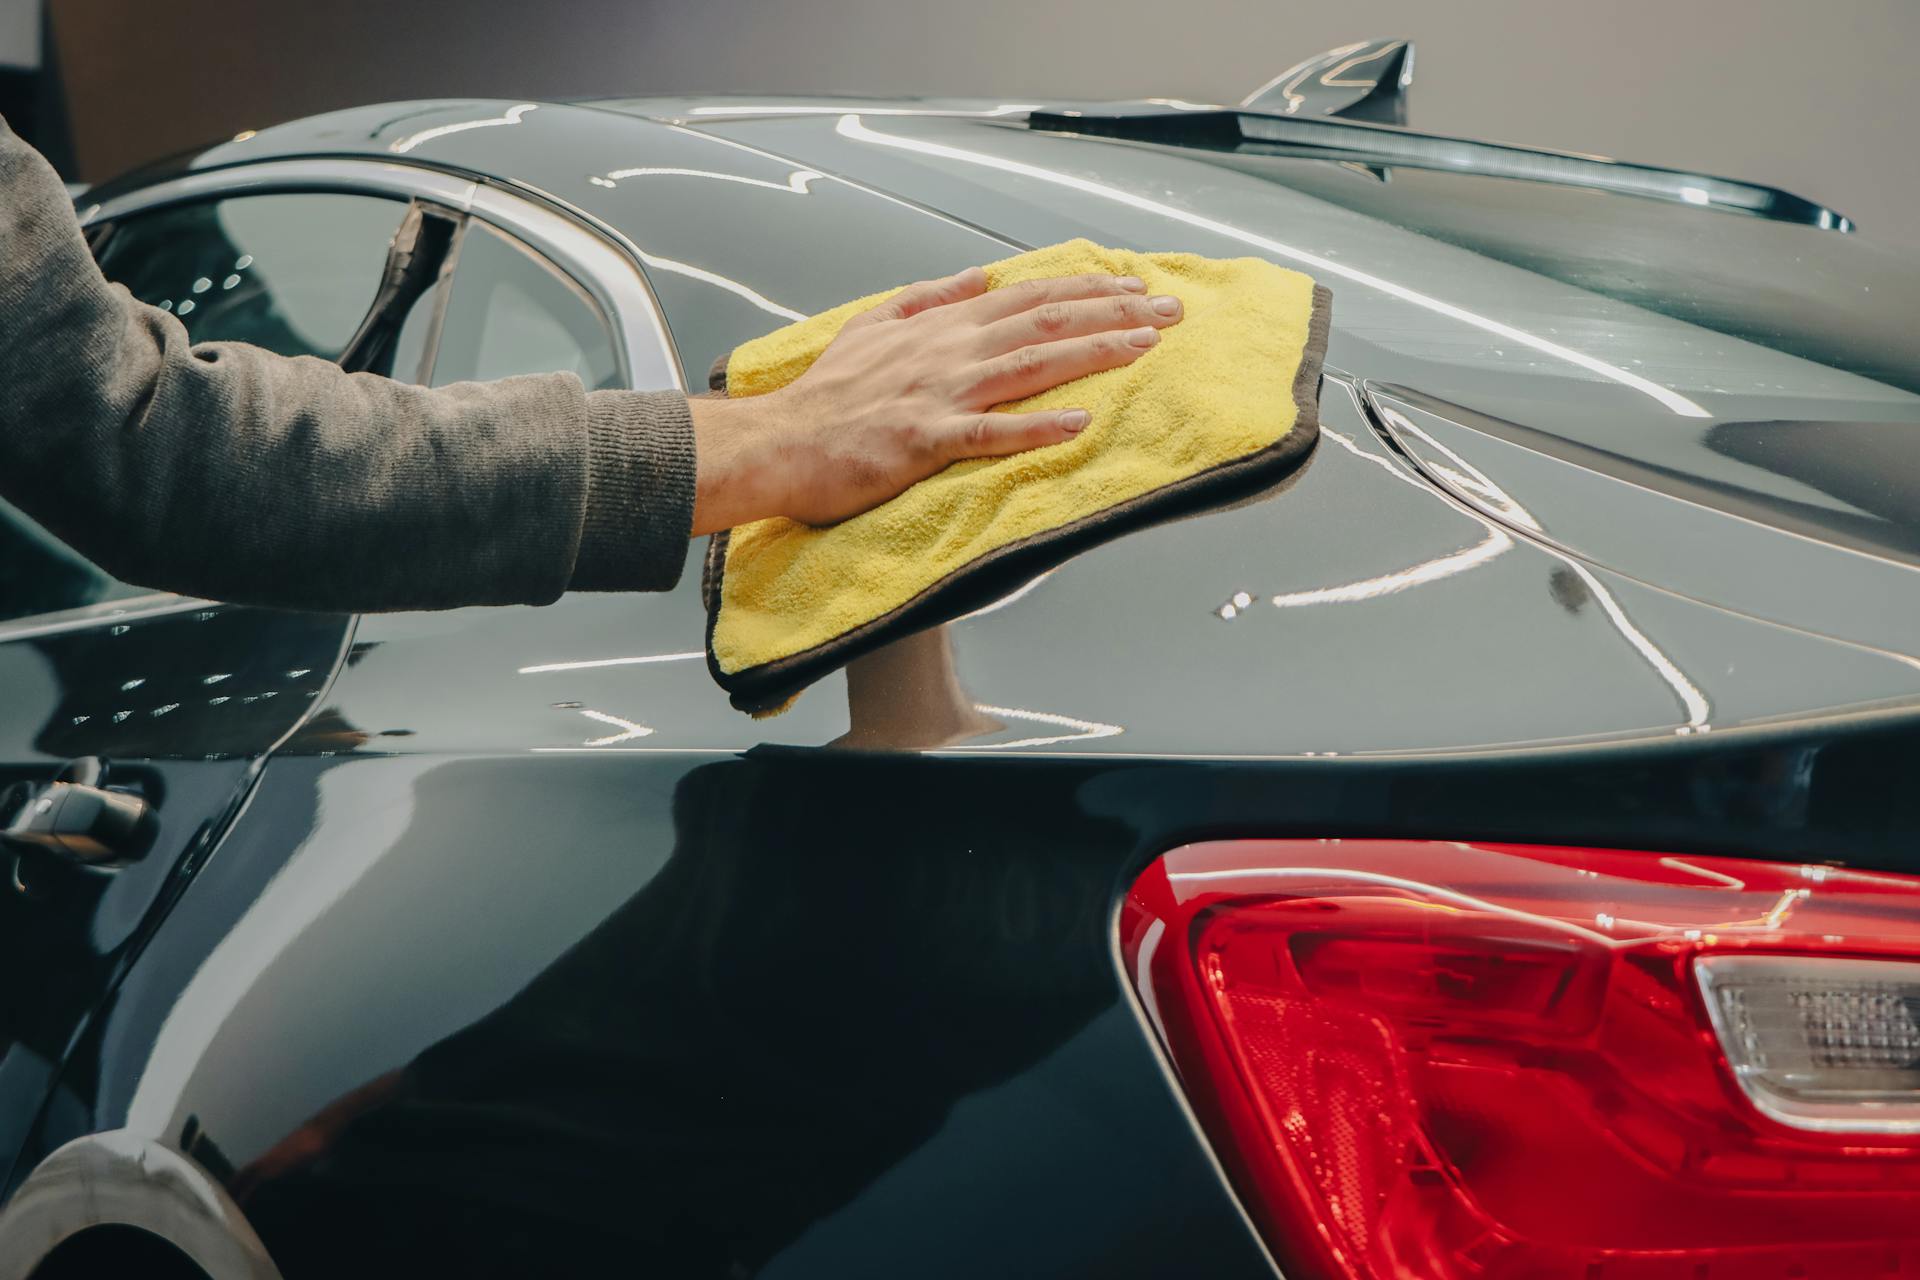
Don’t forget to clean any other areas of your four-wheeler that might have gotten sticky during this process. While you’re at it, why not clean the steering wheel and even the seat belt? In fact, give your prized ride one good scrubbing, inside and out! That way, everyone in the neighborhood will surely know you’ve got a new four-wheeler!
Essential Tips and Tricks for Removing Dealer Decal From a Four-Wheeler
Although you have more than enough information to do this task successfully, there are a couple of expert tips and tricks you should know about. Here’s how to make this whole ordeal even easier:
- Work slowly and carefully when using the razor blade or scraper, as too much pressure could result in scratches on your car’s bodywork,
- Remember to thoroughly wash off any chemical cleaners after use, as they can damage your vehicle’s finish over time,
- Always use warm water to remove the decal, as the heat will help loosen the adhesive and make the whole removal that much easier,
- If you find that the adhesive residue is difficult to remove, you can try using Goo Gone or another type of adhesive remover, like the alcohol-based cleaner WD-40,
- Heat the area for only 30 seconds at a time then take a break before heating up again to avoid causing any damage to your ride’s exterior.
When You Learn How to Remove a Dealership Sticker, You’ll Save Money and Time
The average American will get a new four-wheeler every 8 years. So, when you know how to remove the dealership decal without damaging the car’s exterior, you’ll be set for a lifetime! Every couple of years, this skill will come in handy. And once it’s all nice and scraped off, there’s only one thing left to do – take your new ride out for a spin!