Ever been cruising along and suddenly realized that some of your car’s indicators aren’t illuminating as they should? If so, learning how to replace dashboard lights isn’t just a handy skill – it’s a ticket to ensuring every indicator and symbol on your car’s control panel is bright and visible. Let’s dive into some tips and tricks for handling this issue and keeping you safe and informed on the road.
This task requires a few safety precautions, including disconnecting the battery before starting. Consulting the owner’s manual ensures correct procedures and compatibility, while proper tools and working in a well-lit area enhance precision. It’s also important to test the new bulbs before final assembly and seek professional help if there’s any trouble.
Why Is It Important to Have Working Dashboard Lights?
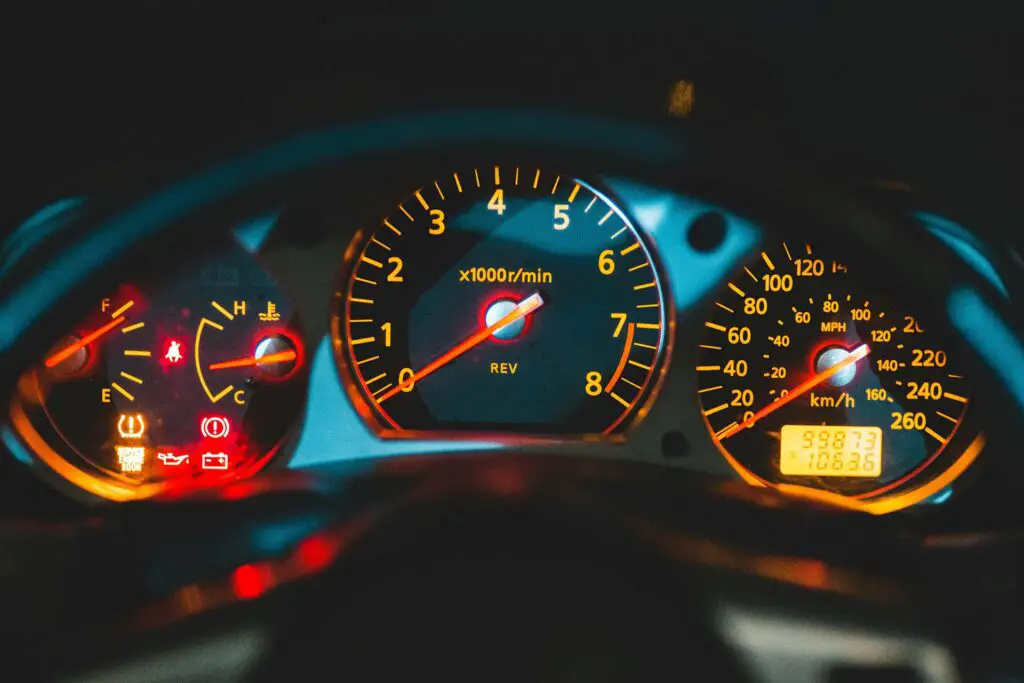
The illumination from your car’s control panel is more than just about aesthetic appeal or lighting up those nifty symbols and indicators. It plays a pivotal role in safety, the number one driver’s responsibility. Here are some reasons why keeping these bulbs in tip-top condition is essential:
- They provide crucial real-time safety alerts, warning the driver of any potential issues,
- They assist in nighttime driving, making sure you’re aware of your speed, fuel level, and other essential readings,
- Keeping them functional is often a legal requirement to ensure the driver is aware of all warnings and indicators, promoting road safety for everyone.
Tip 1: Safety Should Always Be the Number One Priority
Safety isn’t just a golden rule for navigating famous US routes, dealing with bad drivers, or avoiding driving stress – it extends to every interaction with your vehicle, including those DIY tasks.
When you’re geared up to replace those dim or burnt-out indicators on the control panel, ensuring that the ignition is off and the car battery is disconnected is crucial. Here’s how to do it:
- Once your four-wheeler is in park, open the hood and locate the car battery,
- Use a wrench to loosen the nut on the negative terminal first and remove the cable,
- Proceed with the positive terminal, which is typically red in color, and remove it in the same manner,
- Move the cables away from the battery, making sure they don’t touch each other or any metal parts of the car.
Tip 2: Your Owner’s Manual Should Be Your Guiding Light
When it comes to diving into the nitty-gritty of vehicle repairs and replacements, the owner’s manual is akin to a treasure map. Every make and model has its unique quirks, and this handy manual will provide specific guidelines. Moreover, it’s not just about the how but also the what – by flipping those pages, you’ll pinpoint the exact type of bulb that fits your car’s specifications.
Tip 3: Half of the Job Is Having the Right Tools on Hand
For this replacement, every pry, twist, and turn should be executed with precision, so it’s best to use non-marring tools. They ensure that each action is gentle yet effective, safeguarding the dashboard from scratches, scuffs, or damages. After all, what good will the replacement bring if you damage your prized ride in the process?
Here are the essential tools you’ll need for the job:
| Equipment | Used for |
| Screwdrivers | Unscrewing and removing panels to access the bulbs |
| Trim Removal Tool | Prying open panels without causing damage |
| Needle Nose Pliers | Gripping and pulling out the old bulbs, especially those in tight spots |
| Bulb Grease | Securing the new bulbs in place and preventing corrosion |
| Work Light | Providing visibility when working on the task at hand |
Tip 4: Make Sure to Work in a Well-Lit Area
Lighting is everything, especially when it comes to intricate tasks like swapping out those little beacons of illumination on your car’s control panel. Every wire, screw, and clip plays a pivotal role, so working in a well-lit area should be one of your top priorities.
What Portable LED Lights Should You Get?
As you gather from the tool table above, a reliable work light is non-negotiable for ensuring every nook and cranny is visible. You can get a portable device such as the Adiding Work Light, which can be conveniently positioned to cast focused illumination exactly where it’s needed. Or, you can go for equipment such as the LHKNL Headlamp Flashlight, which will keep your hands free for the task at hand.
Tip 5: Take Pictures Before Removing Anything to Replace Dashboard Lights Successfully
Embarking on the mission to bring those dull or dead indicators back to life comes with its fair share of intricacies. For the uninitiated and even the seasoned DIYer, every wire and connection holds significance. Therefore, snapping a few quick pics before delving into the disassembly can truly be a game-changer.
It’s All About Ensuring Everything Goes Back Correctly
Taking pictures can be a great helping hand in ensuring that every component and wire resumes its rightful place. For first-timers, it’s like having a seasoned guide whispering the steps, ensuring each move is precise and each connection secure.
Tip 6: Be Gentle With Dashboard Components
The landscape of the dashboard is dotted with plastic clips and trim pieces that are as functional as they are fragile. So, a gentle touch and a dash of patience aren’t just recommended – they’re essential. With the help of non-marring tools, here are some tips for a damage-free experience:
- When prying open panels, apply pressure evenly to avoid snapping or bending,
- In colder environments, gently warming the area can make plastic components more pliable and less prone to breaking,
- If there’s resistance, don’t force the components open but reevaluate and adjust your approach.
Tip 7: Consider Upgrading to LED Bulbs for Better Energy Efficiency
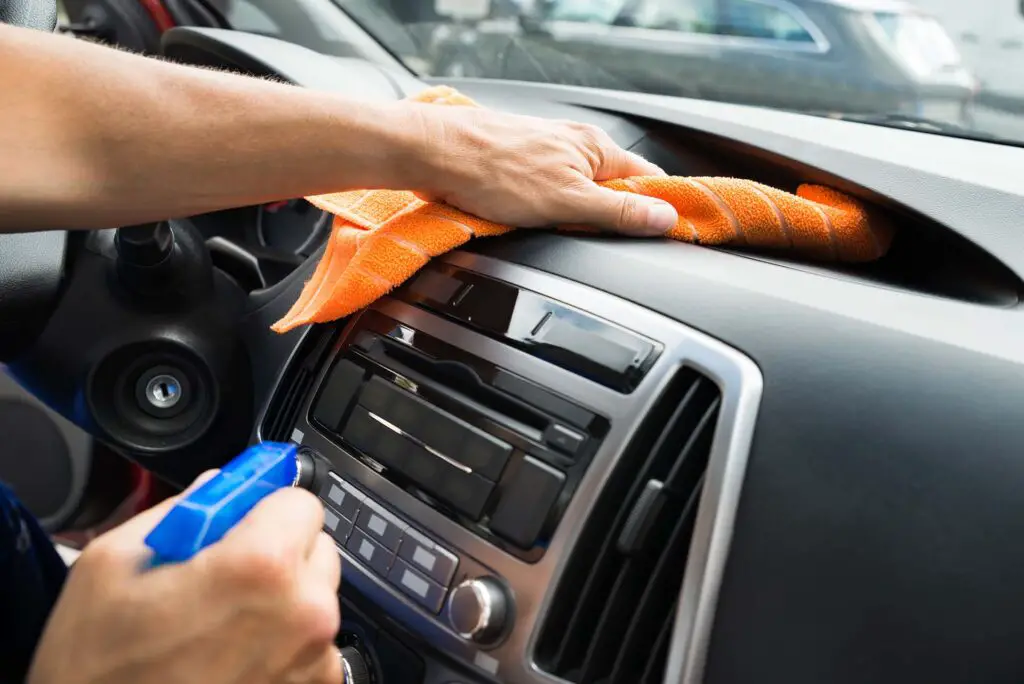
In the era where energy efficiency and longevity are the stars of the show, LED lights emerge as a top pick. These little powerhouses not only boast a lifespan that outshines traditional bulbs but also deliver a brand of brightness that’s as gentle on the eyes as it is on the energy bills.
Here are a few personal recommendations:
- Marsauto LED Bulbs – compatible with a wide range of vehicles and have an equally as versatile use,
- DODOFUN Ice Blue LED Bulbs – a budget-friendly choice that has an impressive lifespan,
- DODOFUN White LED Bulbs – a well-equipped package that’s easy to install.
Make Sure to Check Compatibility Before Upgrading
Though the allure of LED lights is undeniable, it’s not a one-size-fits-all kind of deal. While my recommendations work for a wide range of modern vehicles, make sure to check compatibility with your particular make and model.
Tip 8: Test and Troubleshoot Before the Final Assembly
Before the final bow, where every panel, clip, and screw resumes its place, ensuring that the new illuminators are performing flawlessly is key. With the battery reconnected, flick the switch and let those bulbs dance. It’s the golden opportunity to troubleshoot, adjust, and perfect.
Tip 9: Knowing When to Seek Professional Help Is Important
As gratifying as it is to immerse in the hands-on experience, recognizing when you need professional help is crucial. Here are some of those situations:
- When the design of the dashboard is intricate, with a maze of wires and connections,
- If you’re encountering complex electrical issues beyond mere bulb replacement,
- If there are any safety concerns during the whole ordeal.
How Much Does It Cost to Replace Dashboard Lights?
For a professional job, expenses range from $50 to $200. A simple bulb swap can be a wallet-friendly affair, while more intricate issues demanding an entire unit overhaul can result in a costly repair.
Tip 10: Regular Inspection Is Key to a Safe Ride for Miles to Come
Maintaining a safe driving experience isn’t just in the reactive fixes but lies predominantly in proactive care. Regular inspections of your dashboard lights turn potential future hurdles into a smooth, uninterrupted journey. Take a glance regularly, and you’ll surely turn each drive into a symphony of safety, efficiency, and radiant communication.
It’s Time to Light the Way Forward With Complete Confidence
As we roll to a stop on this enlightening journey, it’s pretty clear – with a sprinkle of DIY spirit and research, this task is fairly straightforward. Whether it’s the gentle pry of a trim or the selective choice of a bulb, every step should be approached with caution. Here’s to bright nights, clear indicators, and a ride that communicates as smoothly as it cruises.
Frequently Asked Questions About Dashboard Lights
Can I Use Any LED Bulb to Replace the Ones on My Dashboard?
No, it’s essential to use LED bulbs that are compatible with your car’s make and model. Always check the owner’s manual or consult with a professional to ensure you select the appropriate bulbs.
How Long Do Dashboard Lights Typically Last?
The lifespan of dashboard lights can vary, but generally, they can last for many years, often exceeding 30,000 hours of use. However, it heavily depends on the type of bulb and how often they are used.
Is There a Specific Indicator for Dashboard Light Issues?
There isn’t a universal indicator for light issues. However, noticing dim or non-functional lights is a clear sign of a problem. Regular inspection is key to identifying and addressing issues before they escalate.
What if My New Dashboard Lights Are Too Dim or Too Bright?
Ensure you’ve installed the correct type of bulbs specified for your vehicle. If the brightness is still an issue, consulting the owner’s manual or a professional for adjustments or different bulb options is advised.
Are There Legal Restrictions on the Colors of Dashboard Lights?
Yes, legal restrictions on dashboard light colors can vary by location. It’s essential to be aware of local laws to ensure your vehicle complies and avoids potential penalties.
How Can I Dispose of My Old Dashboard Lights?
Old bulbs should be disposed of according to local regulations for electronic waste. Contact your local waste management facility for specific disposal instructions to ensure environmental safety.


