Having trouble with your four-wheeler lately? Have the engine light or other dashboard warning lights been on for a while, but you can’t seem to figure out what they mean? No worries – you might just need to learn how to reset the car computer without having to take it to a mechanic. So, let’s look at how you can clear up many of your vehicle’s computer issues from the comfort of your hom
To reset your car’s computer, first consult the vehicle’s owner’s manual for specific guidelines. If not specified, you can typically disconnect the car’s battery for 15-30 minutes, then reconnect. Alternatively, use a diagnostic tool connected to the OBD-II port to execute a computer reset.
What Is a Car Computer?
The evolution of cars has brought many exciting advances, but nothing quite as astonishing as a computer installed directly into your four-wheeler. This handy feature, also known as an electronic control unit (ECU) or engine control module (ECM), is a vital component in modern vehicles. It’s essentially a specialized computer system that manages and controls various aspects of a car’s operation.
The ECU receives input from numerous sensors located throughout the vehicle, including those monitoring engine performance, emissions, and various other systems. Here are some common sensors found in most modern vehicles that provide crucial input:
- Mass Airflow Sensor (MAF) – measures the amount of air entering the engine, helping determine the appropriate fuel-to-air ratio,
- Oxygen Sensor (O2) – monitors the level of oxygen in the exhaust gases, providing feedback on the combustion efficiency,
- Engine Coolant Temperature Sensor (ECT) – measures the temperature of the engine coolant, providing information to the ECU for controlling fuel injection timing, ignition timing, and idle speed,
- Crankshaft Position Sensor (CKP) – identifies the crankshaft’s rotational speed and position, allowing the ECU to precisely coordinate fuel injection and ignition timing,
- Camshaft Position Sensor (CMP) – determines the position and timing of the camshaft, assisting the ECU in controlling valve timing and fuel injection events.
Why Does It Need to Be Working Properly?
The list above contains just a few common examples of the many sensors that may be present in a vehicle and provide input to the car computer, which in turn processes this data and generates output signals that control functions like fuel injection, ignition timing, transmission shifting, and other critical operations.
Because of its vital role in the vehicle’s inner workings, a malfunctioning ECU can lead to decreased performance, reduced fuel efficiency, and increased emissions, negatively affecting not just the car but the environment as well. In addition to engine management, ECU also oversees features such as anti-lock braking systems (ABS), stability control, airbag deployment, and entertainment systems, so it’s also crucial for maintaining safety on the road.

Step 1: Check the Owner’s Manual
Before attempting any DIY mechanical task, no matter if it’s replacing a valve stem or adjusting a parking brake, it’s best to start by consulting the owner’s manual. This handy manual serves as a comprehensive guide with specific instructions and guidelines tailored to your particular make and model.
The owner’s manual contains lots of valuable information about the car’s systems, including the ECU and its reset procedures, so it can serve as a useful guide when you’re trying to figure out how to reset your car computer. It also provides important safety precautions and warnings, allowing you to proceed with confidence and without compromising the integrity of the car’s electronics.

Step 2: Disconnect the Battery
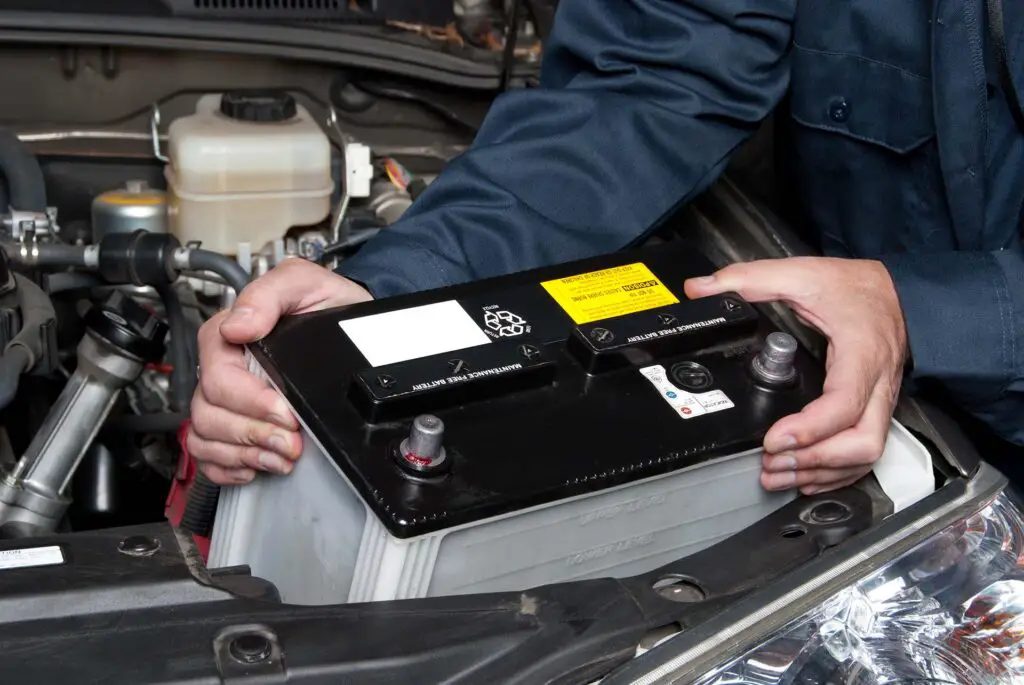
After you’ve informed yourself about all of the intricacies of your vehicle contained in the owner’s manual, the next step is to learn how to reset the car ECU with the battery disconnected. So, here’s a step-by-step guide on disengaging the car’s battery:
- Park your vehicle in a safe and well-ventilated area, away from any flammable materials,
- Ensure that the engine is turned off, and all accessories and electrical components are also switched off,
- Open the hood of your vehicle and locate the battery, which is usually near the front of the engine compartment,
- Using a suitable wrench or socket, loosen the nut on the negative terminal of the battery,
- Once loose, carefully remove the battery cable from the negative terminal and ensure it does not come into contact with any metal parts,
- Repeat the same process for the positive terminal of the battery,
- Inspect the terminals for any signs of corrosion or buildup and clean them with a specialized cleaner or a mixture of baking soda and water if necessary,
- Once dry, reconnect the positive terminal by sliding the cable over it and tightening the nut securely,
- Repeat the same process for the negative terminal, ensuring a tight connection,
- Double-check that both terminals are securely attached by wiggling them slightly.
Take Safety Precautions Before Disconnecting the Battery
Now that you know how to disconnect the car’s battery, it’s important to underline that you need to prioritize safety precautions for this task. As mentioned, the engine and all electrical accessories need to be switched off before you start working on the battery to avoid any accidental power surges.
Additionally, it’s essential to wear protective gloves and safety glasses to shield yourself from potential electrical sparks or corrosive substances. By taking these safety precautions, you can minimize the risk of electrical shocks, battery acid exposure, and other potential hazards associated with disconnecting the battery.
How Long Should You Leave the Battery Disconnected to Reset the Car Computer
When it comes to this task, you might be wondering how long to leave the battery disconnected to reset the car computer. Well, the duration can vary depending on the make and model of the vehicle, but it’s generally recommended to leave the battery disconnected for at least 15 to 30 minutes. This is enough for the ECU to fully discharge any residual power and reset its internal memory.
However, it’s worth noting that simply disconnecting and reconnecting the battery may not always reset the control unit completely. Some vehicle systems may retain certain learn values or fault codes even after the reset. But there’s another way to ensure that the system is thoroughly reset, so let’s take a look at how to reset a car computer without disconnecting the battery.
Step 3: Use a Scan Tool
If you want to learn how to reset the car ECU without disconnecting the battery, this can be done with the help of a professional diagnostic tool or scanner. While keeping in mind that the specifics once again depend on the make and model, here’s a general outline of the process:
Prepare and Connect
First things first, you should purchase or borrow a diagnostic tool or scanner that is compatible with your vehicle’s make and model. These tools can be easily found at most automotive stores or in online vehicle parts stores.
The next step is to locate the OBD-II (On-Board Diagnostics) port in your vehicle – it is typically located under the dashboard, near the driver’s side, but it’s best to consult your user’s manual. Plug the diagnostics tool’s connector into the OBD-II port and ensure it’s securely connected.
Access and Navigate
Once the diagnostic tool is connected, turn it on according to the manufacturer’s instructions – it should power up and display a menu of options on the screen. Navigate through it until you find the reset function and select it. Follow any prompts or instructions provided by the tool, and, of course, confirm that you want to go through with resetting the ECU.
Execute and Verify
All that’s left to do is wait – the diagnostic tool will communicate with the car’s ECU and perform the procedure for you. This might take a few minutes, and it’s crucial to not turn off the tool or disconnect it during this process. Once it’s complete, the diagnostic tool will usually display a confirmation message. You can also check if any previously stored fault codes or settings have been cleared.
Step 4: Drive the Car
After resetting the ECU, it’s essential to take your four-wheeler for a drive, as it’ll allow the system to recalibrate and adapt. There’s no need for any driving anxiety – simply drive the vehicle like you would normally, following your regular driving patterns, no matter if it’s through one of the cities with the worst drivers or along the famous routes in the US.
Firstly, let the system adjust by driving in a balanced manner, avoiding excessive acceleration, sudden braking, or aggressive maneuvers. However, it’s best to also expose the vehicle to different driving conditions, such as stop-and-go traffic, highway speeds, and uphill or downhill routes. This helps the ECU optimize its performance based on real-time data.
How Long Should You Drive the Car to Reset the Car Computer
The duration for driving the vehicle for it to completely reboot the ECU can vary depending on several factors, including the make and model of the vehicle and the specific reset requirements. It’s usually recommended to drive it for at least 20 to 30 minutes after you’ve gone through the process of resetting, as this duration allows the ECU to gather sufficient data and adapt to your driving habits and conditions.
However, it’s important to note that the car computer may continue to fine-tune its settings over multiple driving cycles. Regular driving and usage of the vehicle will help the ECU to further optimize its performance and recalibrate as needed. So, do your fair share of city driving, maybe even go for an off-road driving adventure if you’re up for it, and after a while, your vehicle will be completely rebooted to its original settings.

Learn How to Reset the Car Computer and Enjoy a Smooth Ride
The process of resetting the ECU system of your vehicle depends on the specific make and model. For example, in addition to the described methods, your vehicle might have a preinstalled reset button, and in that case, you can easily learn how to reset the car computer with a key. No matter what way you end up doing it, it’s a simple job once you have the right tools and a user’s manual by your side. So, don’t let such a task feel like an intimidating chore – mastering this skill will keep your four-wheeler running at its best performance!


