Every driver’s worst nightmare – returning to your parked car, only to discover an unsightly surprise waiting for you – the front bumper, once a symbol of pristine beauty, is now marred by an unfortunate collision. If you want to learn how to replace the front bumper and unleash your inner mechanic, you’re at the right place. Restore your car’s front end to its former glory, and enjoy this DIY project.
Start by parking the vehicle in a safe location and disconnecting any electrical connections. Carefully remove the damaged part and inspect the new one for any defects. Then, align the replacement with the vehicle’s mounting points and secure it. Don’t forget to reconnect any electrical connections, ensuring they are properly attached. Finally, double-check the alignment and fitment of the bumpers, making any necessary adjustments.
What Is a Front Bumper?
The front bumpers are like a guardian angel for your vehicle, silently standing at the forefront to protect it from the unpredictable hazards of the road. More than just a stylish facade, it is a crucial component designed to absorb and disperse the impact of collisions, minimizing damage to the rest of the vehicle and, most importantly, safeguarding the occupants inside.
These components act as a shield against fender-benders, minor accidents, and even the occasional encounter with a rogue shopping cart. They are resilient defenders that take the brunt of the force, allowing your four-wheeler to emerge relatively unscathed.
So, the next time you admire your vehicle’s sleek front end, remember that this component is not just a cosmetic feature but a stalwart protector. It ensures you can navigate the road with confidence and peace of mind.
Why Is It Important to Have a Working One on Your Vehicle?
As already explained, it serves as the first line of defense in a collision and potentially saves you from expensive repairs or even rendering your vehicle inoperable. Additionally, they play a significant role in pedestrian safety. It is designed to absorb impact energy and reduce the severity of injuries in case of accidents involving pedestrians. Functioning bumpers can help mitigate the risk of serious harm to pedestrians by providing a cushioning effect.
How Long Does It Take To Replace a Front Bumper?
The time required to replace these components can vary depending on several factors. For example, the make and model of the vehicle, the complexity of the bumper design, and the level of expertise of the person performing the replacement. However, it’s essential to allocate sufficient time for the task, as it may involve tasks such as disconnecting electrical connections, removing fasteners, aligning the new part, and securing it properly.
Keep in mind that unexpected challenges or complications can arise during the process, which may extend the overall duration. It is advisable to consult the vehicle’s manual or seek professional assistance if you are unsure or unfamiliar with the process.

How to Replace Front Bumper – Preparation Is the First Step
The crucial first step of this process definitely is preparation. Preparation sets the stage for a seamless and successful replacement experience, ensuring that you have the right tools, knowledge, and confidence to tackle the task at hand.
Of course, considering all the differences between classic and modern vehicles, you can easily understand that today’s four-wheelers are way different. This especially applies when you have one of the best off-road vehicles. After all, having all the right components is every driver’s responsibility. Regarding replacing bumpers, here’s what you need to consider as a preparatory step.
Gather the Necessary Tools and Materials
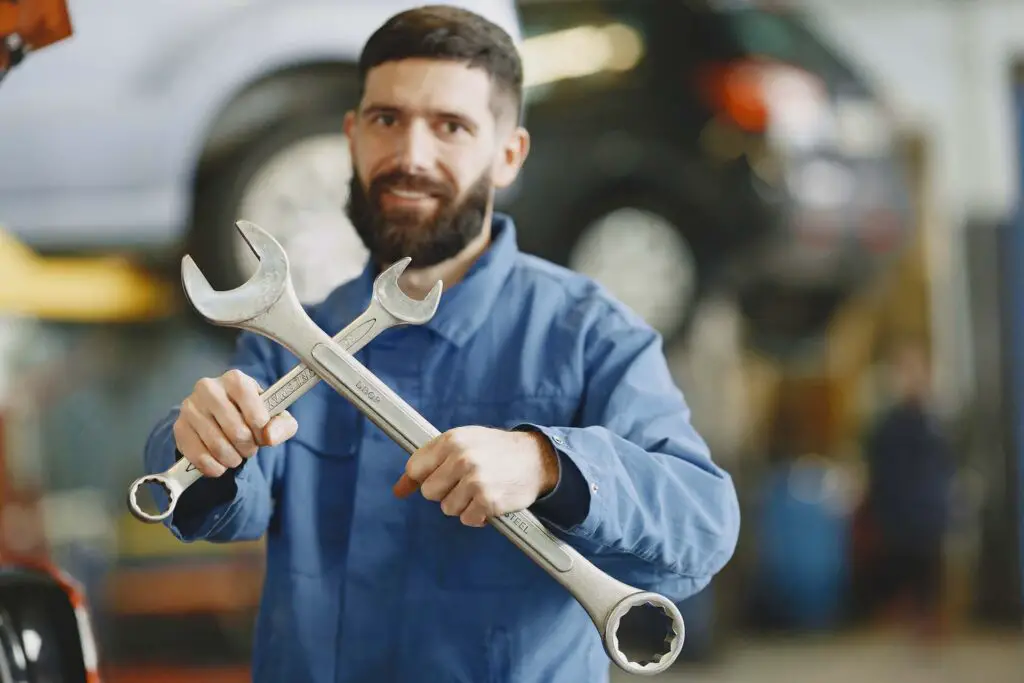
Gathering the necessary tools and materials that will empower you on this awe-inspiring automotive journey surely is one of the first things you need to take care of. And no matter if you have the most expensive vehicle in the world or not, you should arm yourself with a trusty set of tools, ranging from wrenches and screwdrivers to prying tools and sockets. Additionally, collect any specific materials required for the bumper replacement, such as new screws, bolts, or clips.
Ensure Safety Precautions Are Taken
Before diving into the task, equip yourself with protective gear, such as gloves and safety glasses, shielding you from potential hazards. Additionally, choose a well-ventilated area to work in, allowing fresh air to circulate and minimize the inhalation of fumes or dust.
With safety as your companion, you can navigate the twists and turns of bumper replacement with confidence and peace of mind, knowing that your well-being remains the top priority throughout this exhilarating process.
Remove the Damaged Front Bumper
In the ever-evolving world of cars, where innovation drives us forward, sometimes we encounter bumps along the road, right? Well, don’t let it be you, and remove it before someone else finds it on the road. However, there are some things you need to consider before actually removing the part itself.
Park the Vehicle in a Safe and Suitable Location
Before delving into the removal process, it is crucial to park your four-wheeler in a safe and suitable location. Just as cars have evolved to provide enhanced safety features, it is essential to prioritize your well-being during this task. Choose a level surface away from traffic, ensuring that your vehicle is securely parked and stable.
A spacious area allows for easier maneuvering and provides ample room to work comfortably. By selecting an appropriate location, you set the stage for a smooth and secure removal process, enabling you to focus on the task at hand with peace of mind and surely reduce the driving stress.
Locate and Disconnect Any Electrical Connections
Similar to the integration of cutting-edge technology in modern cars, these connections play a vital role in the operation of fog lights, sensors, and other electrical systems. Carefully inspect the bumpers, tracing the wires to identify the electrical connections. Exercise caution as you disconnect them, ensuring that you handle the connectors gently to avoid damage. Pay close attention to the design and location of each connection, as they may vary depending on your vehicle’s make and model.
Prepare the Replacement Front Bumper
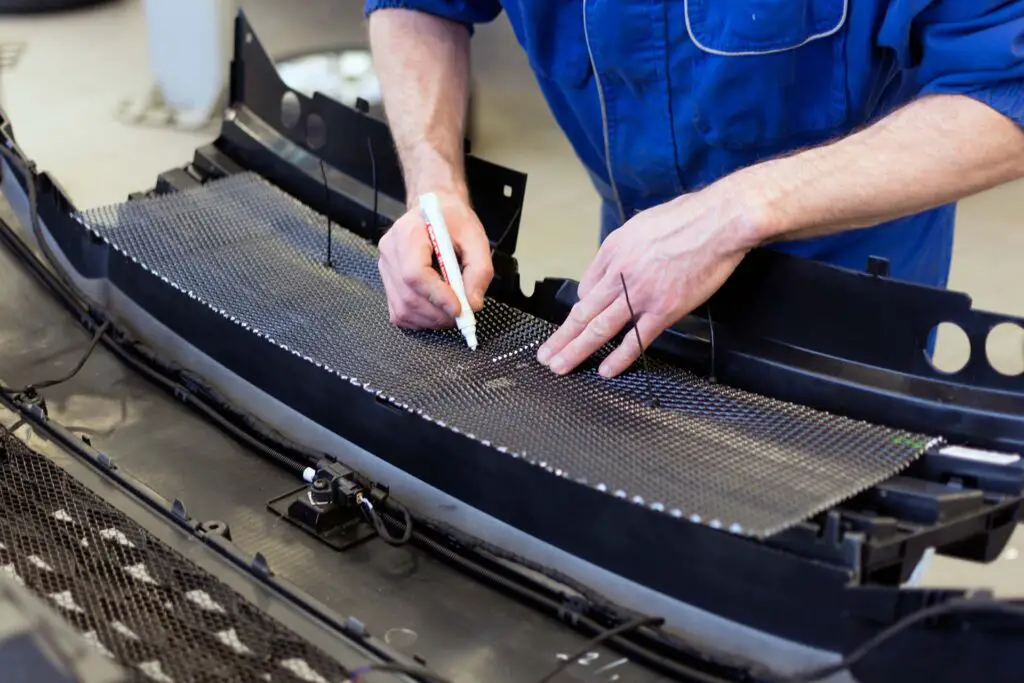
With anticipation in the air, carefully unpack the new component, revealing its pristine form and unblemished surface. Embrace the role of a discerning automotive connoisseur as you inspect every inch, searching for any defects or damage that may have occurred during shipping. Let’s be realistic, even parts ordered from some of the best online parts stores can get damaged during transportation. So, be sure not to skip this inspecting part.
Just as car manufacturers obsess over quality control, it is essential to ensure the component you got meets your expectations. Once satisfied, if necessary, embark on a mini-surgery, transferring any components from the old component to the new one. Like a meticulous surgeon, delicately remove the grille, emblem, or any other adornments, carefully preserving their integrity.

Installing the Replacement Front Bumper
Just like exploring the famous routes in the USA, this process will take you on twists and turns, but fear not – the destination is worth every effort. Here are the steps you need to take and ensure an efficient replacement that will make you feel like a real pro mechanic.
Align the Replacement Front Bumper With the Vehicle’s Mounting Points
As we venture deeper into the installation process, it’s time to focus on aligning the replacement part with the vehicle’s mounting points. Think of this step as mapping out the perfect route, ensuring that every contour and curve aligns seamlessly with the vehicle’s frame.
Pay close attention to the precise placement of the bumpers, ensuring it sits flush and true as if it were an extension of the original design. Take your time to adjust and maneuver, making minor tweaks to achieve an impeccable fit. This alignment not only enhances the aesthetics of your vehicle but also plays a crucial role in maintaining its aerodynamic integrity.
Secure the Bumper in Place Using Screws, Bolts, or Clips
Once the alignment is perfected, it’s time to secure the bumpers in place using screws, bolts, or clips. Consider this step as fortifying the foundations of your journey, ensuring that these parts remain steadfast throughout your vehicle’s adventures.
Select the appropriate fasteners for your specific vehicle model, taking care to tighten them to the recommended torque specifications. As you fasten each screw, bolt, or clip, feel the satisfaction of knowing that your bumper is securely anchored and ready to face the challenges of the road ahead.
Reconnect Any Electrical Connections
Now, let’s add some electric energy to our installation process. Reconnecting any electrical connections is akin to activating the navigational systems and infusing your journey with illumination. Carefully attach the wiring harnesses, ensuring the proper connection of fog lights, sensors, or any other electrical components integrated into the front bumper. Double-check each connection, ensuring a snug fit and ensuring that the electrical systems are ready to shine brightly when the road demands it.
Double-Check the Alignment and Fitment of the Bumper
As we approach the final stretch of our installation journey, it’s time for a thorough inspection. Double-check the alignment and fitment of the bumpers, examining them from different angles like a seasoned traveler capturing the perfect photograph.
Pay attention to the symmetry and proportions, ensuring that the bumper harmonizes with the vehicle’s lines and contours. Run your hands along the edges, confirming a seamless transition between the bumper and the adjacent body panels. Take a step back and admire the cohesiveness of your vehicle’s refreshed appearance, confident in the knowledge that your meticulous efforts have resulted in flawless alignment and fitment.
Finalize the Installation and Enjoy a Symphony of Functionality
As you reach the final stage of replacing this part, it’s time to add the finishing touches that will bring your automotive masterpiece to life. Picture this – you stand back, basking in the glow of your hard work, ready to put the cherry on top of this mechanical marvel.
First, test the functionality of any electrical components meticulously connected to the front bumper, whether it be the alluring fog lights or the sensor systems that make your vehicle a technological wonder. Activate each component, relishing the sight of the lights illuminating the surroundings or the sensors responding with precision.
Don’t Forget to Take That Extra Effort and Do the Final Clean
We’re not done just yet. Take a moment to ensure that your replaced component shines in all its resplendent glory. Grab a cloth and give it a final wipe, meticulously removing any fingerprints or smudges that might mar its pristine appearance.
As you do, reflect on the journey you’ve undertaken, from the initial planning and preparation to the careful execution of each step. The clean front bumper serves as a metaphorical mirror, reflecting not only the image of your vehicle’s renewed aesthetics but also the determination and perseverance that brought you to this point.

Follow My Instructions and You’ll Replace the Bumper in No Time
Replacing this part of your four-wheeler may initially seem like a daunting task, but armed with the right instructions, tools, and a can-do attitude, you’ll be amazed at what you can achieve. With dedication and patience, you’ll be rewarded with a vehicle that sports a brand-new part restored to its former glory. So, gather your tools, summon your inner mechanic, and embark on this DIY adventure. Before you know it, you’ll have successfully replaced the bumpers, showcasing your newfound automotive prowess.


