Do you hear terrible sounds when driving? It may be time to figure out how to replace a broken wheel stud. First, don’t worry – it happens to the best of us. With the right instructions and a few useful tools, you’ll be able to deal with the problem and avoid an expensive repair down the line. Here’s an easy-to-follow guide to get you back up and rolling quickly.
What Is a Wheel Stud?
Whether you’re a beginner driver or a long-time car owner, you’ve probably noticed the small metal bolts that attach each wheel to your vehicle. These parts are called wheel studs, and they are threaded on one end and have a flat surface on the other. They fit through a hole in the wheel, and a lug nut is then threaded onto the exposed end of the stud to secure the whole thing in place.
Studs are commonly made from steel or other durable materials that can withstand the weight and pressure of a vehicle in motion. They are an essential part of any four-wheeler, no matter if you’re taking it for some off-road driving or through the famous routes in the USA. That’s why these parts should be regularly checked for wear and damage – it’ll ensure not only a smooth ride but a safe one as well.
How to Know There Is Something Wrong With It?
There are several signs that may indicate a problem. Here are a few common problems that should be addressed as soon as possible:
- A loose or wobbly wheel – this may indicate that one or more of the studs are damaged or broken,
- Difficulty with tightening the lug nuts – if the lug nuts are difficult to tighten or if they do not stay tightened for a long time, it may be a sign of a stripped or damaged stud,
- Noise coming from the wheel area – if you’re hearing any clicking or popping noise while driving, it might indicate that the studs are loose or damaged.
Replacing a broken wheel stud as soon as possible is crucial for maintaining the safety and stability of a vehicle. If it’s damaged or broken, it can cause the wheel to become loose or even separate from the vehicle in motion, which is obviously dangerous as it can lead to a loss of control and potentially cause an accident.
Moreover, it can cause additional stress on the remaining studs, leading to further damage. So, it’s essential to figure out how to replace a broken stud on a wheel as soon as you notice the problem. But before you get down and dirty, let’s take a look at what tools and supplies you’ll need for the job.

Gather Tools and Supplies Before You Start Tinkering Around the Car
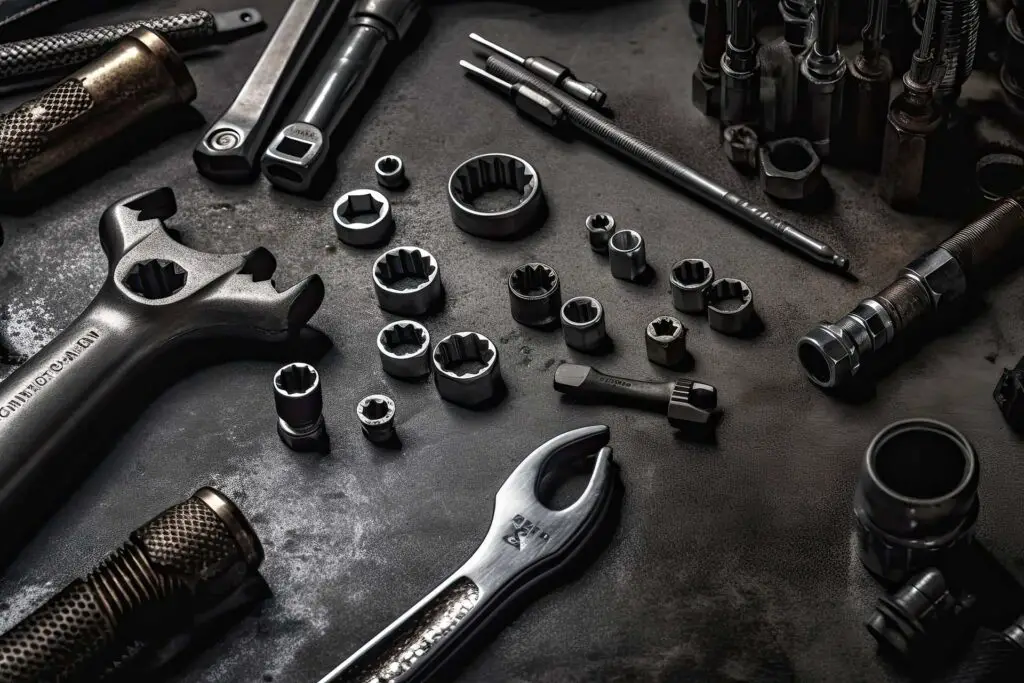
No matter if you’re installing LED lights to brighten up your four-wheeler or replacing the battery cables to ensure a smooth ride, tinkering around your car requires the right tools and supplies. The same goes for replacing damaged or broken studs, so before we get into the ins and outs of this particular repair job, here’s a list of the equipment you’ll need, as well as a few specialized tools required for specific tasks:
| Piece of Equipment | Used For |
| Lug or Impact Wrench | Removing the lug nuts that hold the wheel in place – an impact wrench is faster and easier to use, but a lug wrench does the job just as well |
| Socket Set | Removing the bolts that hold the brake caliper and rotor in place – depending on the make and model, specific sizes are needed |
| Hammer or Mallet | Tapping the damaged stud out of the hub assembly |
| Wheel Chocks or Blocks | Preventing the vehicle from rolling while the wheel is removed – to ensure stability, they should be used on both sides |
| New Wheel Studs | Replacing the damaged or broken components – it’s important to get the correct size and type for your vehicle |
| Pliers or Vise-Grips | Holding the replacement in place while it is tightened – make sure they are compatible in order to avoid further damage |
| Torque Wrench | Tightening the lug nuts to the manufacturer’s recommended torque specification – it’s important to ensure that they are tightened to the correct level, as it’s essential for safety |
| Thread-Locking Compound | Preventing the studs from coming loose by adding adhesive to the threads – it’s not necessary but can be helpful for added security |
| Penetrating Oil or Rust Dissolver | Loosening studs if any of them are stuck or rusted |
Searching Online Is the Best Way to Get the Specialized Tools You Need
While most auto enthusiasts will have different types of wrenches and other pieces of equipment ready in their garage, replacing damaged or broken studs entails quite a set of tools. Some of them can be found at your local hardware or auto parts store, but the most effective way to gather what you need is by researching the best car stores online.
Additionally, online retailers such as Amazon are a great way to get quality tools from the comfort of your own home. Everything you need for the job can be found on this useful website – from the high-quality Dorman 610-186 Wheel Stud to the handy AFA Tooling Set of 4 Wheel Chocks. It’s no wonder why every experienced gearhead is a frequent user of this online retailer.
Make Sure You Have the Safety Equipment on Hand
Tinkering with your vehicle without safety equipment is like driving at night without headlights turned on. That’s why it’s important to have gloves, safety glasses, and a first aid kit by your side at all times.
Moreover, make sure that the car is parked on a level surface and that the engine is turned off before starting any work. Taking the time to gather the right tools and supplies before you get down and dirty will help prevent any accidents and ensure that the job is completed in the most efficient way possible.

How to Replace a Broken Wheel Stud – A Step-By-Step Procedure
Damaged or broken wheel studs can compromise the safety and stability of a vehicle, but with the right tools and a bit of patience, replacing them is a relatively simple repair job. That’s why most drivers opt for the DIY route, no matter if they own a brand-new vehicle, a used car, or even one with a salvage title.
If you’re not willing to add unnecessary repair costs to the already high car price you got your four-wheeler for, here are the steps you need to take to replace broken studs:
Remove the Wheel
The first step you need to take is removing the wheel from the rest of the vehicle. To do this, start by using a lug or impact wrench to loosen the lug nuts while the vehicle is still on the ground. I’d recommend the impact wrench for this, as it’s a faster and easier process, but the lug wrench works just as well. Keep in mind that you should only loosen the lug nuts at this stage without removing them completely.
Next, use a jack to lift the vehicle off the ground and support it with chocks or blocks. Once the four-wheeler is safely supported, remove the lug nuts completely and pull the wheel off the hub assembly. If it’s stuck, gently tap it with a rubber mallet or block of wood to loosen it. With the wheel removed, you can easily access the hub assembly and begin the process of replacing the broken studs.
Install the New Stud
To install the new wheel stud, start by inserting the threaded end of the stud through the hub assembly from the backside of the rotor. Then, slide a few flat washers onto the stud to protect the threads and use a lug nut to hold the stud in place. With the stud held in place, use a hammer or mallet to carefully tap the exposed end of the stud until it is fully seated in the hub assembly.
Once the stud is in place and secure, remove the lug nut and washers, and then install the brake rotor and caliper, following the manufacturer’s recommended procedure. Suppose you’ve carefully gone through the process of removing the wheel and taken notes of the parts you’ve removed. In that case, the reassembling process shouldn’t cause any problems, especially when you follow the manufacturer’s instructions.
Reinstall the Wheel
You should start this by aligning the wheel with the hub assembly and sliding it onto the studs. Tighten the lug nuts by hand until they are snug, and then use a torque wrench to tighten them to the manufacturer’s recommended torque specification.
It’s important to carefully use a torque wrench to ensure the lug nuts are tightened evenly and to the correct level. This is essential for safety and to prevent further damage to the hub assembly. Once everything is properly tightened, lower the vehicle back down to the ground and remove the jack stands.
After You Are Done Test the Repair
The last step of any repair job is to test if everything is working properly. Before driving your four-wheeler, it’s best to double-check that all lug nuts are properly tightened and secure. Then, take the vehicle for a short test drive, preferably on a quiet road or parking lot – trust me, you don’t want to find out that the problem has not been fixed in the middle of traffic, especially in one of the cities with the worst drivers.
While test-driving your car, listen for any unusual noises or vibrations, and pay attention to the steering and handling of the vehicle. If everything seems normal, continue driving for a few miles and then stop to check how tight the lug nuts are. It’s a good idea to do this periodically over the next few days to ensure that they remain properly tightened. If everything is in order, congratulations – you’ve successfully restored the studs back to their original glory.

Safety Is Ensured Only When the Wheel Studs Are Nice and Secure
Now that you know the full process of replacing broken studs, you can rest easy knowing that you won’t be stuck on the side of the road with your hubcap rolling away. It might seem intimidating to tackle a job like this, but with the right tools and knowledge, it’s a relatively straightforward job. All in all, having perfectly working wheels can make all the difference in how your car runs, so make sure to put in loving effort for their repairs.


