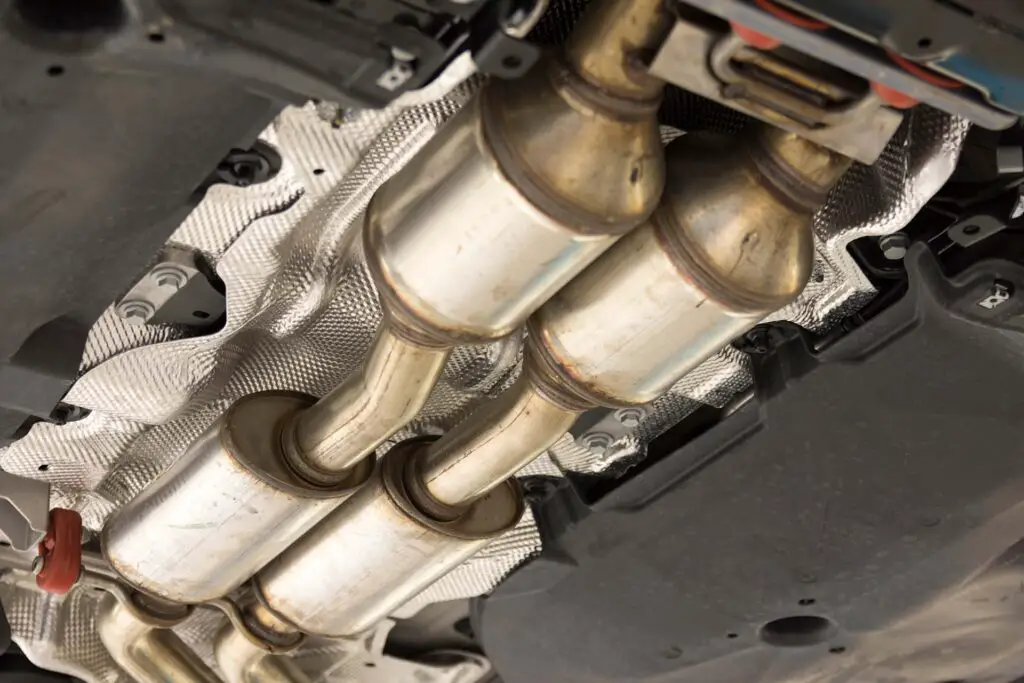
If you’re wondering how to repair a hole in a car muffler, you’re not alone. A muffler’s job might seem quiet, but when it faces an issue like this, it’s anything but. So, let’s learn how to recognize the signs of this vital component’s crying out for help and patch that pesky pit.
From identifying symptoms like increased decibels and odd exhaust odors to diving into DIY repairs, there are plenty of options to go about the whole ordeal. You might use special tape for quick fixes, putty for those moderate issues, or even metal patching for the more severe breaches. However, sometimes, it’s best to hand over the reins to the pros. And hey, a little preventative care can keep that rumble in check for the long haul.
Symptoms of a Hole in Your Muffler
Troubles with this vital vehicle component don’t just spring out of nowhere. Often, there are telltale signs hinting that your car’s vocal cords, so to speak, are experiencing problems. Knowing what to watch and listen for can save you time and help you cut down expenses, so let’s dive into some of these symptoms:
Increased Noise
Is your car’s typically smooth purr turning into a roaring lion? One of the first signs that your trusted ride is in dire need of a muffler hole repair is an increase in engine noise. This ruckus can range from a subtle change in tone to an aggressive growl, especially during acceleration.
Decreased Performance
This issue can also affect the overall performance of your vehicle. As the exhaust system is compromised, you might notice decreased fuel efficiency, weaker acceleration, or even stalling in severe cases. So, when your ride starts feeling sluggish, it’s time for a quick check-up.
Burning or Unusual Exhaust Smells
A functioning component effectively directs exhaust gases out and away from the vehicle. However, a hole can cause these fumes to leak closer to the car’s interior, and you’ll start catching whiffs of unusual or burning smells. These odors aren’t just unpleasant – they can also be harmful if inhaled for extended periods.
Safety First – Pre-Repair Preparations
Before you start diving under your four-wheeler to fix that bothersome pit, let’s remember that safety isn’t just a word – it’s a precautionary ritual. Ensuring you’re well-prepared and protected can make the difference between a smooth fix-up and a trip to the ER.
Wear Protective Gear
Tackling a car’s exhaust system isn’t your usual DIY, like changing a spark plug or replacing a valve stem. It’s a complex tax, and you’ve got to gear up right. Metal shards, dust, and other particulates can be unfriendly visitors, and to keep them at bay, make sure you’re equipped with:
- Safety glasses – your eyes probably wouldn’t appreciate metal dust,
- Gloves – protect your hands from potential burns or scrapes,
- Appropriate clothing – long sleeves and pants can shield you against any unexpected scrapes or pokes.
Ensure Proper Ventilation
You wouldn’t want to host a barbecue inside your living room, right? Similarly, when working on your vehicle’s exhaust system, you’re dealing with gases and fumes. Doing this in an enclosed space is a recipe for trouble.
So, always ensure you’re in an open area or, at the very least, a well-ventilated garage. This way, you’re not only giving yourself room to maneuver but also keeping those noxious gases from becoming unwanted guests in your lungs.
Let the Car Cool Down
The exhaust system retains heat for quite some time after a drive, no matter if you’ve been stuck in stop-and-go traffic in one of the cities with the worst drivers or speeding down the famous routes in the US. Rushing in with the repairs could mean greeting parts that are sizzling hot, so give your trusted ride a breather and let it chill for a bit.

Tools and Materials Needed
Before we start discussing the best way to repair a hole in a muffler, every hero needs their trusty sidekicks. In this case, it’s the set of tools that will ensure your exhaust sings smoothly again:
| Tool | Purpose | Where to Buy |
| Wire Brush | For cleaning and removing rust and debris from the affected area | Auto parts and hardware shops |
| Sandpaper | To smooth the surface and prep for adhesives or putty | Hardware and DIY stores |
| Knife/Scraper | To clear away old sealants or flaky parts safely | Hardware and DIY stores |
Now, diving into the necessary materials. The repair tape or patch acts much like a bandaid for your exhaust system, quickly sealing over those pesky breaches. Then, we have the repair putty or compound, which you can think of as the cement of this operation – it fills, it binds, and it ensures things stay right where they are.
Lastly, we mustn’t forget the high-temperature sealant, designed to withstand intense heat and ensure that your handy work remains intact for the long haul. Always keep in mind – investing in top-tier materials will pay off, offering a fix-up that endures rather than demanding frequent touch-ups.

How to Repair a Hole in a Car Muffler – A Step-By-Step Guide
Alright, gearheads and DIY aficionados, we’ve reached the real deal – how to repair a hole in a muffler. So, let’s dive straight into making that exhaust hum just right again and ensure it serves you well for miles to come.
Step 1 – Locate the Hole and Inspect the Muffler Thoroughly
Before anything, you need to play detective – get under the car and give the exhaust system a good once-over. You’re not just looking for the obvious – make sure there are no other weak spots or potential problems lurking around. Remember, fixing one issue and missing another isn’t the win we’re aiming for.
Step 2 – Clean the Area
Before you start repairing the issue, grab that wire brush to give the affected area a good scrub, removing any loose rust and debris. Follow up with some sandpaper action to ensure a smooth surface. This will ensure that whatever method you choose will have the best chance to adhere properly.
Step 3 – Choose Your Repair Method
Depending on the size, position, and severity of the breach, you might opt for different solutions. Here are some possible courses of action:
- Using muffler tape – simply apply tape over the affected spot. Just make sure you’ve read the instructions and know how long it needs to set,
- Using muffler putty or compound – you need to mix some compounds, apply them, and then play the waiting game to let it dry completely,
- Metal patching – when you’re dealing with a bigger hole, it’s best to seal it using a heat-resistant sealant to keep everything nice and tight.
Step 4 – Test the Repair
Once you’ve finished your job, it’s the moment of truth – fire up the engine and give it a listen. What we’re hoping for is that serene hum without any added acoustics – no hisses, pops, or rattles. Also, do a quick visual check, and if there are no escaping fumes, congrats on the successful fix-up!

When to Seek Professional Help
While your DIY adventures can be quite thrilling and, more often than not, solve the immediate issues, there’s no denying the limits of a home garage fix. So, think of these DIY solutions as a band-aid – they will do the job for a while, but it’s not a lifelong solution.
Sometimes, that rumbling beast beneath your vehicle demands a little more attention, maybe even a complete makeover. Here are some signs that might indicate it’s time for a more thorough intervention:
- Persistent noisy rumbles – even after your DIY efforts, if your vehicle still sounds like a dragon with a sore throat, it might be a sign of more significant issues,
- Bad smells – if you’re detecting odors resembling rotten eggs, it could be a faulty catalytic converter, a critical component of the vehicle’s exhaust system,
- Decreased fuel efficiency – a compromised exhaust system can actually hit you in the wallet and add quite a sum to your ownership costs by increasing fuel consumption,
- Visible damage beyond small breaches – if rust has claimed a big portion, or if large parts of the exhaust look more fragile than an eggshell, a patch job just won’t cut it.
The Benefits of Employing a Professional Mechanic
Having an expert lay their eyes and hands on the problem brings a ton of benefits. For starters, their trained eyes might spot issues you and I would easily miss. Moreover, professionals have specialized tools and techniques at their disposal, ensuring that the solution is both effective and durable.
Last but not least, there’s peace of mind in knowing that your ride has been cared for by someone who deals with these challenges day in and day out. Sometimes, leaving it to the pros just makes sense.

Preventative Measures for Future Muffler Health
A car’s muffler, much like any other vehicle component, thrives on a bit of love and care. Regular check-ups can often reveal the beginnings of a problem, allowing you to nip it in the bud before it grows into a costly and loud disaster.
Ensuring your trusted ride stays clean, especially during those winter months, can be pivotal. Road salts, notorious for their hunger for metal, can fast-track corrosion, turning a small issue into a gaping problem and an expensive repair. Additionally, being proactive is key – if you hear a suspicious rumble or spot a hint of rust, it’s best to tackle the concern head-on. An ounce of prevention, after all, is worth a pound of cure.

It’s Time to Wrap up Those Muffler Mysteries and Hit the Road
There you have it – we’ve traveled down the twisty road of muffler maladies and emerged wiser. Remember, while it’s super empowering to roll up your sleeves and tackle these troubles yourself, it’s just as crucial to know when to wave the white flag and call in the pros. A happy four-wheeler means a quieter, smoother ride for you. So, keep those ears open for any suspicious roars, and make sure to stay proactive with your vehicle’s health.


