Imagine greeting every day with a four-wheeler that’s already at the perfect temperature before you slide behind the wheel. Sounds like a dream, right? That’s why today, we’re cracking the code on how to install a remote starter. So, grab a front-row seat as we unravel the steps in this remote car start installation guide and turn ordinary drives into journeys of comfort.
The installation process requires specialized tools and an understanding of the vehicle’s electrical system. If you’re unfamiliar with this aspect of your four-wheeler, it’s best to skip the DIY route and leave it to professionals. However, plenty of kits available on the market include everything you need for installation. From that point on, it’s all about maintenance and regular updates.
Benefits of a Car Remote Starter
Before we venture into the nuts and bolts of setting up this nifty gadget, it’s crucial to take a step back and explore the world of perks it unlocks. Enhancing car convenience with tech isn’t just about aesthetics and keeping up with the evolution of cars. It can transform every drive into a journey of comfort, safety, and efficiency, of course if everything is at top-notch condition, including airbags and seatbelts.
Here are the biggest advantages of remote starters:
- Improved comfort – say goodbye to shivering or sweating during winter or summer as you wait for the temperature to adjust,
- Enhanced safety – defrosting the windshield becomes a task of the past, ensuring clear visibility and safer drives,
- Increased longevity – it treats your engine right with the gentle touch of warming up before hitting the famous routes in the US, ensuring extended lifespan,
- Security perks – there’s no need for wheel locks or other security devices, as the vehicle remains locked even when the engine is running,
- Boosted resale value – the cost of remote start installation is overshadowed by the value it can bring in the resale market once the time comes.

Choosing the Right Remote Starter
Embarking on the journey to infuse your rides with unmatched comfort begins with one pivotal step – ensuring vehicle compatibility with remote starts. There’s a myriad of options out on the market. So here’s what you need to know to land on a device that will transform your every journey.
Make Sure to Consider These Crucial Factors
When it comes down to the fine print of pairing the remote to a car system, it’s a blend of technical compatibility and personalized preferences. Here are the most important aspects to consider when choosing your device:
| Range | Determines how far away you can be while still having control over your vehicle’s ignition system |
| Two-Way Feedback | Two-way feedback remote systems can confirm actions like ignition or locking |
| Additional Features | Elevates the user experience by exploring extra perks like vehicle location or interior temperature monitoring |
Here Are Some Brands Popular for Remote Car Starters
In the crowded space of tech that breathes life into your vehicle with a touch of a button, a few names stand tall. Here are some notable picks from brands that are renowned for their blend of innovation, reliability, and user-friendly interface:
- Viper 5305V 2-Way LCD Vehicle Remote Start System – with two-way feedback and an easy-to-use interface, this is one of the most popular picks in the category,
- Compustar CS7900-AS All-in-One 2-Way Remote Start – with 3000 feet of range and an additional feature of a vehicle alarm, this is another smart choice,
- Compustar CS920-S 1-Way Remote Start – this is one of the best remote starter kits on the market, and it’s also pretty affordable compared to the previous products.
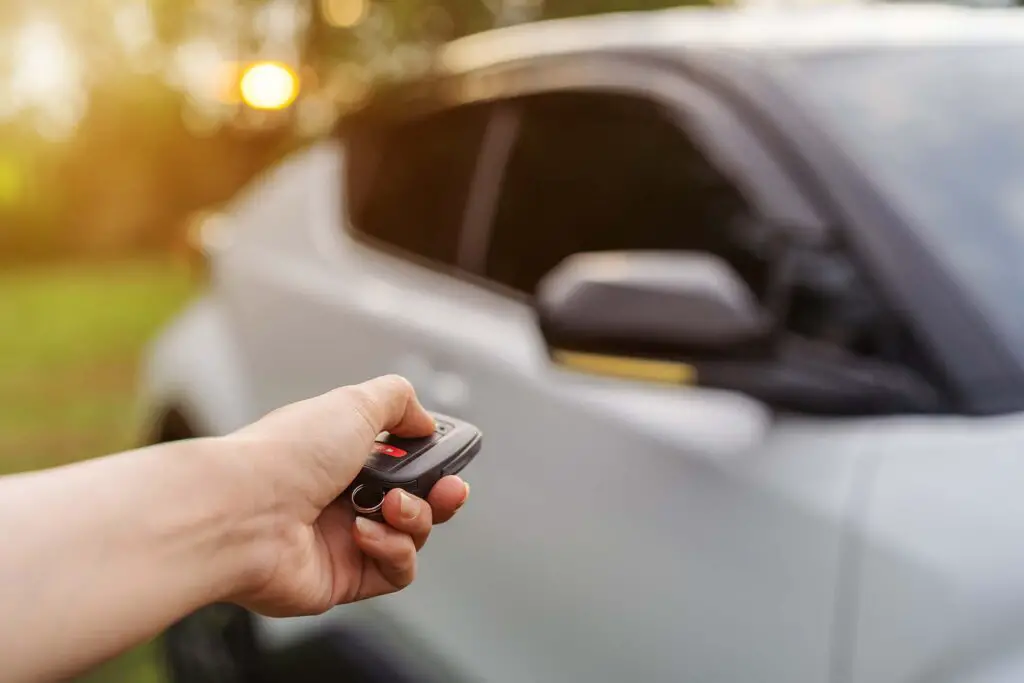
Necessary Tools and Components
Now that you know all about remote starter range and features, you’re equipped with the necessary knowledge to find your perfect match. However, if you opt only for the device itself and not the whole kit, the equipment doesn’t stop there. Here are the components and tools needed for remote starter installation:
- A wiring diagram – vital for understanding your vehicle’s electrical system,
- Wire strippers and cutters – for preparing and connecting remote starter wires seamlessly,
- Soldering iron and solder – essential for creating durable and safe electrical connections during the installation,
- Heat shrink or electrical tape – helps insulate and protect connections,
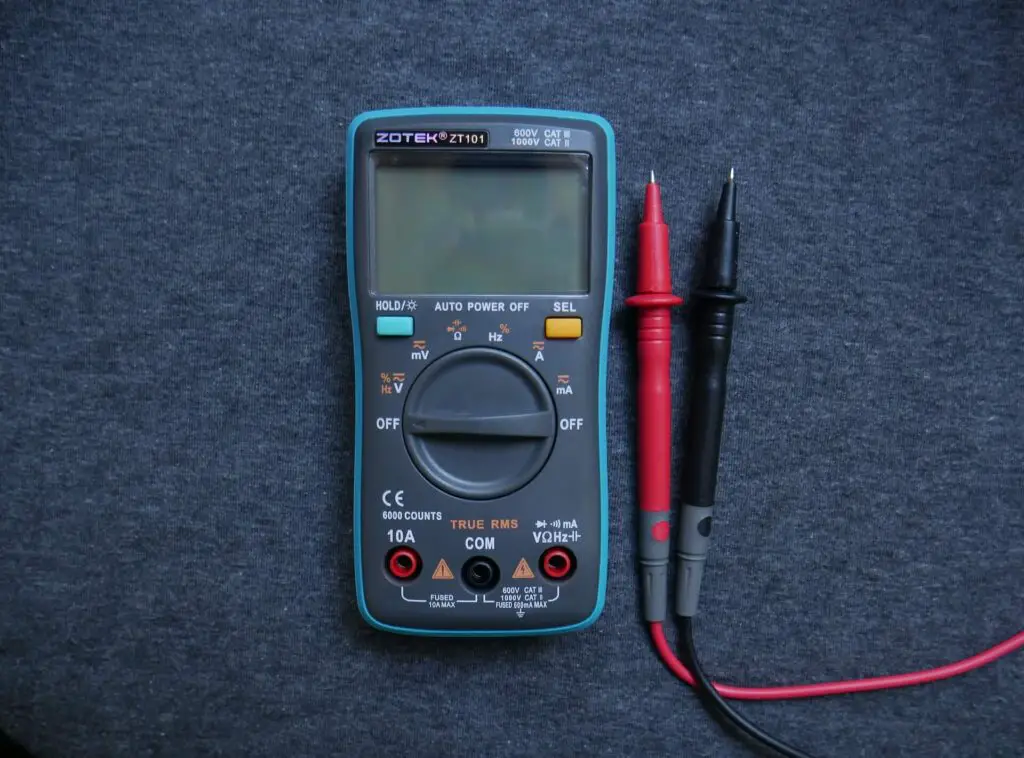
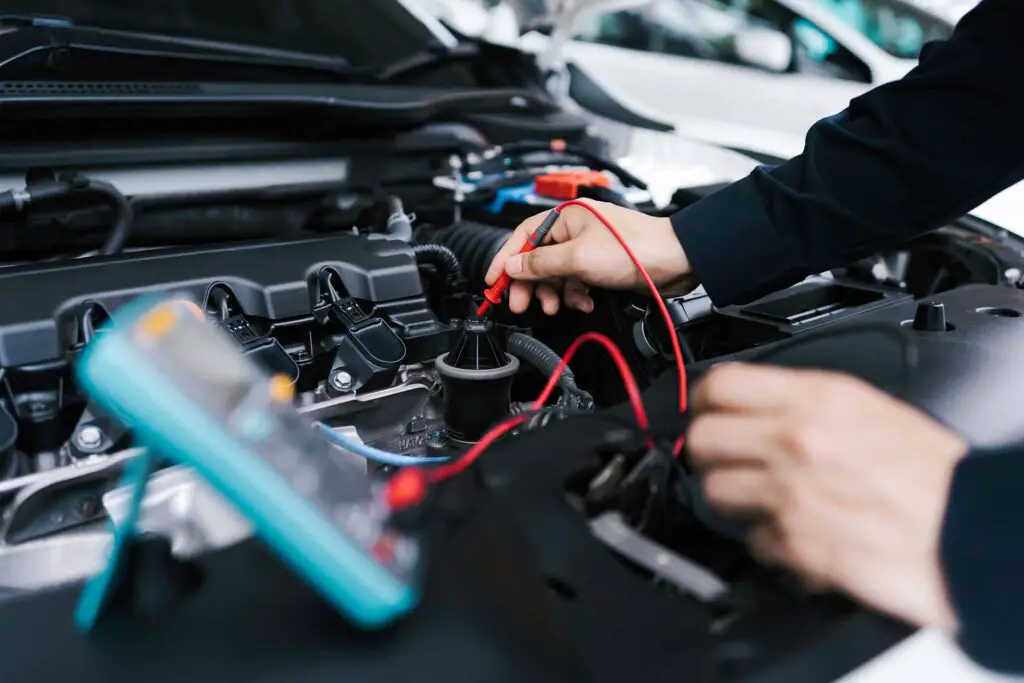
- Multimeter – a tool to measure voltage, current, and resistance,
- Screws and screwdrivers – necessary for securing the components in place,
- Relay and bypass modules – often needed to integrate the system with the complex electrical system of modern vehicles.
How to Install a Remote Starter – Step-By-Step Guide
And now, the moment we’ve all been waiting for – turning that box of techy treasures into a fully functioning system that breathes life into your vehicle with a single click. Here’s how to install a remote car starter:
Make Sure to Disconnect the Battery First
Safety, the number one driver’s responsibility, is always first. Safety precautions for starter installation entail unhooking the vehicle’s battery and making sure that it’s disconnected. This provides a safe environment to work, free from the risks of electrical shocks or short circuits.
Locate and Access the Ignition Wires
Next up, it’s a deep dive into the car ignition system wiring. Using the wiring diagrams as your roadmap, navigate to the ignition wires under the steering wheel. They will be intricately linked to your new system. So make sure you’ve got good access to them for the installation process to go over smoothly.
Carefully Connecting the Device
With the ignition wires located, it’s time to bring out the wire strippers and soldering iron. Each available connection between the device and the vehicle’s electrical system should be secured, so it’s best to solder them. Make sure to follow the product’s instructions to fully understand the wiring order.
Installing the Antenna for Optimal Range
Now, let’s talk about bridging the gap between you and your vehicle, even from a distance. Antenna placement for remote starters ensures that every click yields action. So, make sure to place it for unobstructed communication, preferably on the top of the windshield. Just make sure it doesn’t get in the way of your eyesight while driving.
Pairing and Testing the Connection
With everything in place, it’s time for the moment of truth. Reestablish the battery connection for remote starts and test out the device. Every button pressed should translate into action, a testament to a successful installation.
Troubleshooting Remote Start Issues
Even with the best-laid plans and meticulous steps, stumbling blocks can appear on the road. It’s a part of the journey, and armed with the right insights, these issues are but minor hurdles, easily overcome.
Here are some common remote starter problems and how to solve them:
- Device not responding – ensure all connections are secure and the battery is fully charged,
- Limited range issues – check the antenna’s placement and make sure it’s unobstructed,
- The engine starts but doesn’t stay on – revisit the connections to the ignition wires and make sure everything is secure.
Professional vs. DIY Remote Starter Setup
DIY remote starter setup comes with plenty of rewards and satisfaction. However, the terrains of electrical connections can be intricate, and a lack of familiarity might turn the adventure into a challenge. In such instances, stepping back and letting professional hands take the lead ensures precision, safety, and the optimal performance of your newly installed system.
How Much to Install a Remote Car Starter
The benefits of professional remote starter installation are clear. However, the cost of owning a vehicle is no joke, and you’re probably wondering – how much does it cost to install a remote starter? While figures can fluctuate based on various factors, including brand and model, you’re generally looking at an investment of around $250 to $400.
Remote Starter Maintenance Tips
Once your device is up and running, it’s all about keeping this slice of convenience performing at its peak for many rides to come. Here are some tips to ensure optimal performance:
- Regularly check all of the components to ensure they are functioning correctly,
- Keep the system’s software updated so it can provide enhanced performance, security, and access to new features,
- Ensure that the battery is always charged to maintain responsive and reliable operation,
- Occasionally having a professional take a look can help diagnose and prevent potential issues,
- Checking and maintaining the antenna ensures that signals are always clear and communication unhindered,
- Keeping the device clean and free from dust or debris ensures buttons are always responsive and signals unhindered.

Closing Thoughts on Your Key to Comfort
There you have it – the ins and outs of bringing a world of convenience right to your fingertips. From those chilly mornings where the thought of a warm and ready vehicle awaits to the scorching afternoons where a cooled interior promises refuge – it’s all just a button away. I hope your every drive starts with a smile from this point on!
Can I Install a Remote Starter on a Manual Transmission Vehicle?
Yes, it’s possible, but it comes with complexities due to the need for additional safety precautions to prevent the vehicle from starting in gear. Specialized devices are available for manual transmissions, ensuring safety and convenience align.
Will Installing a Remote Starter Void My Vehicle’s Warranty?
Generally, installing this device won’t void your vehicle’s warranty, thanks to the Magnuson-Moss Warranty Act. However, it’s always wise to check the specifics of your vehicle’s warranty to avoid any potential issues.
How Long Does the Installation Process Typically Take?
The time frame can vary, but generally, it takes a couple of hours for a professional installation. For those venturing into DIY, the time can extend depending on familiarity with the vehicle’s electrical system and the complexity of the installation. Either way, it’s a job that can be done in one day.


