Most drivers prefer an interior with a vibe of sophistication and elegance, adding that extra touch of class to their rides. Until, of course, life happens, and suddenly there’s a glaring imperfection marring their elegance. Luckily, learning how to fix tears in leather car seats might be easier than you think and can surely save you a trip to the repair shop.
The repair involves cleaning the tear, preparing the edges, under-patching for support, applying a filler compound, and carefully blending it all together. Using a specialized repair kit can make the whole ordeal that much easier, and finishing with the right sealant and polish will give it that seamless look.
Before Anything Else Understand the Damage
First and foremost, taking a closer look and understanding what you’re dealing with is essential. This will help you differentiate between minor blemishes and more significant damages, and, in turn, it will allow you to figure out the best approach to remedy the problem.
Differentiating Between a Scuff, a Scratch, and a Tear
A scuff usually appears as a superficial mark on the surface, often resulting from friction with shoes, bags, or other objects. It doesn’t break or damage the integrity of the upholstery. On the other hand, removing scratches is a bit more challenging, as this is a deeper mark that does penetrate the surface but isn’t a complete breach.
And then we have the most pronounced of the trio – a tear. This is when there’s a complete break, requiring a bit more care and attention during the repair process. No matter if you have one of the most expensive cars in the world or a simple used vehicle, this can be quite a bummer. However, there’s an effective solution that will bring back your four-wheeler’s elegance once again.

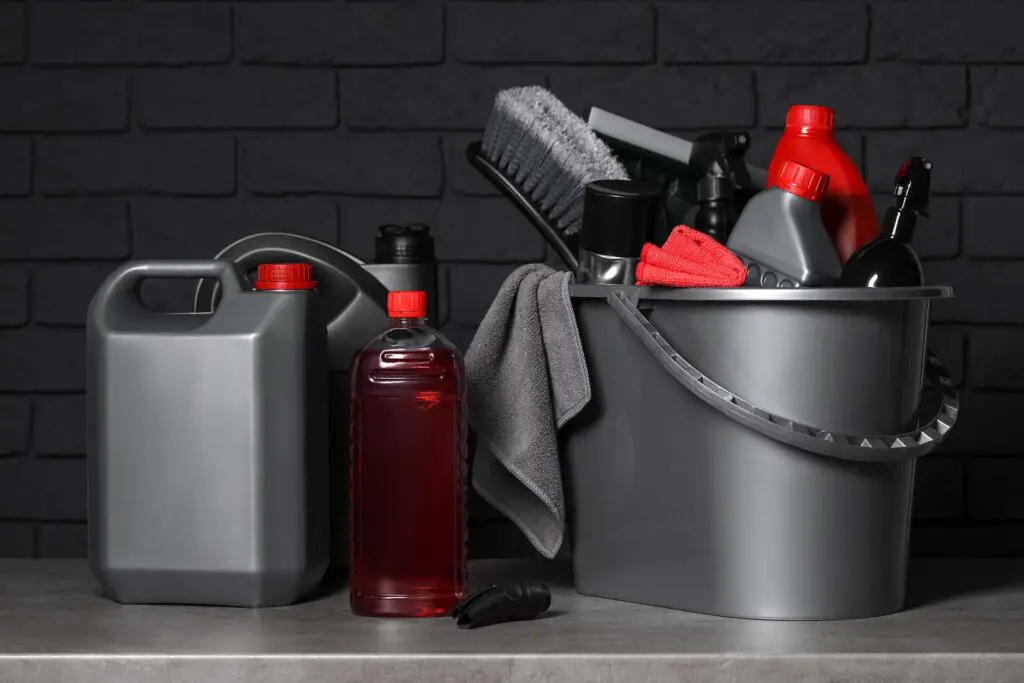
Here Are the Tools and Materials You Will Need
Taking on any repair task without the right tools is like trying to cook a gourmet meal without the ingredients. For this particular DIY endeavor, a leather repair kit is your best bet. These handy kits are crafted to mend a range of damages on leather surfaces, ensuring the outcome is close to the original.
I personally recommend the ARCSSAI ARCSSAL Leather Repair Kit, as it has everything you need and it’s quite easy to use. But make sure that the color in the kit matches your upholstery’s hue – it’s the key to making the repair almost invisible to the naked eye. Most of these kits include the following tools and materials:
| Tool/Material | Purpose |
| Adhesive compound | Bonds the torn leather pieces together and fills minor cracks |
| Backing fabric | Reinforces the repair area, especially for larger tears |
| Leather colorant | Matches the seat’s color and disguises the repaired area |
| Grain paper set | Replicates the texture, making the repair blend in seamlessly |
| Application tools | Used to place and spread the compound and colorant smoothly |
It’s Good to Have a Few Additional Materials on Hand
Beyond the standard kit, there are a few additional materials that could come to your aid. The rubbing alcohol acts as a cleaning agent. It will help to prep the damaged site and ensure no grease or dirt interferes with the repair. A soft cloth becomes the perfect companion to the alcohol, wiping away any residue or excess material.
Sandpaper is not bad to have on hand either. When this material is used gently, it helps smoothen out rough edges. Using it will ensure that your patch job feels as good as it looks – and once you’re out there on the famous routes in the US, it’s all about comfort.
How to Fix Tears in Leather Car Seats – Step-By-Step Guide
Alright, here’s the real deal – we’re diving into the world of leather upholstery repair. Remember, as with any task, being patient and precise is crucial. By the time we’re done, I’m sure that tear will be nothing but a distant memory.
Cleaning the Area and Preparing the Tear
Before diving into the actual repair, you need to prepare your workspace – in this case, the damaged spot. A clean site will make sure that the repair compounds are bound seamlessly with the material. If there’s just a bit of dog hair or debris stuck in there, you’re in for a stressful affair.
A dab of rubbing alcohol or a gentle cleaning agent such as the Leather Honey Conditioner should be your trusty companions, but use them cautiously to avoid spreading the damage. Once cleaned, give those frayed edges around the damage a little trim. Last but not least, using fine-grit sandpaper on uneven, rough zones should make them vanish, setting the stage for a perfect repair.
Under-Patching the Teared Area
Setting the foundation is crucial, so make sure to go through the under-patching process as precisely as possible. Let’s break it down:
- Determine the size of the damaged area, giving a little extra around the edges,
- Using the backing fabric from your repair kit, cut a piece slightly larger than your measured size,
- Carefully slip the patch beneath the damaged area, ensuring it covers the entire zone,
- Adjust so the patch provides maximum support and isn’t visible from the surface,
- Using the adhesive from your kit, bond the patch to the underside of the tear, ensuring it’s securely in place.
It’s Time to Apply the Filler Compound
Once you’ve got your tear secured with the under-patch, it’s time to bring in the main act – the filler compound. Mixing this compound can feel a bit like kitchen chemistry, but trust the guidelines that come with your kit.
Once you’ve achieved the right consistency, carefully apply it over the damaged zone. Ensure the application is smooth and even, perfectly aligning with the surrounding material. It’s a bit like icing a cake—layer it on, then smooth it out for that flawless finish.
Take Time to Color and Texture Match
The magic of the whole ordeal is in the blending. So here’s how to make your handiwork virtually invisible:
- Using the paint provided, create a shade that mirrors the original hue of your upholstery,
- Always test your mixed color on a hidden spot to ensure it’s a perfect match,
- With a steady hand, paint over the filled area and take your time to blend it seamlessly,
- Use the grain papers or texture mats from your kit to mimic the original material’s feel,
- Let the area dry completely and examine it in different lighting conditions.
Do Some Finishing Touches and You’re Good to Go
Finally, to wrap things up, give that rejuvenated spot a pampering session. Using a quality conditioner or sealant can not only make the area shine but also protect and extend its life. Buff and polish, and watch that former damaged spot turn into a mere memory. Driving in style is back on the agenda.

Some Additional Tips and Practices You Should Keep In Mind
Choosing a Well-Lit Workspace
The subtleties of the material, especially when matching textures and colors, can only truly be discerned when there’s adequate lighting. So, it’s best to opt for a workspace that’s well-lit, preferably with natural light. It will not only help you see the nuances but also prevent strain on your eyes.
Testing Products on Inconspicuous Areas First
Before committing to any product on the main stage, test it out behind the scenes. Choose a spot that’s typically hidden or less noticeable. This ensures that, on the off chance the product doesn’t play well with your seat material, it remains your little secret.
Waiting Ample Time for Materials to Dry Between Steps
The eagerness to see the final result can be tempting, but rushing between stages can compromise the integrity of the repair. Giving each layer the time it needs to set and dry ensures durability and a finish that’s worth the wait.
It’s All About Regular Maintenance From That Point Forward
Now that your seat has a fresh lease on life, it’s about maintaining that youthful charm. The reality is, these repairs can only do so much. The longevity of your seats largely depends on how you treat them from that point forward.
Regularly Conditioning Leather Seats to Keep Them Supple
Over time, the once plush leather can lose its moisture and begin to dry out. By regular conditioning your car seats, you’re helping to:
- Hydrate and replenish the lost moisture,
- Create a barrier against potential stains and spills,
- Revive the natural sheen and softness of the material.
Avoiding Sharp Objects and Excessive Weight on Seats
Seats, much like us, prefer not to be poked and prodded. I know it can be difficult, especially when you have a family car. But, being mindful of what’s placed on the seats can significantly extend their life. Treat them gently, and they’ll continue to offer comfort for every journey.
Using Sun Protectants or Parking in the Shade to Prevent Sun Damage
While we all love the warmth and light the sun offers, it’s not always favorable for our car seats. Prolonged exposure can lead to faded and brittle leather, so using sun protectants such as the TriNova UV Protectant Spray can be a game-changer.
Moreover, when possible, try parking in shaded areas. And if shade is a luxury you can’t always find, perhaps rotating your parking spots can help ensure that the same section of your seats isn’t constantly basking in those rays.

Wrapping Up Our Leather Loveseat Journey
All in all, while this task might not be on everyone’s weekend to-do list, it’s a good skill to have when you need to give your ride that fresh-from-the-showroom vibe. With a little patience and the right tools, those unsightly tears and scuffs won’t stand a chance. So, treat those seats well and they’ll be your comfy companions for miles to come!
Frequently Asked Questions About Repairing Leather Seats
Can I Fix a Large Tear in My Leather Seat Without a Professional?
While smaller tears can typically be repaired with DIY methods, larger tears might require more expertise. If the tear is significant or in a highly visible spot, you might want to consider consulting a professional for a seamless repair.
How Long Does It Take for the Repair to Fully Dry and Set?
The drying time can vary based on the product used and environmental conditions. Generally, it’s best to wait at least 24 hours before using the seat, but always check the product instructions to be sure.
Will the Repaired Area Feel Different From the Rest of the Seat?
If done meticulously, the repaired area should blend in quite well with the surrounding leather. However, there might be a slight difference in texture initially. Regular conditioning and use over time should help it blend more seamlessly.