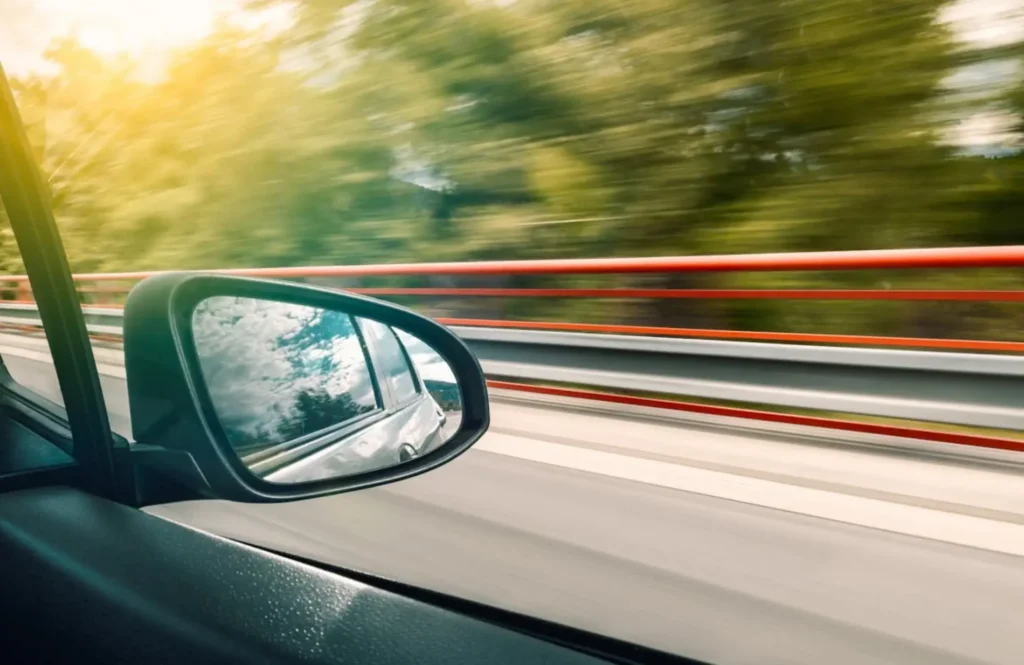
Ever glanced over and realized your side mirror has had a rough day? If you’re scratching your head, and thinking about how to replace a broken side mirror glass, you’re in the right place. In this step-by-step guide, let’s walk through the process, so you can get back to cruising safely and in style.
Depending on the model, you might need to remove the door panel first, and then disconnect the old and damaged side-view mirror. Installing the new one is basically a reversed process, and the job is done when the door panel is reattached. Safety and precision are paramount throughout the whole journey.
Gather the Needed Tools and Materials
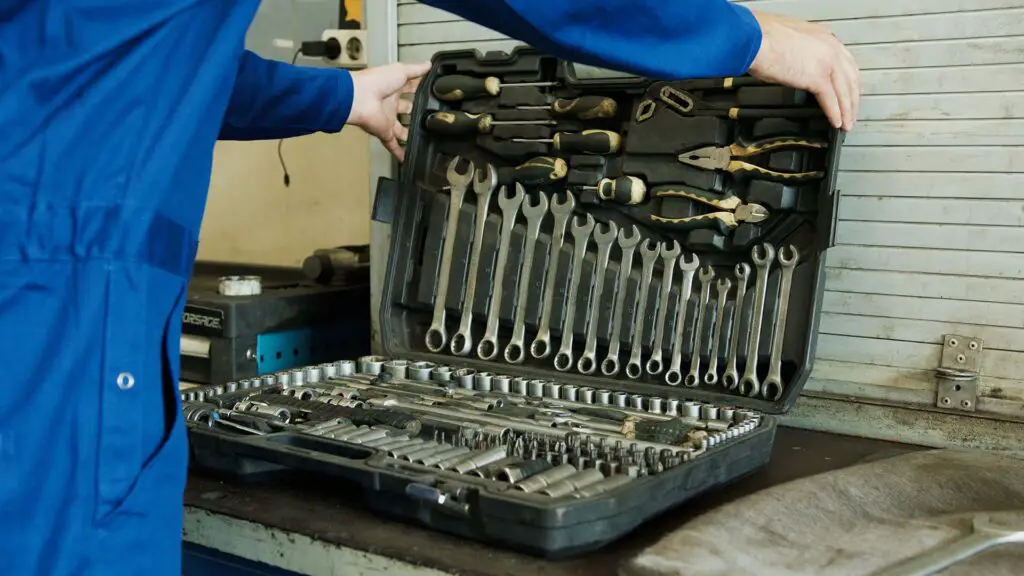
Before diving headfirst into the mirror-fixing game, it’s crucial to gather the necessary tools and materials. Having them on hand will not only make the whole ordeal smoother but also save you from any mid-repair trips to the store. Here are the tools you’ll need to get started:
| Tool | Use |
| Flathead Screwdriver | For prying open or unscrewing flat-head screws |
| Phillips Screwdriver | Typically cross-shaped, essential for specific screws |
| Plastic Prying Tool | Helpful to safely pry without damaging car parts |
| Trim Removal Tool | Used to detach trim or paneling without causing damage |
The Most Important Thing Is to Find a Suitable Replacement Mirror
When it comes to replacing any part of your four-wheeler, from the car battery to the tail lights, it’s not a one-size-fits-all deal. The same goes for side mirrors – you need to find a replacement tailored specifically to your vehicle’s make and model, or at least a high-quality universal fit. So, take the time to do a little homework and ensure your new mirror is a perfect match – it’s a detail that truly makes all the difference.
How to Replace a Broken Side Mirror – Preparation Is the First Step
Starting off on the right foot means prepping your car properly. Ensure the vehicle is parked on a flat, stable surface to avoid any movement or shifting during the repair. It’s all about creating a safe, controlled environment for the task ahead.
While we’re on the topic of safety, the number one driver’s responsibility, it’s important to note that you should wear safety gloves to shield your hands from any sharp edges or glass shards. To get safe and easy access to the interior components, roll down the window, and let’s get to work.
Get a Container to Keep the Screws and Small Parts Organized
It’s a good idea to grab a small container or dish to keep the screws and small parts secure and organized as you go through the process. I use DEWALT, and it’s keeping my tools organized and neat. When you know that every screw and bolt is accounted for, the reassembly will be that much smoother.
Remove the Door Panel (If Necessary)
Not all cars are made equal and, thankfully, not all will require you to wrestle with the entire door panel. Some manufacturers have designed models where accessing the side mirror is as easy as popping off a small panel near it. So, it’s best to consult your owner’s manual to see what you’re dealing with. If you need to remove the entire panel, here’s a step-by-step guide:
- Begin by using the plastic prying tool to carefully remove any trim pieces,
- Locate the screws securing the door panel,
- Use the appropriate screwdriver to unscrew the pieces,
- Put each piece aside in the designated container,
- Start carefully prying the door panel away,
- If there are any electrical connectors, make sure to disconnect them,
- Lift the panel upwards to remove it, granting full access to the door’s interior components.
Disconnect the Old Mirror
Now that the door panel is out of the way, it’s time to tackle the task of disconnecting the old mirror. Regardless of whether it’s powered or manual, it’s anchored to your vehicle through a series of connections that need to be addressed with care.
Unplug the Electrical Connectors for Powered Mirrors
For vehicles equipped with powered mirrors, electrical connectors play a pivotal role. They’re the lifeblood that delivers power, enabling the mirror’s adjustment, heating, and other automated features.
These connectors are typically nestled within the door’s interior. Gently unplug them, ensuring each is fully disengaged before proceeding – this will safeguard the entire electrical system and pave the way for a hassle-free replacement.
Disconnect Any Linkages for Manual Mirrors
For those rocking classic cars or older models with manual mirrors, there are mechanical connectors you need to deal with. They’re also pretty easy to spot once the door panel is removed. With precision, disconnect them, making certain each linkage is completely detached.

Installing the New Mirror
With the old mirror safely disconnected and set aside, it’s time to install the new one. This phase is as critical as the removal – every step should be approached with precision to ensure that the new fit operates flawlessly. Here are the steps you need to take:
- Position the new mirror, ensuring it aligns perfectly with the mounting points on the door,
- Secure it with bolts or screws you set aside during the removal,
- The bolts and screws should be snug and secure, but make sure not to overtighten.
Reconnect the Electrical Connectors for Powered Mirrors
For powered mirrors, it’s time to breathe life back into them. Navigate to the electrical connectors and plug them back in, ensuring each clicks securely into place. This re-establishes the power flow, enabling functionalities such as the electric fan and the LED lights in your four-wheeler.
Reconnect Any Linkages for Manual Mirrors
For those working with manual mirrors, it’s all about aligning and reconnecting the mechanical linkages. This ensures that the new adjustments are smooth and responsive. That way you’ll have precise control and optimal visibility as you hit some of the most famous routes in the US.
Replacing the Door Panel
With the new mirror firmly in place, it’s time to bring the door panel back into the equation. It’s all about ensuring that every clip, screw, and trim piece falls back into place seamlessly, restoring the aesthetic and functional integrity of your vehicle’s door. Here’s how to do it:
- Carefully align the door panel, ensuring it is positioned correctly to match the original mounting points,
- Press the panel firmly, ensuring that each clip locks in place,
- Retrieve the screws from your safekeeping container and replace them, ensuring the panel is firmly secured to the door,
- Reattach any trim pieces or coverings, ensuring they snap firmly into place, restoring the door’s aesthetic finish,
- Open and close the door to ensure that it operates smoothly and that the panel is secured.

The Final Step – Testing the New Mirror
The moment of truth has arrived – it’s time to put that brand-new piece to the test. For those with powered mirrors, give those electronic adjustments a whirl. A smooth glide in every direction confirms that everything’s working as it should.
For the manual mirrors, a quick adjustment and check of their position are in order – they should move seamlessly to your touch, offering precise control. But whether powered or manual, the end game is a clear – an unobstructed view. Take a moment to confirm the mirror’s angle is spot on, offering a clear panorama of the world behind and beside you.
What Are the Best Universal Side Mirrors You Should Consider Getting?
Did you know that it was not until 1966 that side mirrors were a must in the US? This means if you have a four-wheeler after 1966, you’ll have to take care of both side mirrors. As already discussed, getting a replacement that’s suitable for the make and model of your four-wheeler is crucial. However, that doesn’t mean you have to stay away from universal fits – high-quality products can be just as good of a solution.
That being said, always double-check the specifications and customer reviews, and if possible, get a professional opinion. Here are my personal recommendations:
- Pilot Automotive MI-024 – a matte black universal replacement that’s made from high-quality, durable materials,
- Kuuleyn Black Rearview Mirror – constructed from high-quality ABS+Glass material, this replacement has a roof mounting type, making the installation process very simple,
- Dorman Manual Door Mirror – while it might not be the right fit for all vehicle models out there, it’s still suitable for a wide range of cars, and it’s definitely worth giving a shot.
It’s Time to Hit the Road With the New Mirror in Place
Whether you prefer powered mirrors or you’re a devotee of the manual kind, mastering the process of replacing them is not that difficult. So, when the unexpected occurs, and your side mirror bids you goodbye, remember – you’re now equipped with the knowledge to turn a moment of dismay into an empowering DIY victory. Safe travels, and here’s to clear views ahead!
Frequently Asked Questions About Replacing Broken Side Mirrors
How Can I Prevent My Side Mirrors From Getting Damaged?
Protect your side mirrors by folding them in when parking, especially on busy streets or tight spaces. Investing in covers or guards can also provide an extra layer of defense against accidental bumps and scrapes.
Are There Any Legal Requirements for Side Mirrors?
Yes, legal requirements for side mirrors vary by location, but generally, vehicles are required to have at least two functioning mirrors that provide a view of the road behind. Ensure to check the specific regulations in your jurisdiction to stay compliant.
What’s the Difference Between Powered and Manual Side Mirrors?
Powered side mirrors offer electronic adjustments and often include features like heating or integrated turn signals, while manual mirrors are adjusted by hand. The choice between the two often boils down to personal preference and the vehicle’s make and model.
Can I Use Universal Side Mirrors as a Replacement?
Yes, universal side mirrors can be used as a replacement, offering a convenient and often cost-effective solution. However, it’s essential to ensure the product is compatible with your specific vehicle’s make and model to guarantee proper fit and functionality.


